
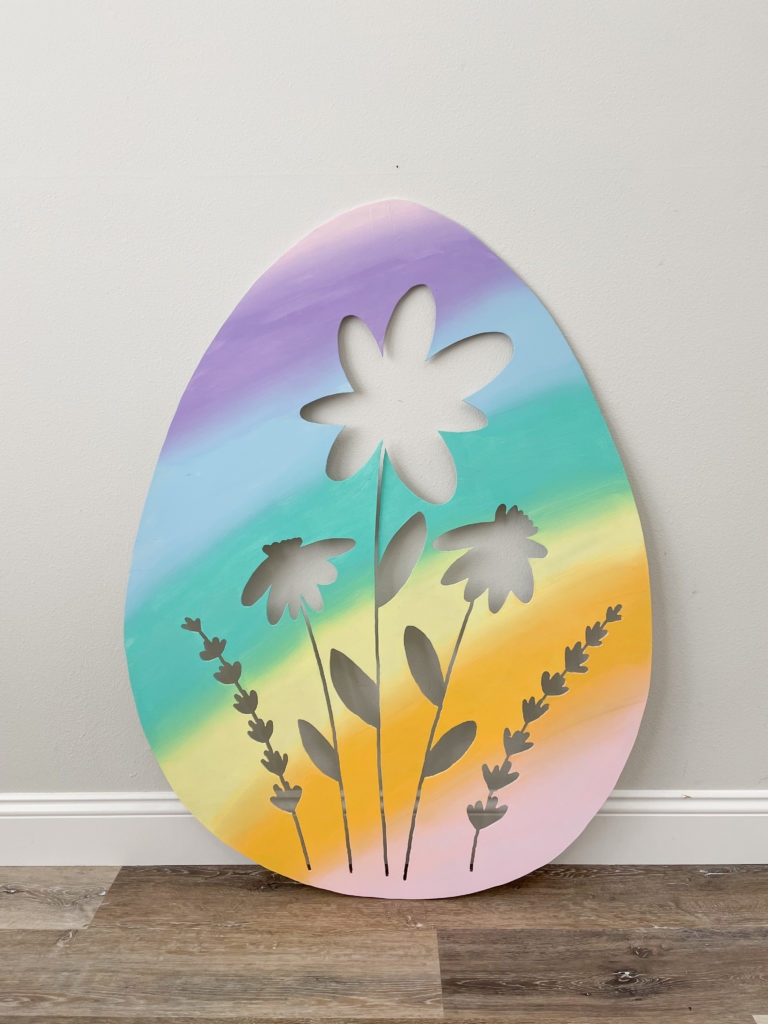
This DIY 4ft Easter egg would elevate your Spring or Easter decorations. Growing up, my grandmother used to decorate these little white Easter eggs we got from the stores in South Africa. They were candied white eggs, true to the size of the regular eggs we eat for breakfast. They were hollow and on the inside of these candied eggs was a layer of delicious chocolate. She used to create such beautiful designs on the eggs for gifts for people.
I had forgotten about those eggs, but somehow lodged in my memory were her creations so I’m sure they had something to do with these designs because when my mom saw them for the first time she said wow, Granny used to make something very similar, did you try recreate what she used to make? Maybe, even if it was from a distant memory.
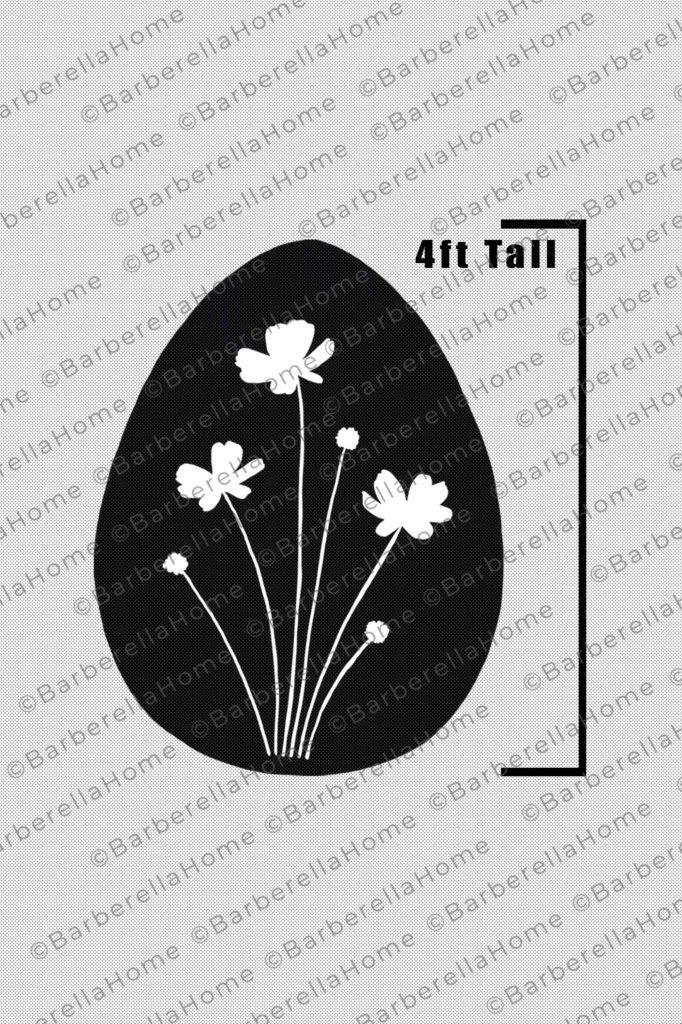
The cosmos flower display, on the other hand, was inspired by one of her paintings. I got the cosmos silhouette display idea in January after making the Trees and Reindeer for Christmas. I couldn’t get the idea out of my head until I actually cut the cosmos flowers out and built the display. It’s not identical to her painting but it sure was inspired by it. Check out the display here.
To make the DIY 4ft Easter eggs you will need:
- Easter egg template
- 4x4ft sheet of1/4 plywood. You could use 1/2 inch if you prefer.
- A cutting tool of choice – I used a Ryobi router.
- #180-#230 grit sandpaper
- Zinsser Bullseye 1-2-3 Bin primer
- Paint color of choice – I used pastel craft paints from Micheals (colors listed below)
- Holiday lights
- Hot glue gun
- Spacers
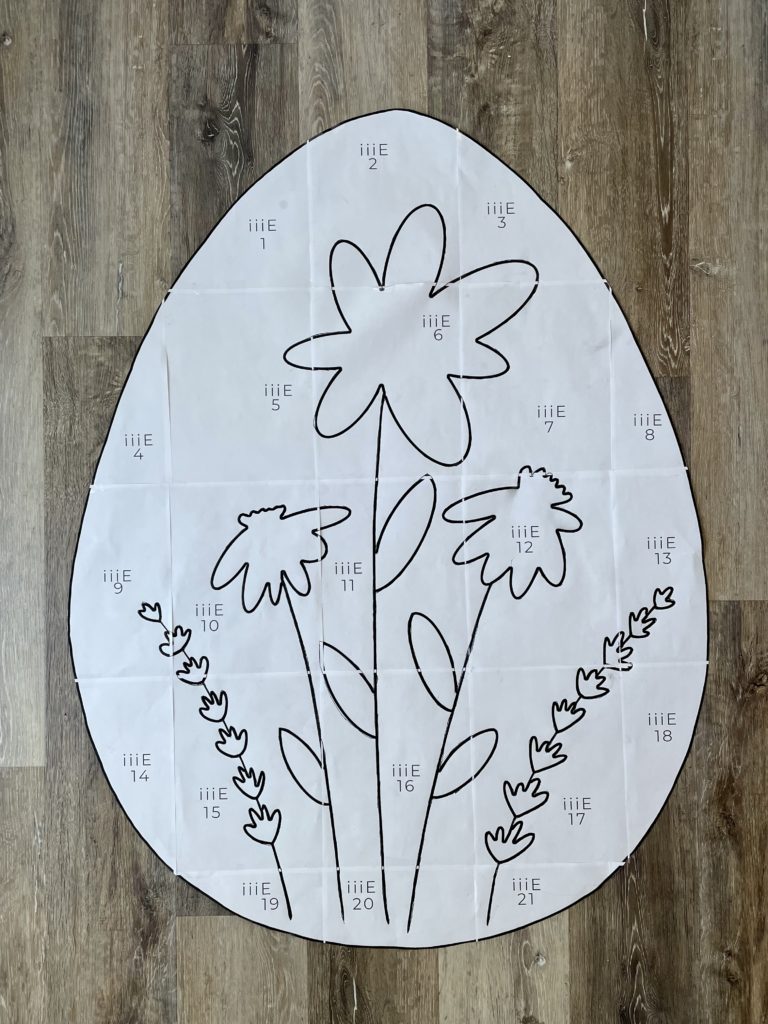
Step 1: Download, print & build template
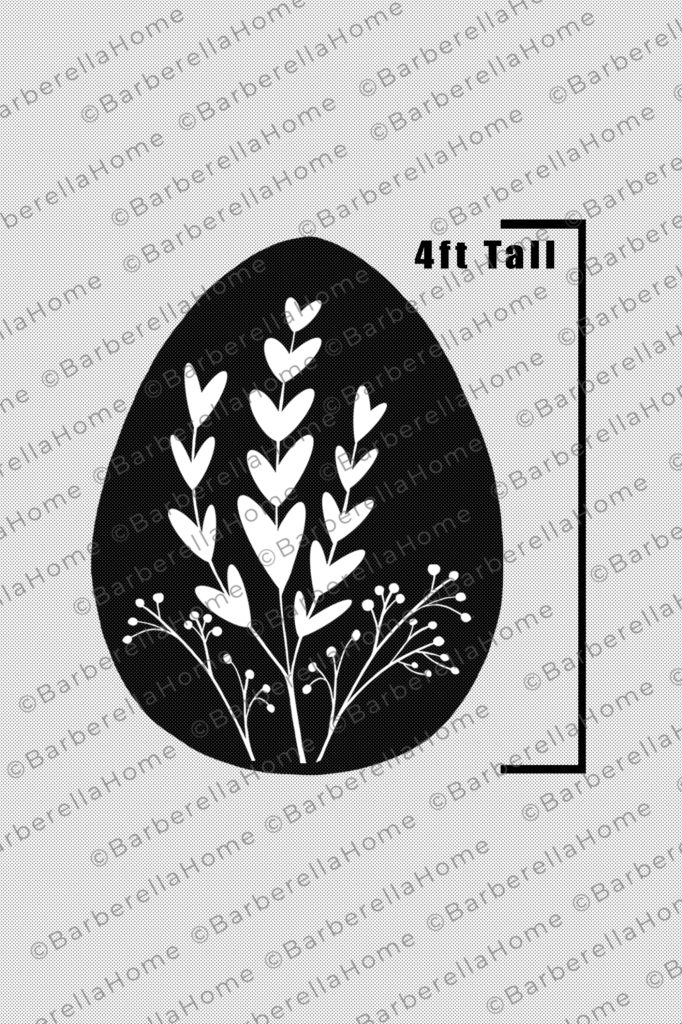
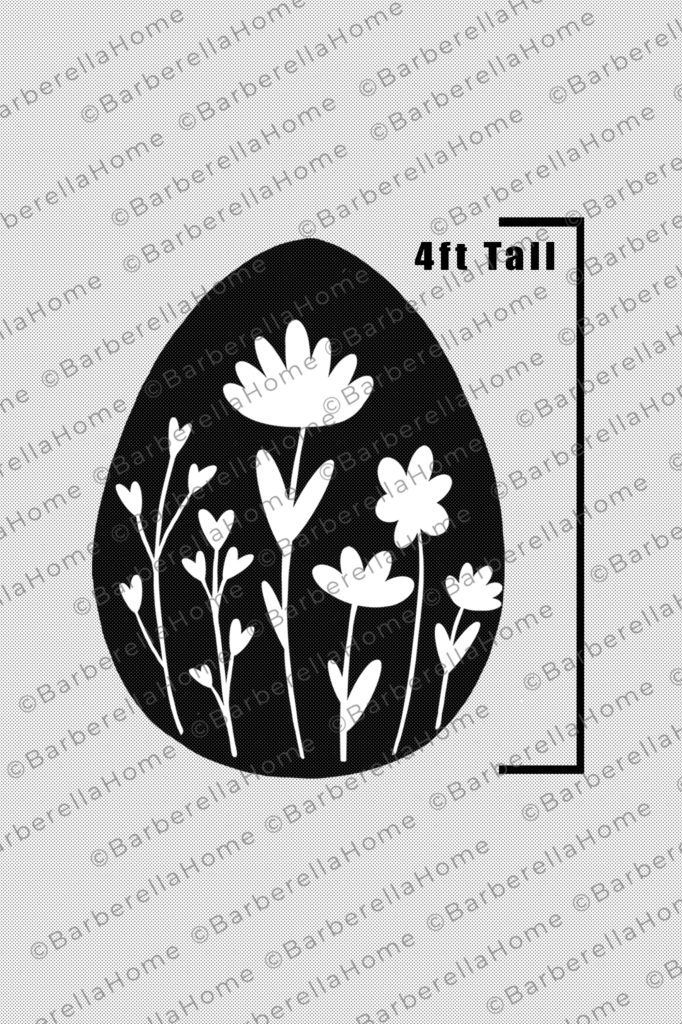
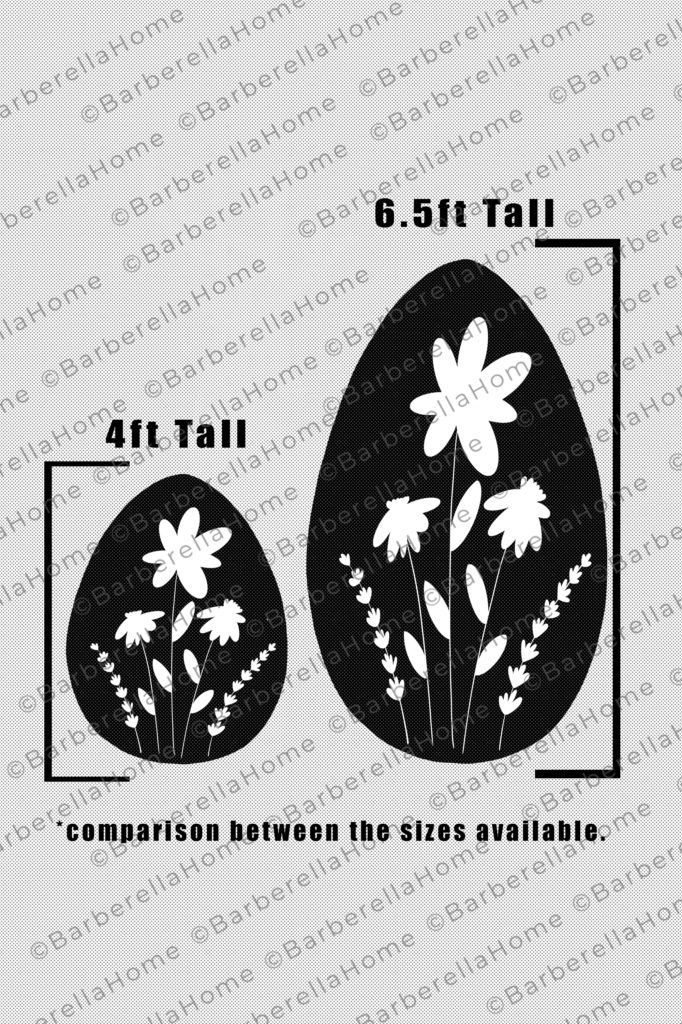
Download, print, & build your DIY 4ft Easter egg template. I have 4 designs to choose from that are 4ft tall. I have the same designs in a 6.5ft tall Easter egg too.
The PDF comes with easy instructions to build the template. But basically, you’re going to print the template tiles on regular 8.5×11″ sheets of paper from your home printer. I like to set my printer to ‘draft mode’ so it doesn’t use so much ink.
Once all the pages are printed you’re going to build the template like a giant puzzle. There’s an overview page that will help you layout the sheets. They are numbered so it’s easy to follow. Tape the pages together and cut out your template.
You can forgo cutting the template out if you just trace the lines straight onto the wood with a ballpoint pen. This will indent the plywood slightly so you can go over it with Sharpie once you remove the template.
Step 2: Trace & Cut
Place the template on the plywood. Securing it with a bit of tape is helpful so it doesn’t move. I trace it with a pencil first and then go over it again with a Sharpie once I remove the template. There’s something therapeutic about drawing those lines with Sharpie.
Cut the silhouette out with the cutting tool of choice. I have used a Dremel 3000 before for my Halloween Silhouettes which you can see here. But this time, I chose to use a Ryobi router with a 1/4 in spiral cutting bit. Some customers have used a jigsaw. It just depends which tool you feel most comfortable with.
Usually, when cutting out my silhouettes, you would cut out the negative space and you’re left with an image, like the trees or the witches or the reindeer. With these eggs, you first cut out the egg itself and then you cut away the image of the followers on the inside of the egg.
Step 3: Sand & Paint
After cutting the silhouettes out I like to sand the edges with a #180-230 grit sandpaper. This will smooth any rough edges or fraying of the wood. It can also sharpen corners where needed or fix any mistakes made with the cutting tool.
I prime the back and front of my silhouettes. By priming the back it helps the white light bounce evenly. Zinsser Bullseye Bin Primer has been my go to primer for my silhouettes. One coat of primer does the trick.
I chose to create a pastel rainbow effect for this DIY 4ft Easter egg. The pastel colors I used were from Michaels, they’re just regular craft paints by Craft Smart. I used these colors:
- Grape Taffy
- Pale Blue
- Ocean breeze
- Light yellow
- Dark yellow
- Light pink

Section out your Easter egg and paint the first coat of the 6 stripes of colors. On the second coat of paint, I painted the colors a little closer together.
Once that had dried, I blended two colors at a time. I poured a drizzle of paint on the edge of each color and blended it by brushing back and forth. By doing this you are blending the paint colors within the brush itself. The more you paint back and forth the more the colors will blend.
Now, if the colors need a little more blending, try moving the brush a little side to side to further blend the colors on the brush.
Wash your paint brush between colors and repeat until you have all the lines blended.
Step 4: Adding lights
Similar to my Christmas silhouettes, I backed this egg with regular holiday white Christmas lights. I used a hot glue gun set on low heat to attach the lights to the back of the silhouette. You can use 3M hooks or any other method that works for you to attach the lights. I find using hot glue is cost-effective and easily removable when I want to store the decor after the season is done.
By adding a backlight to this DIY 4ft Easter egg silhouette it’ll create a soft halo glow around the egg and it will light up the flowers like this:
Step 5: Attaching it to the house
I haven’t attached this Easter Egg Silhouette to my house yet. I had completed it a little late for Easter. But if I did put it up I would have attached it like all my other silhouettes. You can check out this YouTube video for a more in-depth explanation.
I would attach it to the trim of one of my exterior windows. All my silhouettes are bumped off the house about 3-5inches depending on how much of a glow I want from the back of them. In this case, I would go with a 3inch spacer. I use scrap 2×4 wood pieces to make up the spacer. I’d attach the spacer to the back of the silhouette by driving a screw thru the front of the silhouette thru to the spacer. On the back of the spacer, I would attach a keyhole plate so it could attach to the house. And then I’d drive a small exterior screw into my window trim that the keyhole plate would fit over.
Step 6: Turn on the lights
During the day it’s so colorful but at night when the lights are turned on I think it comes alive. What do you guys think, which one is your favorite, daytime or nighttime look?
If you guys would like to make something like this, head over to my Etsy store and check out my templates.