Laundry has never been my favorite thing to do. I either keep putting it off until I have laundry up to my eyeballs. Or I put a load in and forget about it, only to find it the following day, in which I proceed to wash it all over again. However, I do equip everyone in the house with at least 2 weeks of underpants, so if life gets a lil crazy we have clean drawers. 😉
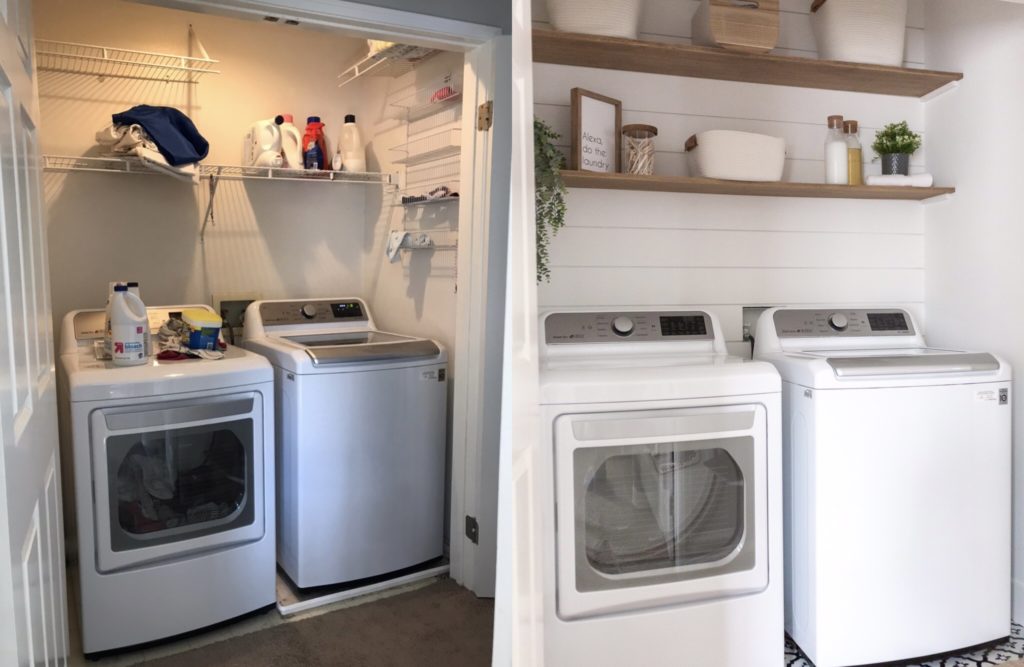
I desperately wanted to create a lil laundry haven where I could open the doors and feel inspired to get organized and dive into the endless abyss of laundry. A place where I felt the sense of order when laundry day is the complete opposite, with lil mini colored piles everywhere. It was time for a laundry room makeover! So I found some inspiration on Pinterest and Instagram and got to work.
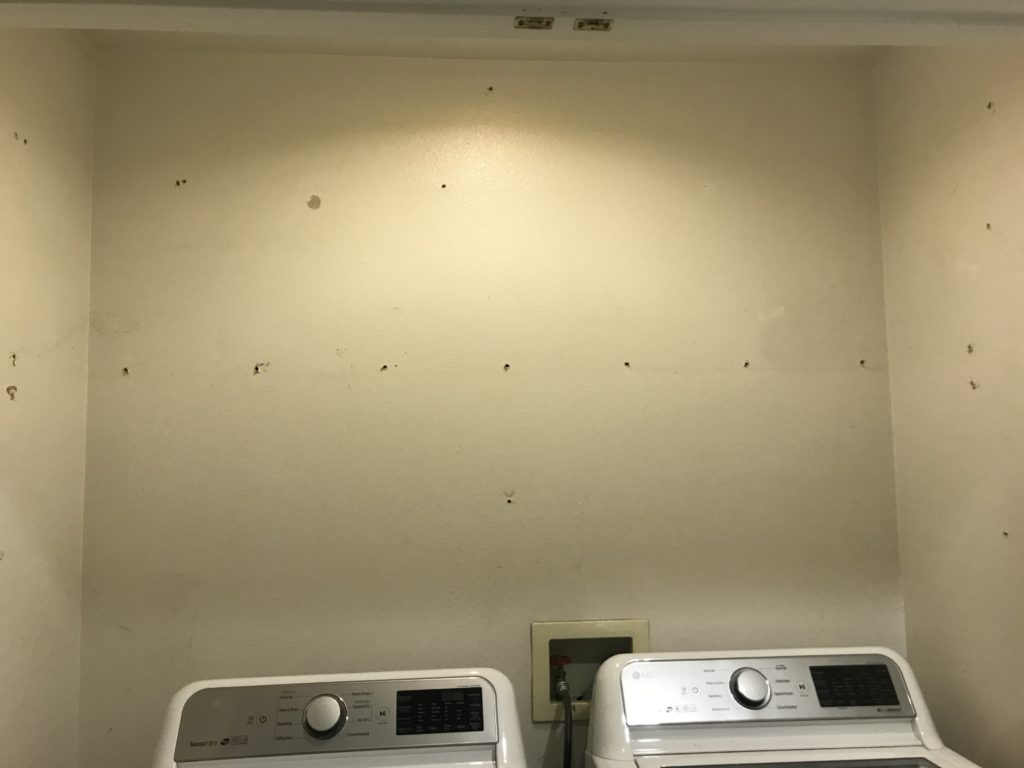
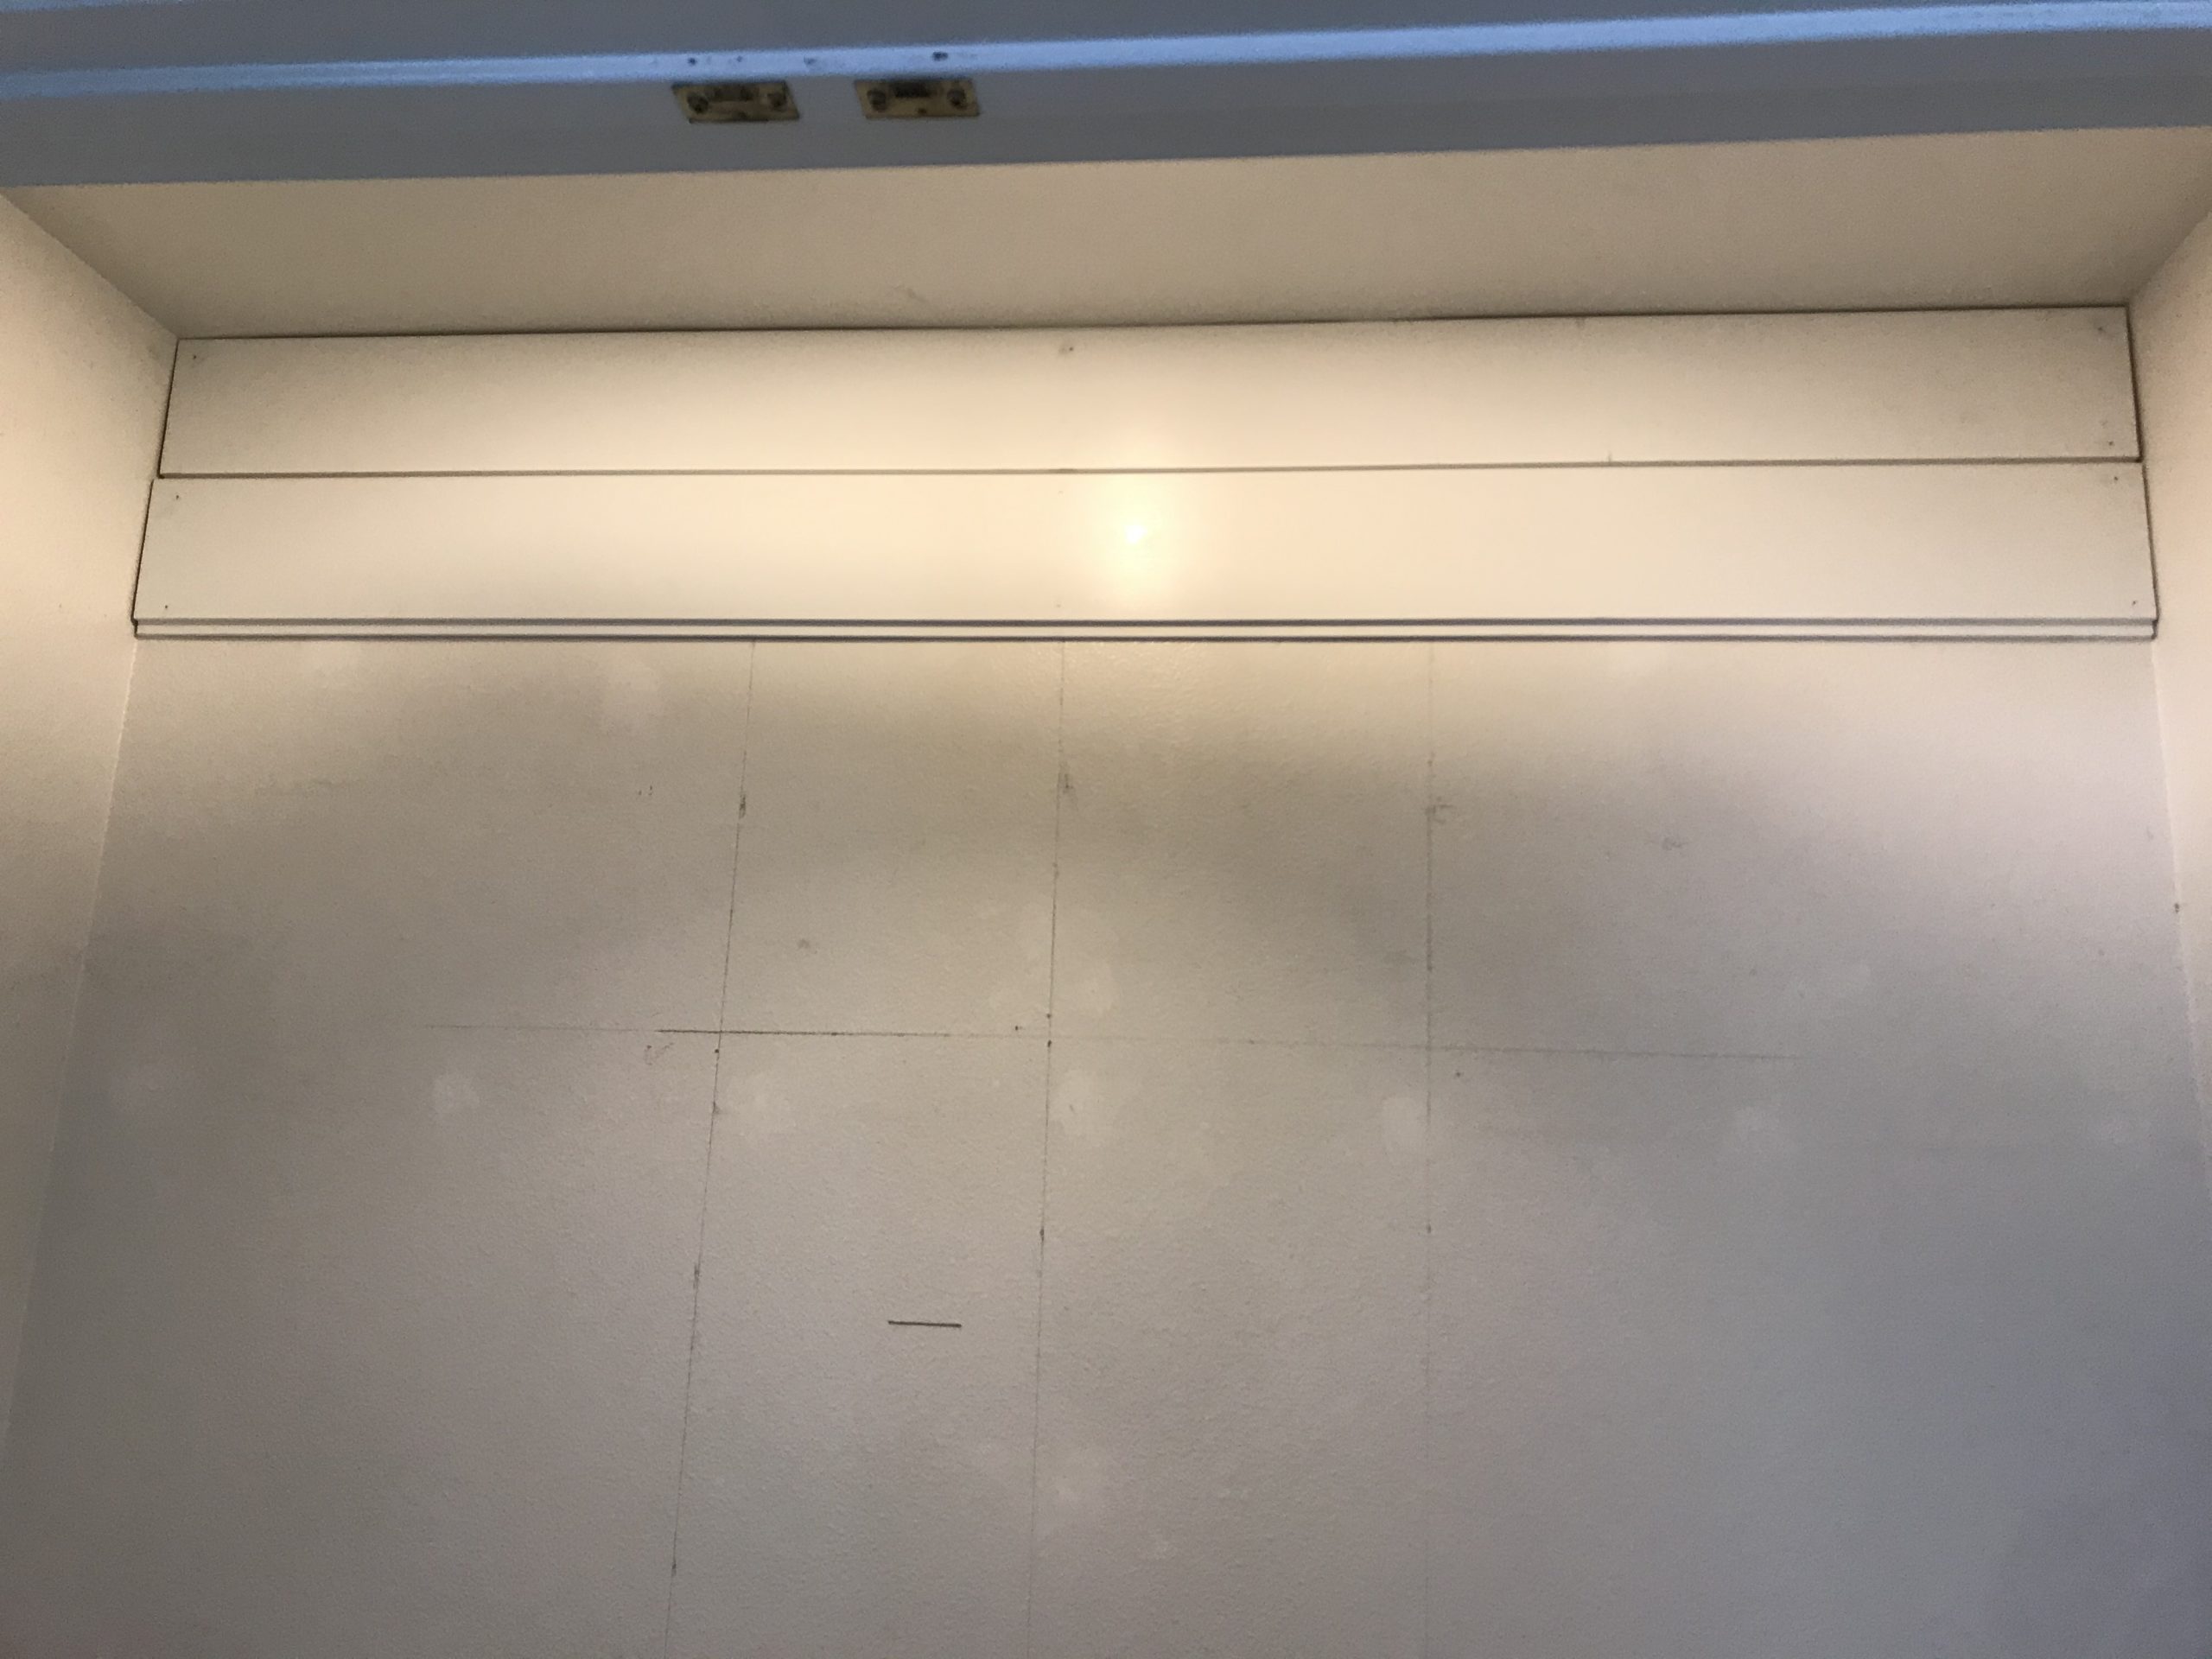
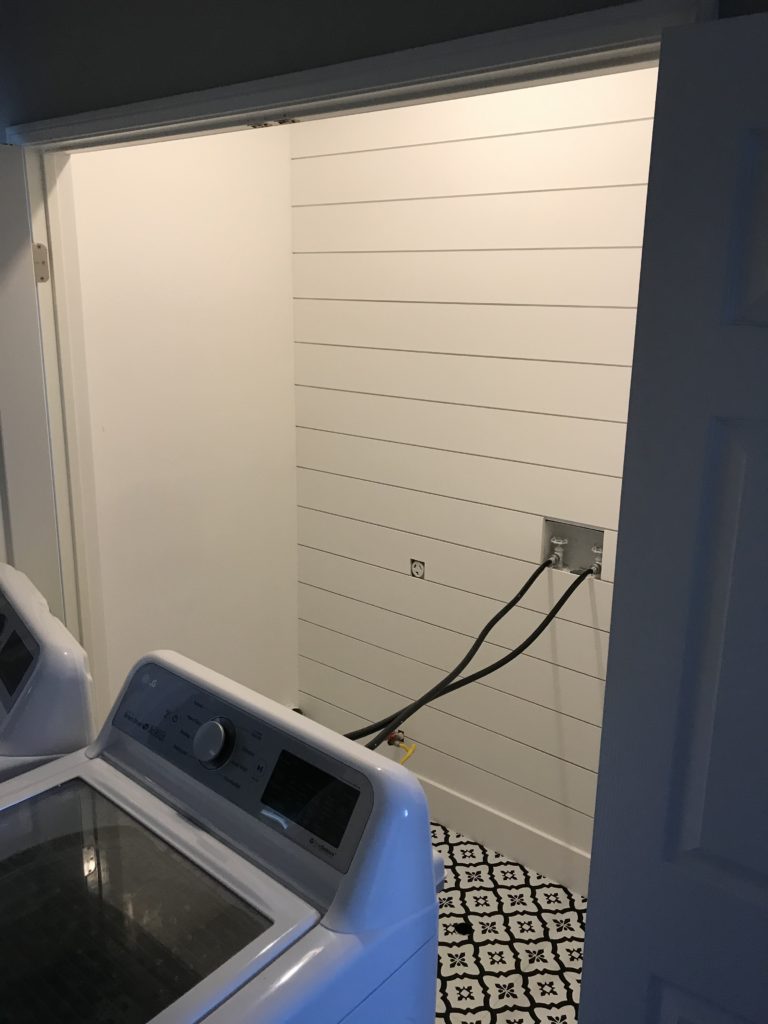
First off the closet needed a fresh coat of paint. My go-to white is Benjamin Moore – Chantily Lace in Matte finish. So I knew I was going to paint every wall including the ceiling white. The wire racks needed to come down. I filled the holes in the wall with Westpac Materials all-purpose joint compound. The filler fills the holes really well and sands smooth. I replaced the texture by using Homax spray texture from home depot.
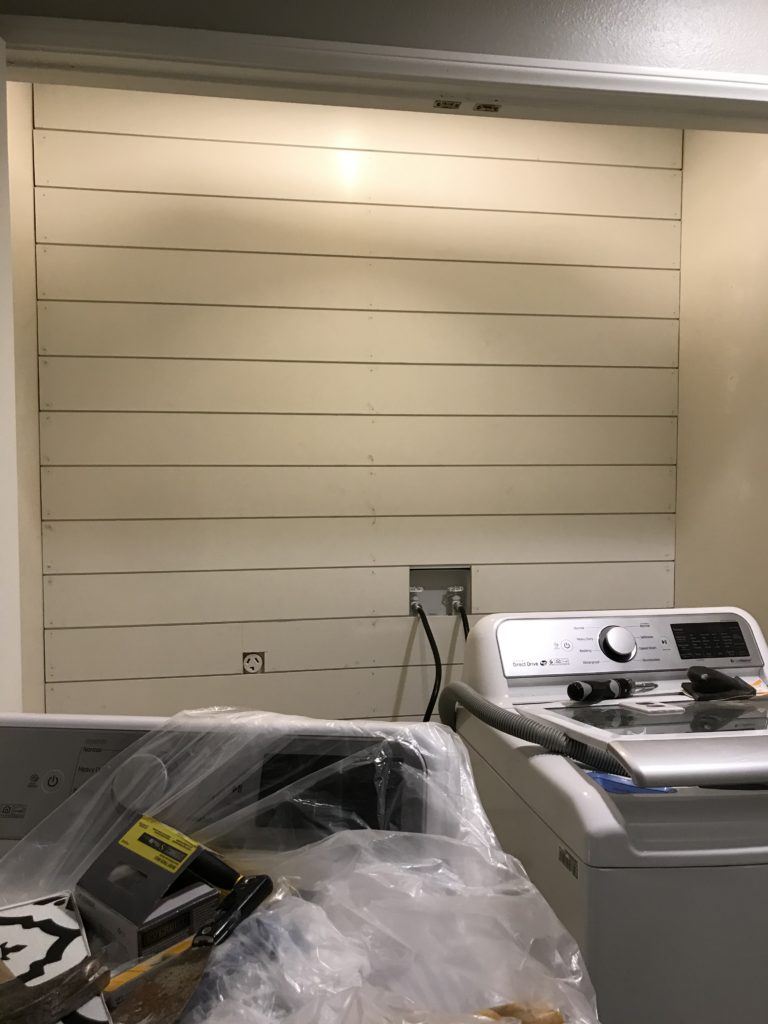
There’s something about shiplap I can’t get enough of. So we decided to put Shiplap on the back wall. I was hoping I could just cut a bunch of planks and then bring them all upstairs and just nail them in. But our walls are so skewed, each plank was a slightly different length. At least we got our steps in that day going up and down the stairs. The cuts were pretty simple using our miter saw.
It was fairly simple to install the shiplap. I used a stud finder to find the studs and a nail gun to nail the boards into the wall wherever the studs were. The MDF primed shiplap boards fit so nicely together with their tongue and groove system. It’s a good idea to keep a level handy to make sure the boards are straight tho. DO NOT trust your ceiling. Ours have never been straight.
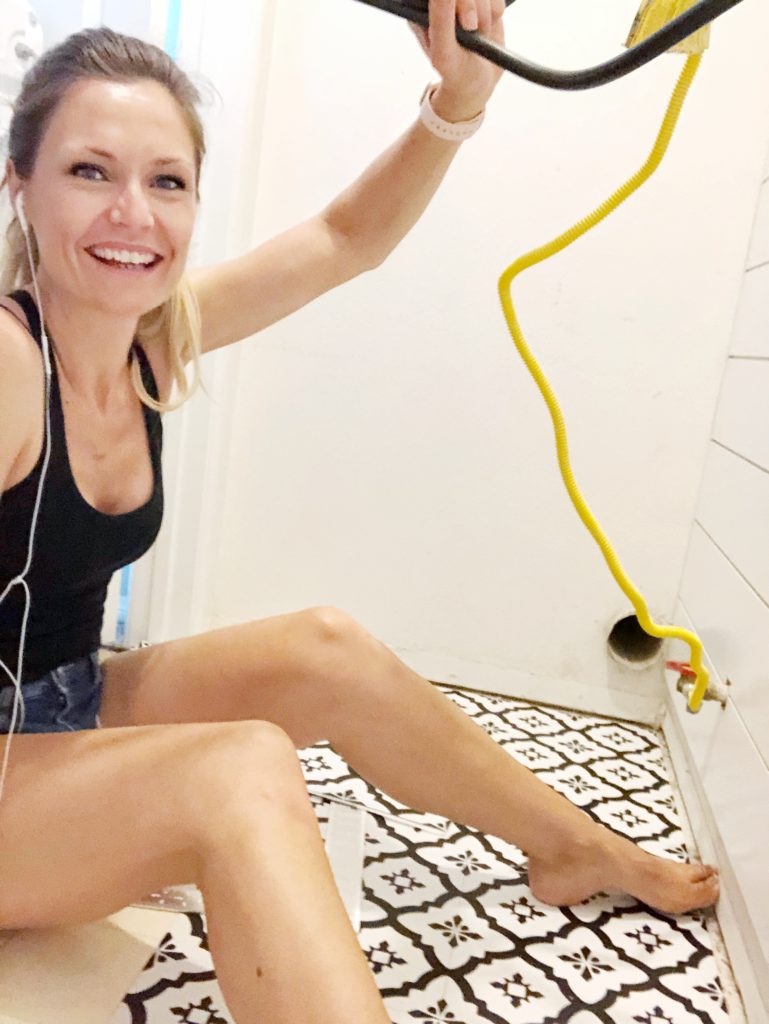
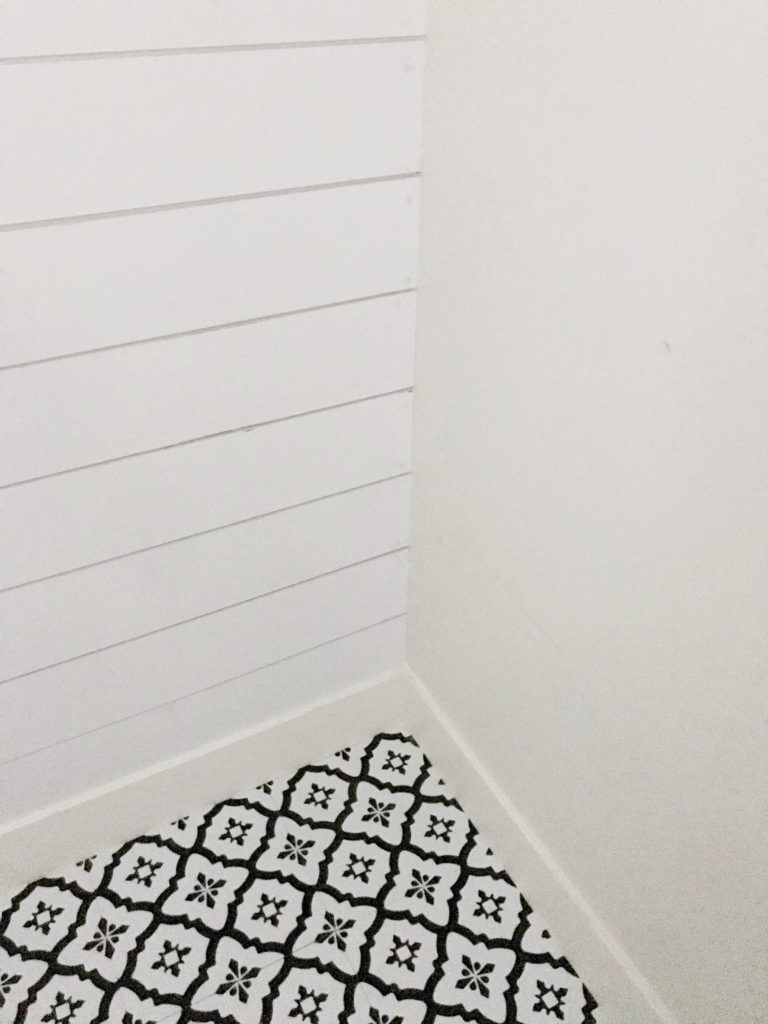
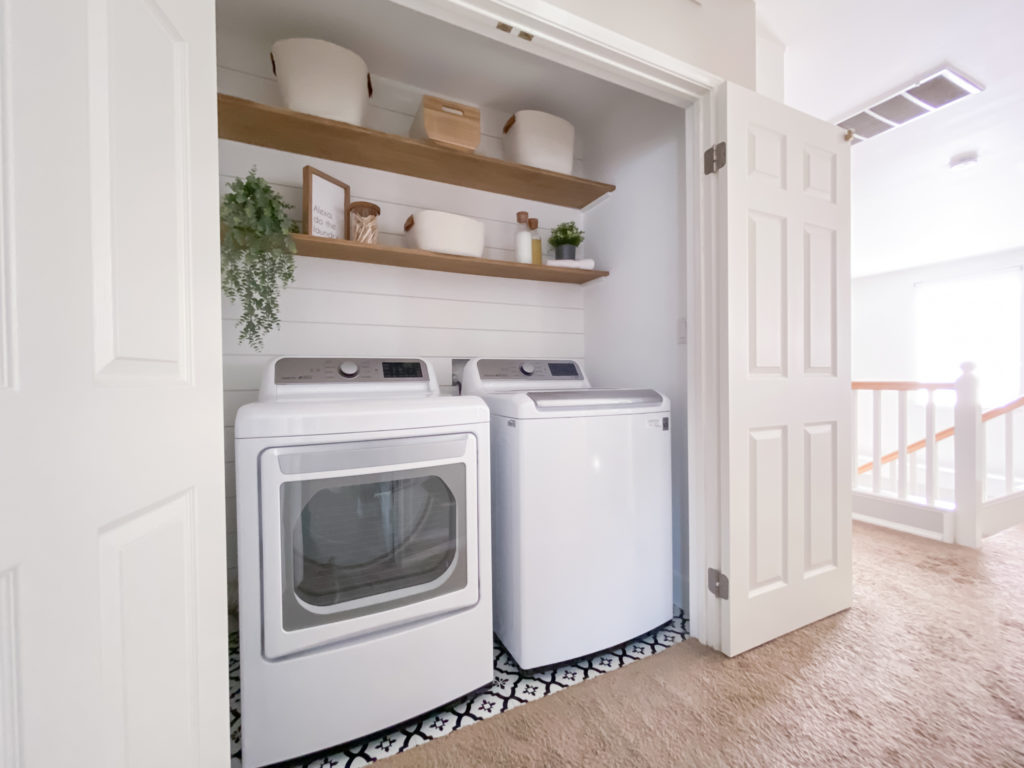
Once the boards were up and everything was painted white, the flooring needed to go. The plan down the road is to replace the carpet upstairs with wood flooring of some sort that would run into this closest. I didn’t want to keep the current yellowed laminate tiles, and I didn’t want to go crazy and put down LV planks to replace them some months down the road. An affordable remedy was these super easy peel-and-stick tiles by FloorPops in the color ‘Comet’. The only tool I needed was a Stanley knife. A lil tip for these peel-and-stick tiles is to clean the surface really well before laying them down so they adhere well to the surface. I used TSP cleaner to do this, which is a very good degreaser. It was quick to lay the floor and it only took 2 boxes. I think the tiles give this laundry room makeover a little character. I used a wide baseboard to finish it off.
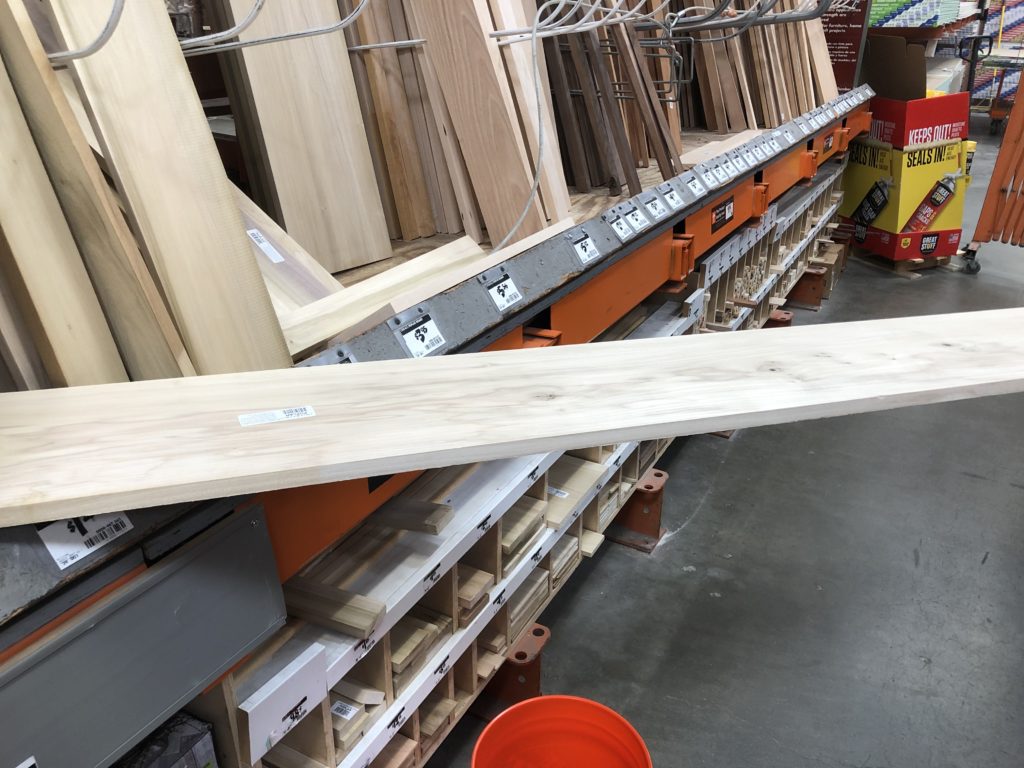
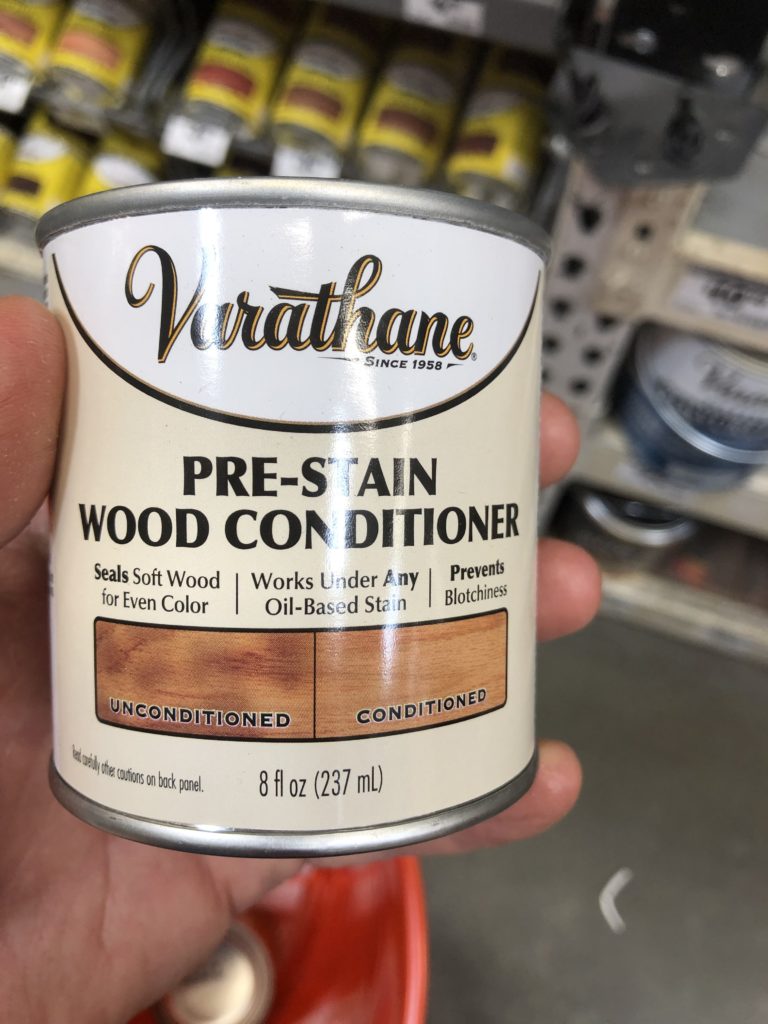
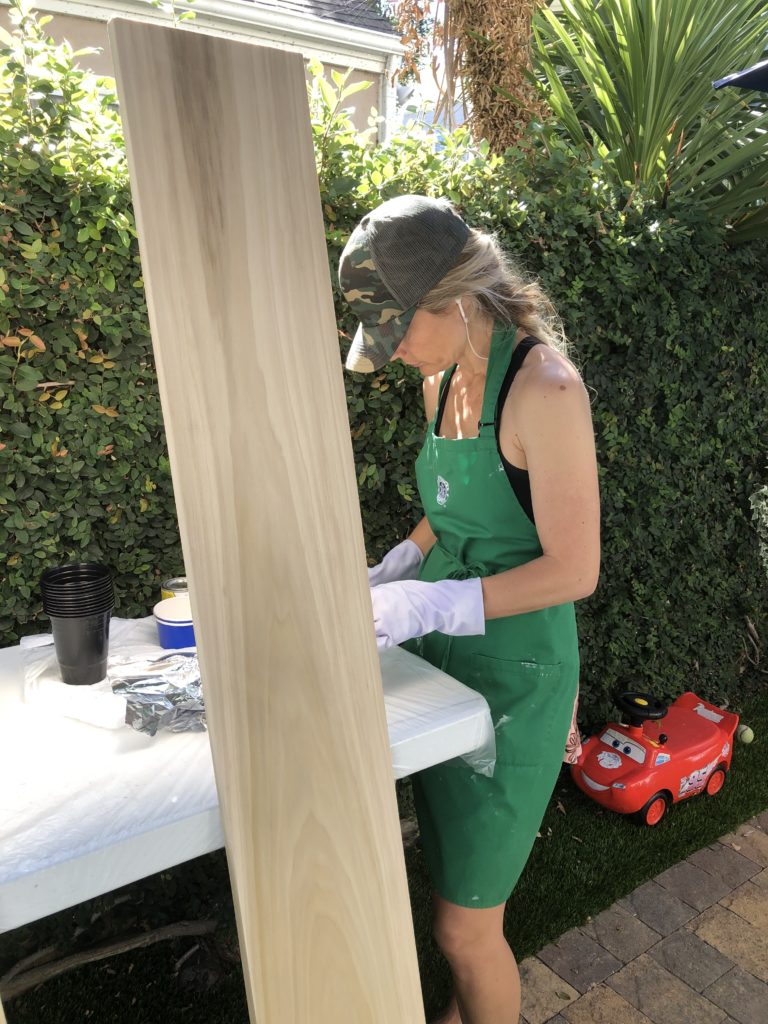
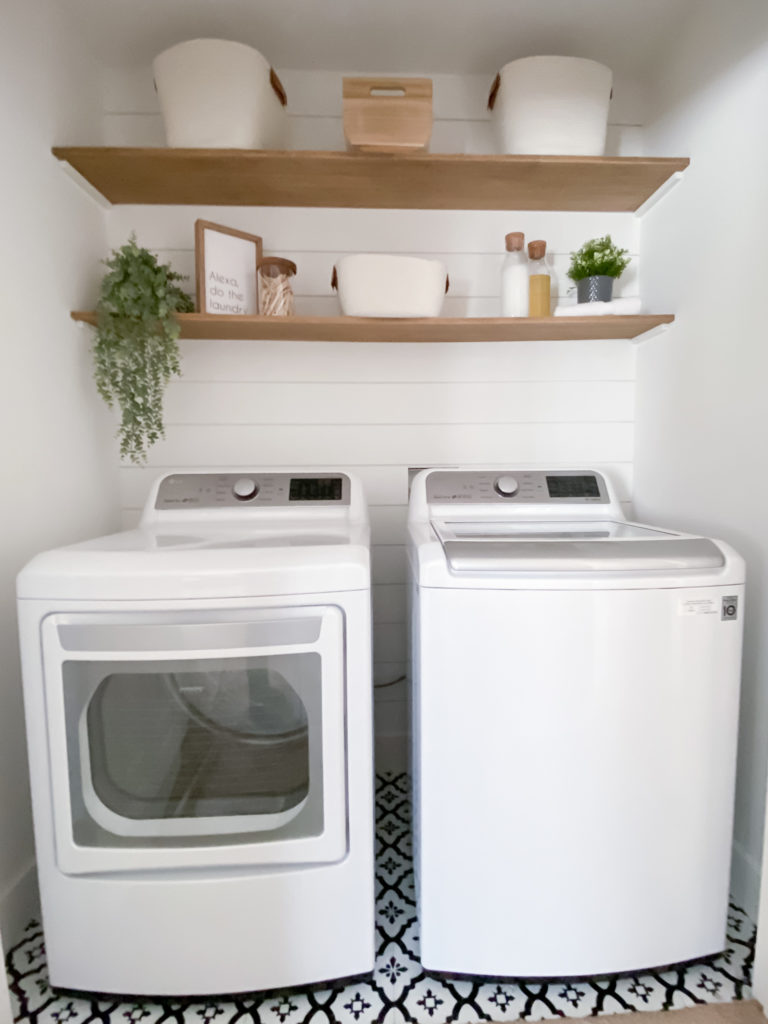
Then it was time to sort out the shelves. We found some lovely Poplar boards at home depot. Sanded them down first with #120-150 grit and worked my way to a #220 grit paper before staining. Don’t skip a grit, each grit buffs out the scratches from the previous grit leaving you with a buttery finish. We applied a coat of wood conditioner on the planks so the stain could soak in evenly. Then I lightly sanded them with #220 grit when it was dry to knock down any raised grain. We used one coat of a 50/50 combination of Verathanes weathered oak and special walnut stain.

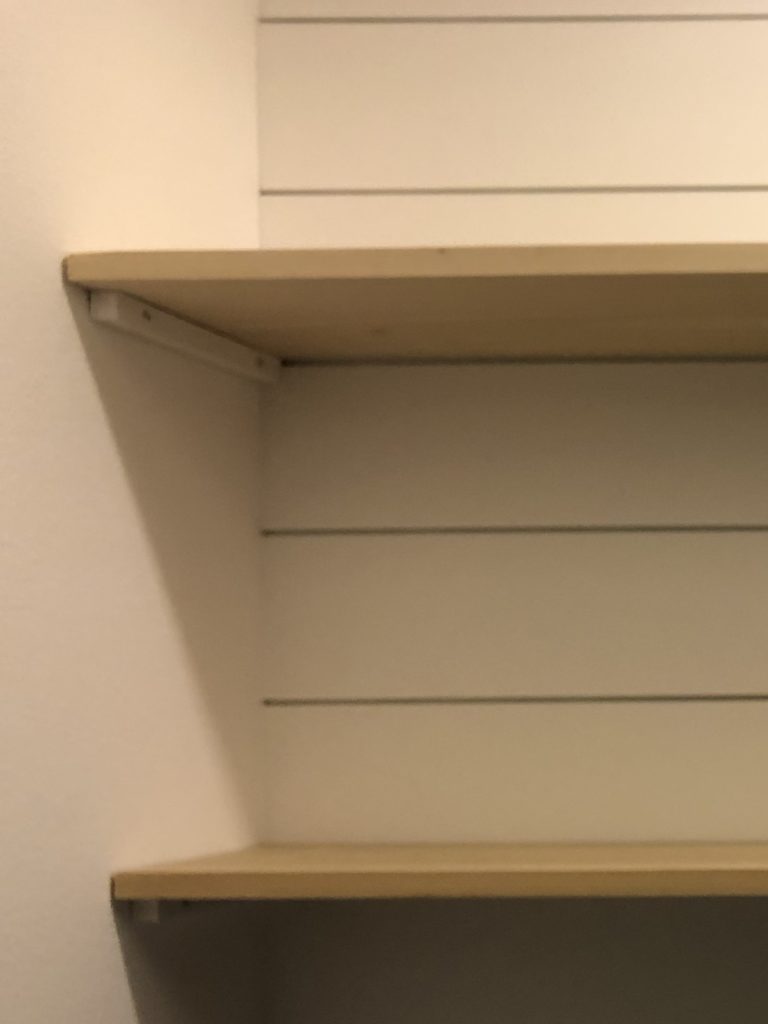
Poplar boards are pretty sturdy and we weren’t going to put super heavy things on the shelves. So we decided to use 1×1 wood pieces on the walls on either side to hold the boards up. Painted them white so they wouldn’t be visible, and voila, looks like floating boards. If you decide to put heavier things on the shelf I’d advise running a 1×1 piece along the entire back of the shelf for support. Or putting a smaller piece in the middle so the board doesn’t end up bowing.
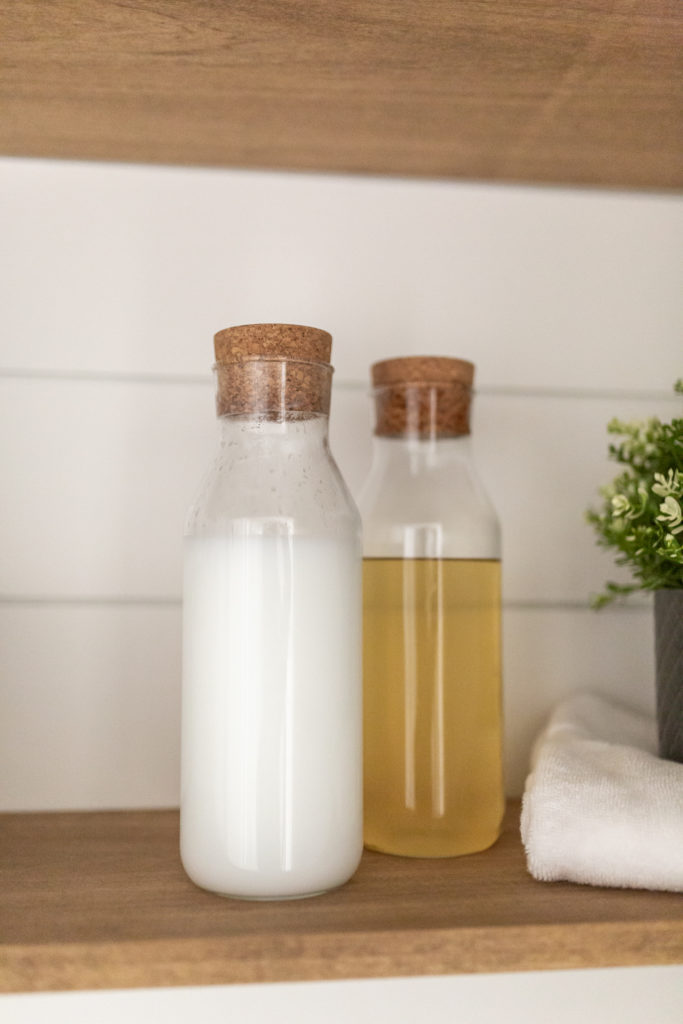
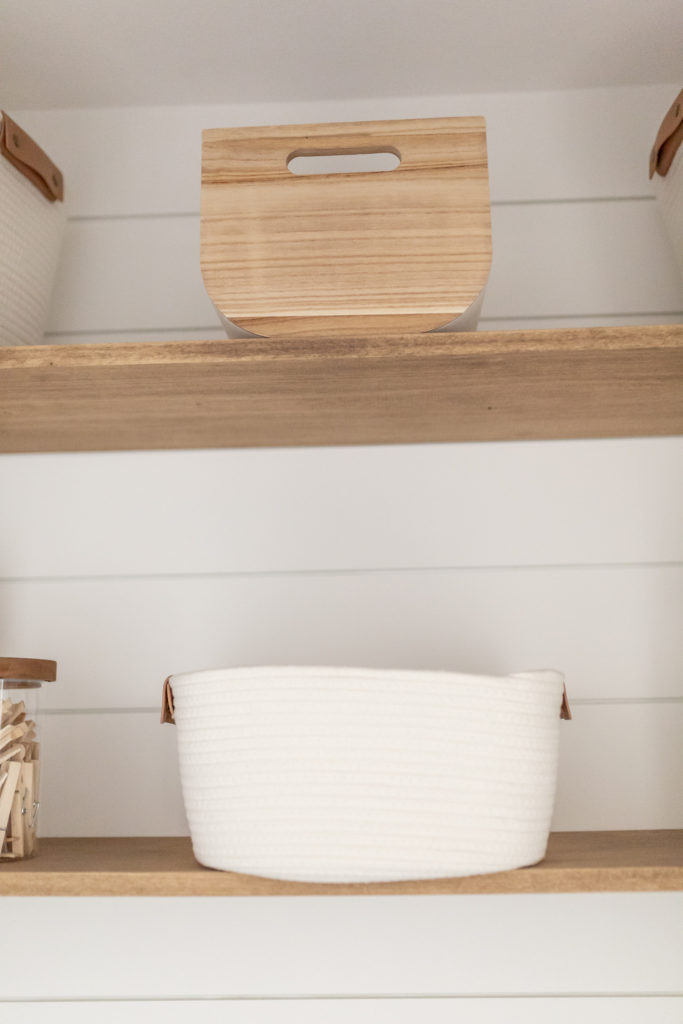
Now the fun part for this Laundry room makeover is moving the machines back into place and decorating the shelves. I do not like the look of big clunky laundry detergent and softener bottles. So I found these carafe bottles from Ikea. They have a nice cork lid that ties in nicely with the color of the wood. The upper baskets, 13″ Decorative Coiled Rope Square Base Tapered Basket Cream, are big enough to put the big laundry bottles in but I just keep ours in the garage. I needed some extra storage for sheets and towels so the big top baskets are perfect for that. The smaller basket, 11″ Decorative Coiled Rope Square Base Tapered Basket Cream, on the second shelf holds my laundry bags for delicate clothing, dryer sheets, and dryer balls. Isn’t the leather handles on either side of the baskets such a nice touch? They’re a beautiful cognac leather color. Swooning over the details.

I needed a basket with a firmer shape to hold heavier items like an iron, and stain remover bottles, etc. I found a beautiful Small Paulownia Wood Bin with Fabric Sides from Target. I think the wood accent on the side works perfectly with the stained poplar. The fabric on the other sides of the basket is an oatmeal color which goes lovely with BM’s Chantily Lace.
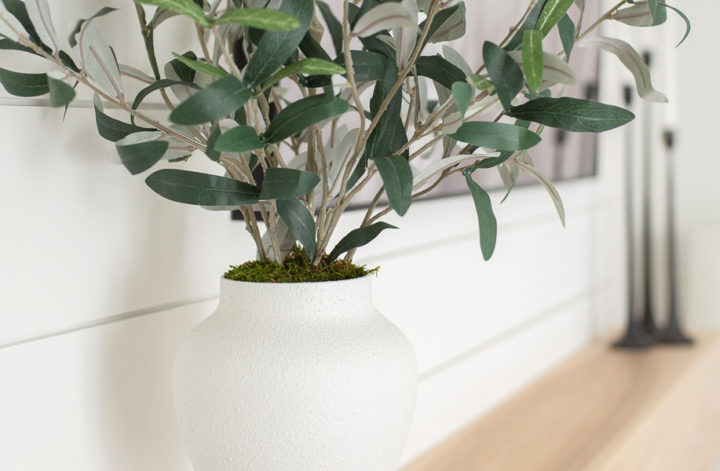
Organized shelves wouldn’t be quite put together without some greenery. I found this beautiful cascading one from Hobby Lobby. The grey pot and faux plant on the other side I found at Ikea. The medium Glass Storage Canister with Wood Lid, I found at target. They have a variety of sizes. The lid is a beautiful wood color. It seals really well, you could definitely use it for pantry items.
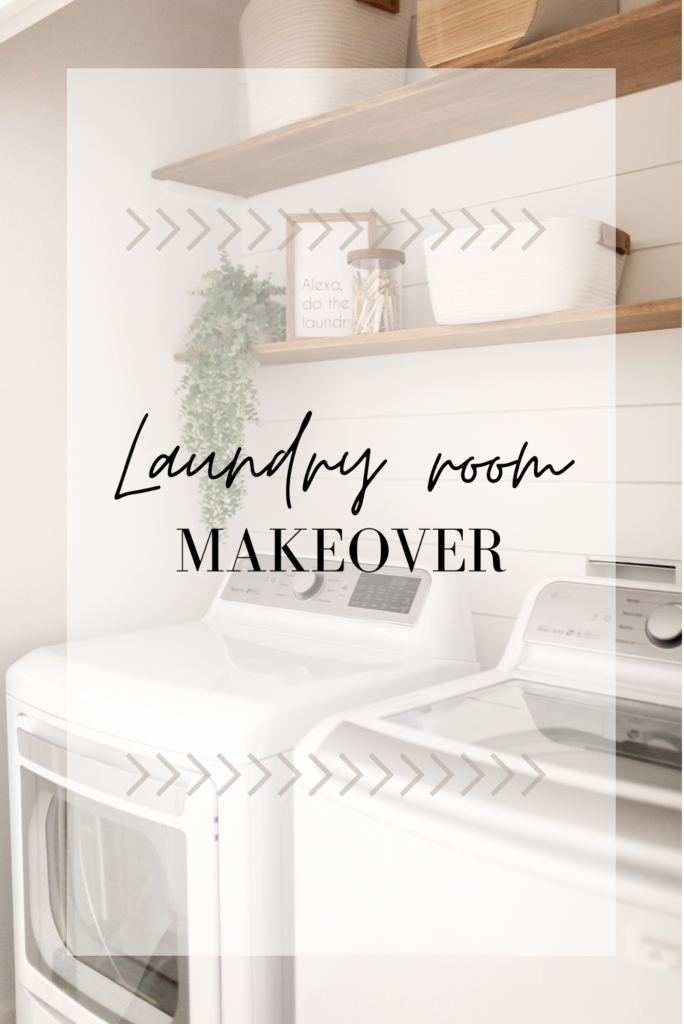
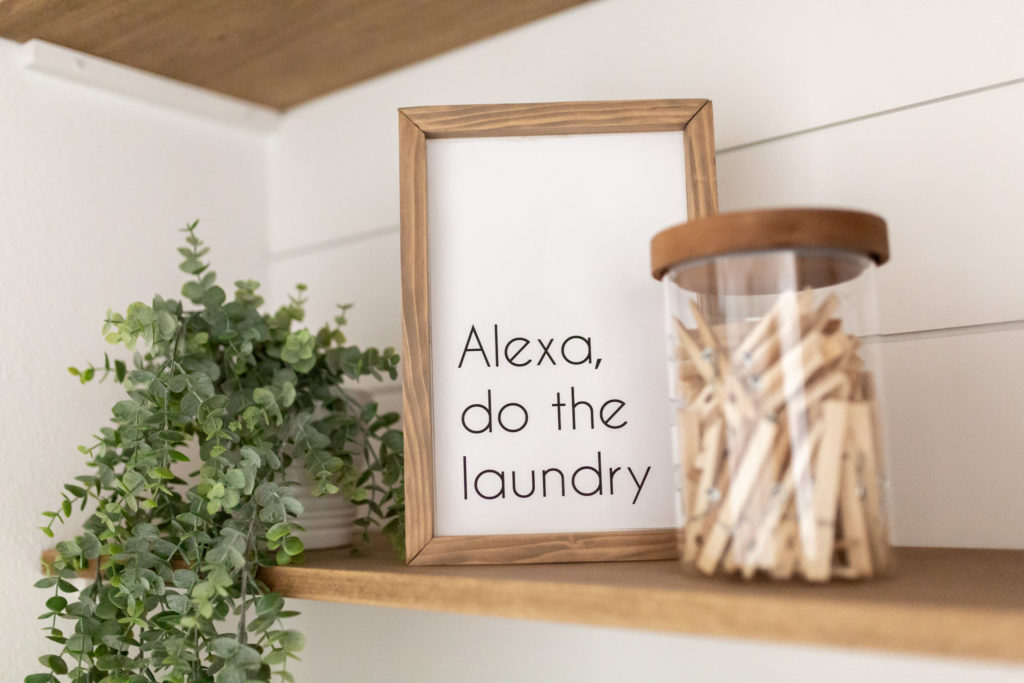
Finally the Alexa sign. In our house Alexa is part of the family, we rely on her for a lot of reminders, only wish she could actually do the laundry! Imagine that! I’ll do a tutorial one of these days on how to make the sign. But it’s a super quick and simple project using 1×2 boards for the frame and Hardboard Tempered Panel Board cut to size for the artwork.
Like all projects in our house, they most often evolve as we use them. And after a few months of using this space, I think it could do with a lost sock caddy. Where do those things go? Maybe a sign with all the different symbols for laundry. I know my husband would find it helpful. And maybe hooks for our ironing board. Beats being in a dusty garage. Maybe even revamp the doors. We shall see, stay tuned.
I have to say this laundry room makeover has made laundry more enjoyable. To have a nice area to work in, even if it’s just a chore, has been a game-changer. I kinda look forward to doing laundry now.
PRODUCTS USED FOR LAUNDRY ROOM MAKEOVER:
- Benjamin Moore – Chantily Lace in Matte finish
- Westpac Materials all-purpose joint compound
- Homax spray texture
- MDF primed shiplap boards
- FloorPops in the color ‘Comet’
- TSP cleaner
- Verathane wood conditioner
- Ikea 365 carafe bottles
- Threshold 13″ Decorative Coiled Rope Square Base Tapered Basket Cream
- Threshold 11″ Decorative Coiled Rope Square Base Tapered Basket Cream
- Project 62 Small Paulownia Wood Bin with Fabric Sides Light Gray 8″x10″
- Threshold medium Glass Storage Canister with Wood Lid