
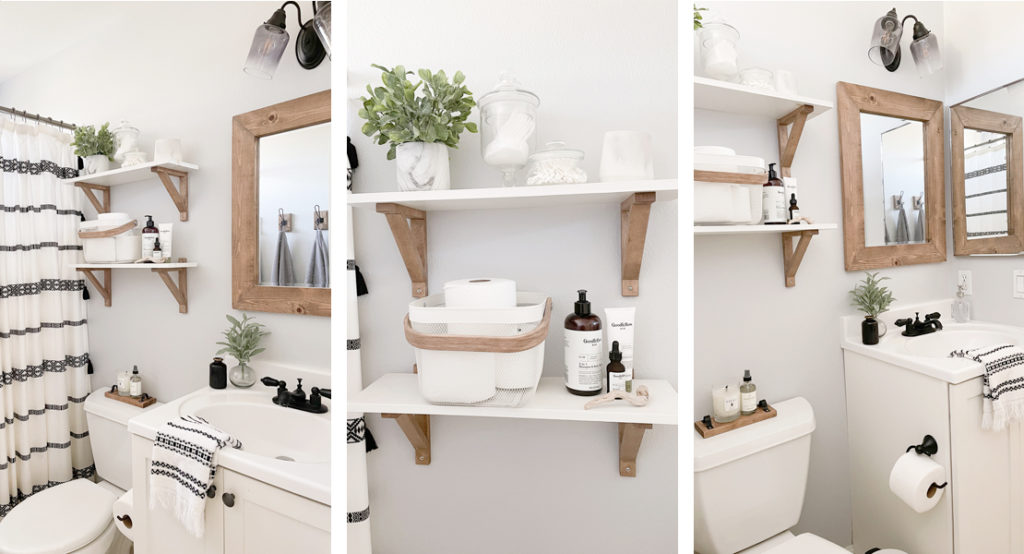
Our guests were arriving in a week, and our guest bathroom needed a makeover. The guest bathroom is also my kids’ bathroom. So I wanted something simple, hardy, functional, and budget-friendly. Did we have enough time? I’m going to walk you thru the small updates we worked on that made a world of difference for a small space.
We plan to update the flooring upstairs and renovate the bathrooms someday. So till then, why not make the bathroom a little better with some budget-friendly quick updates in time for our guests. Below is a list of things we did to accomplish the Bathroom makeover. So stay tuned for all the details and product links below.
- Gave the room a fresh coat of paint.
- Repainted cabinet and updated hardware
- Used white Appliance Epoxy spray to update the countertop and sink
- Spray painted the faucet and light fixture matte black
- Updated the existing mirror with a wood frame
- Installed shelves above toilet
- Made rustic hooks for towels
- Styled the space


.
Lets dive in…
Power of paint
Sometimes I underestimate the power of paint. You can completely transform a space by changing the wall color. I also think the finish of paint has a big role to play as well. A more matte finish will give you a more rich velvety look to the wall, whereas a satin or shine will bounce light and make a rather dark area seem brighter. I chose to go with a light grey for the walls. One of my favorite grey paints is Grey Owl from Benjamin Moore. I lightened it by 25% for the bathroom.
Vanity update
The guest bathroom is small and even though I like the look of the trend of darker cabinets these days, white cabinets are always my go-to in small spaces. I made sure to clean the vanity with TSP solution first to get as much dirt and grease off the doors as possible. Then, I gave it a light sand so the paint would have good adhesion. The paint I used was Chantilly Lace by Benjamin Moore, and used a foam roller to paint the vanity. When I gave my daughter’s dresser a makeover – go check out that project here – I took the original dark brass knobs off the dresser and saved them. I ended up using them with this vanity makeover. So my tendency to hold onto things often comes in handy.
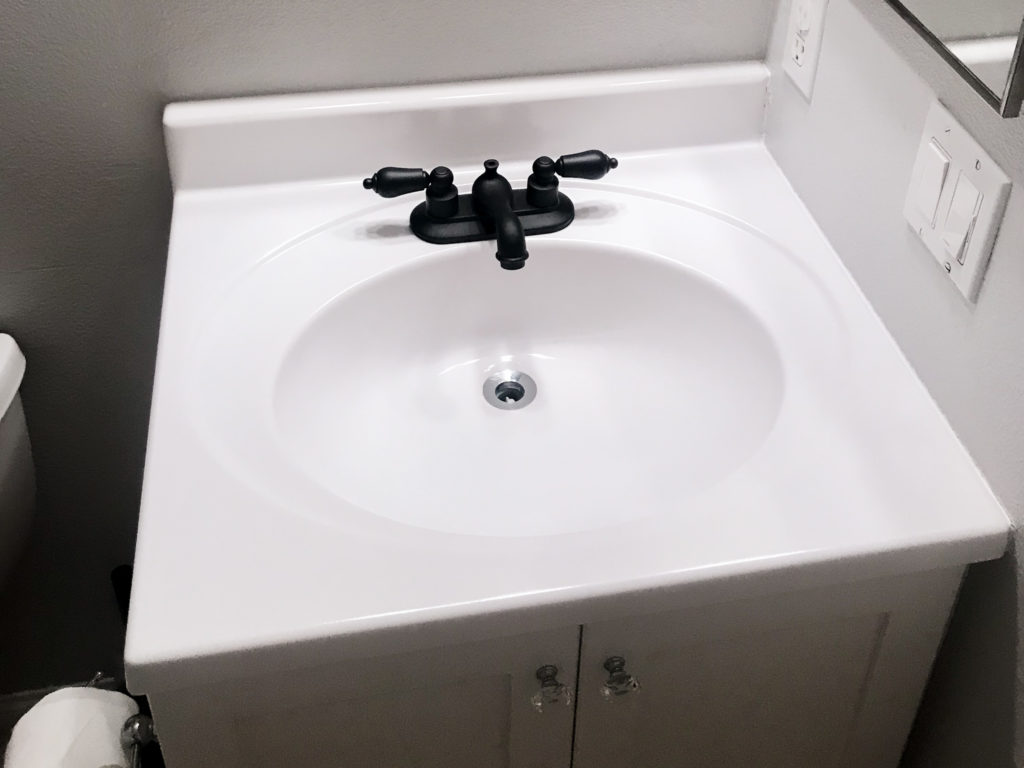
Appliance Epoxy Spray on Vanity countertop and sink
I had seen Allie over on Proverbs Thirty One Girl recoat her bathroom vanity with Appliance Epoxy spray and I thought it would be the perfect solution to update our vanity temporarily. The goal was to eventually replace the entire vanity and sink, but we weren’t at that point yet. By coating it with Epoxy spray it would get rid of the yellow I so passionately despised.
It’s a MUST that you clean the surface real good. Once again, I used TSP solution. It’s a great degreaser. I also sanded the surface with a #230 grit sandpaper for good paint adhesion. I’m going to be straight with you, the epoxy spray is no walk in the park.
CONS – There were a few issues I had with the spray:
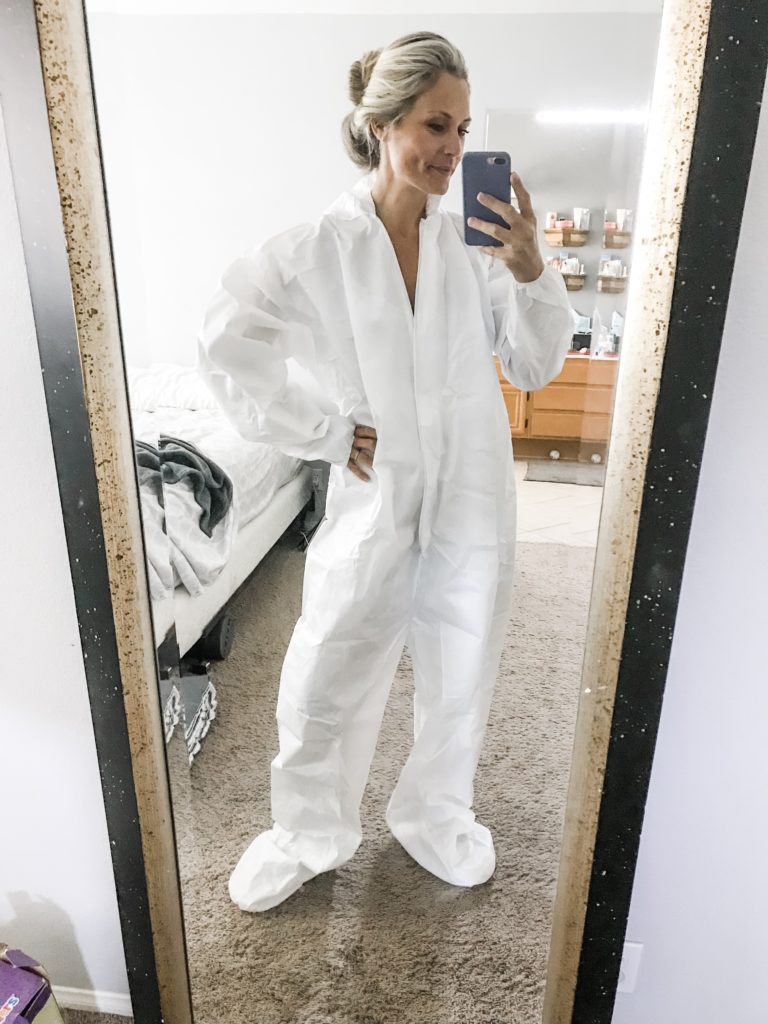
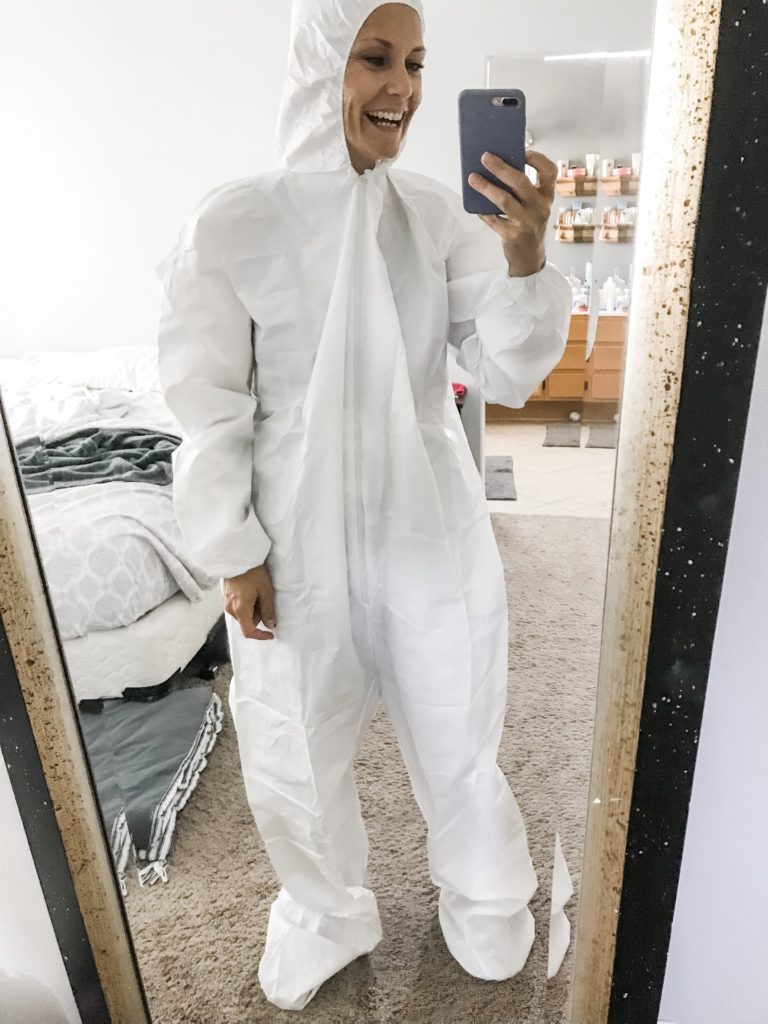
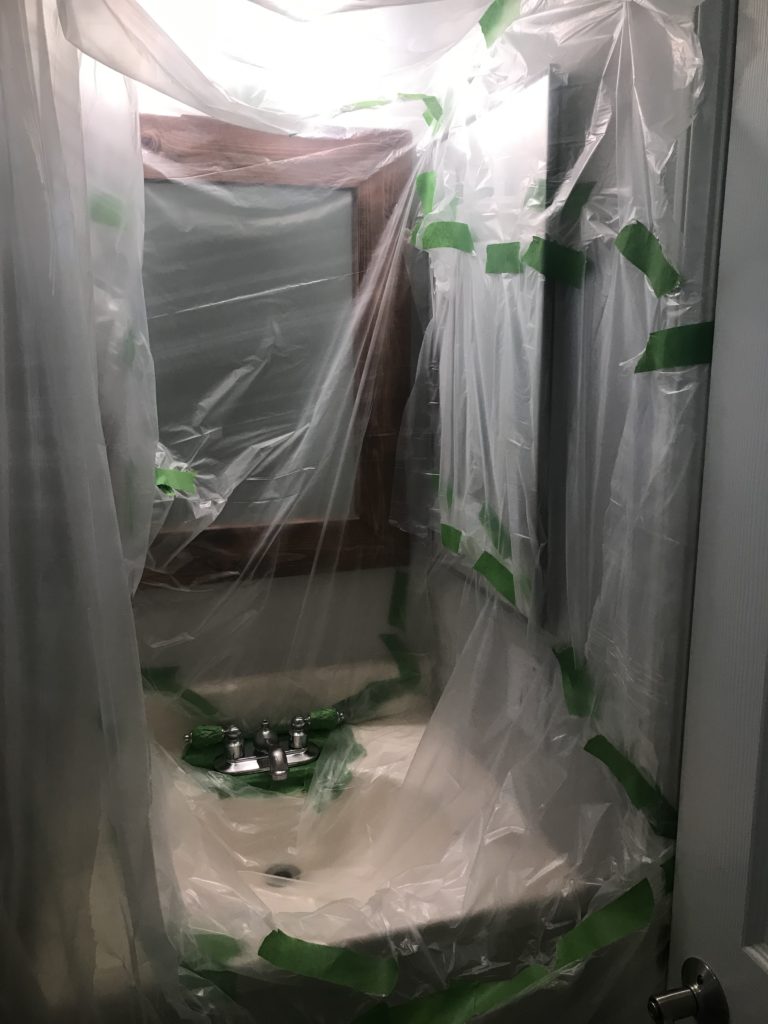
- The overspray that the epoxy spray leaves is so tacky. It goes EVERYWHERE. So make sure you prep the space with lots of tape and plastic – protect your floors, ceilings, doors, everything! Including yourself – wear a paint suit so you can look as silly as me.
- The spray nozzle gets a lil clogged up so the spray isn’t smooth and constant. So I found bigger drops of paint all over the sink. If you keep a wet rag handy and wipe it occasionally, it helps but doesn’t solve the problem entirely. I had to accept those lil drops on the surface. It’s not really noticeable tho.
- The smell is so strong, it’s awful. Make sure to have lots of ventilation and wear a respirator mask.
- Finally, the recoat time was a little intimidating. The can said to recoat within 30 minutes. If you didn’t recoat within 30 minutes, then you’d have to wait a week before doing another coat. I didn’t have that option, I had family coming into town in a week. The vanity needed 2-3 coats. So feeling rushed was an understatement. It’s very important NOT to recoat after 30 minutes. I was lucky enough to learn about Allie’s mishap where the paint started to bubble on her vanity because she recoated after the 30-minute window. When it comes to spray paint, I know in the past I haven’t quite adhered closely to the instructions on the can and it has mostly worked out. What will a couple of minutes do right? In this case, A LOT OF DAMAGE.
Pros – quick results
Putting the cons aside for a second, I liked how I could quickly update an ugly surface within a day. It takes 24 hours to fully cure. I think it’s a great option if you’re looking to update something temporarily. I’d probably try the Appliance Epoxy paint in the tin and a foam roller next time.
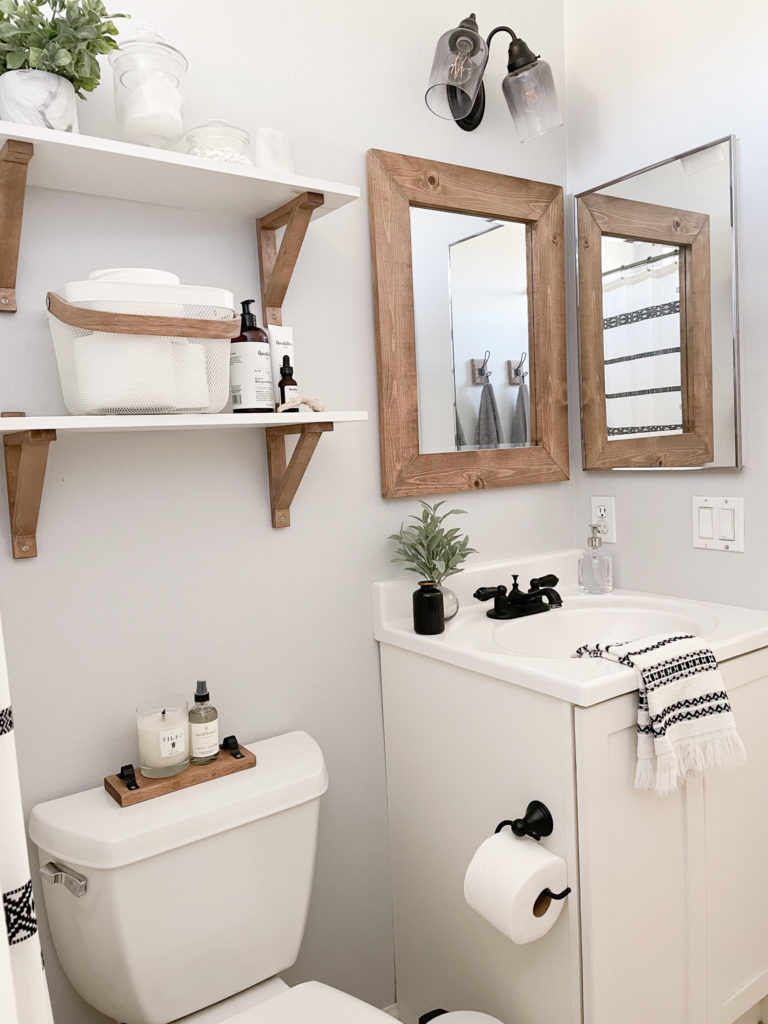
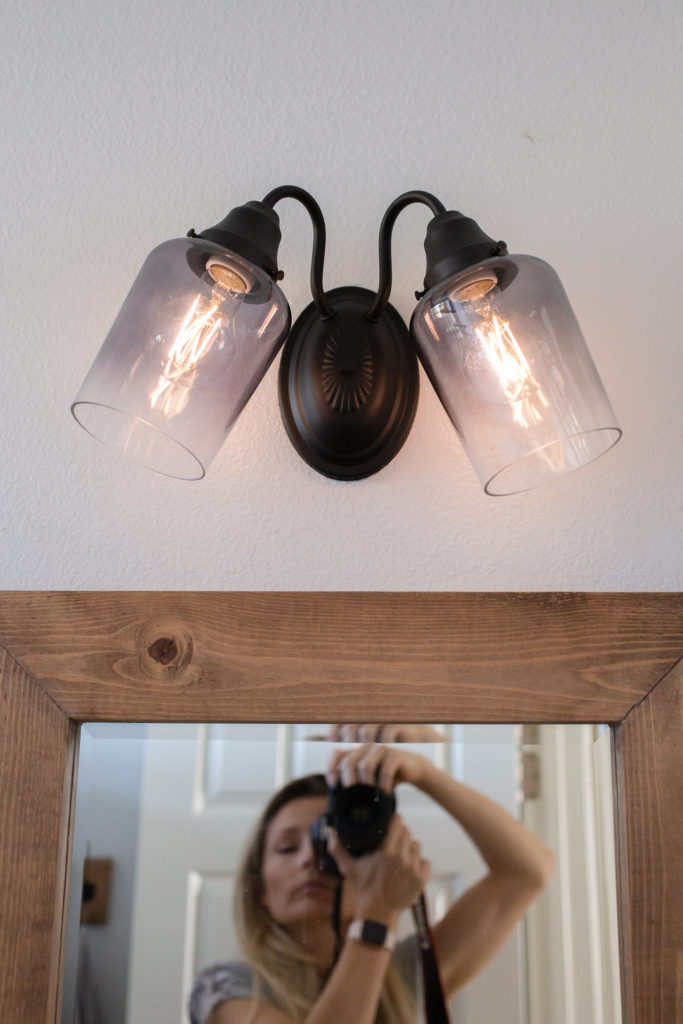
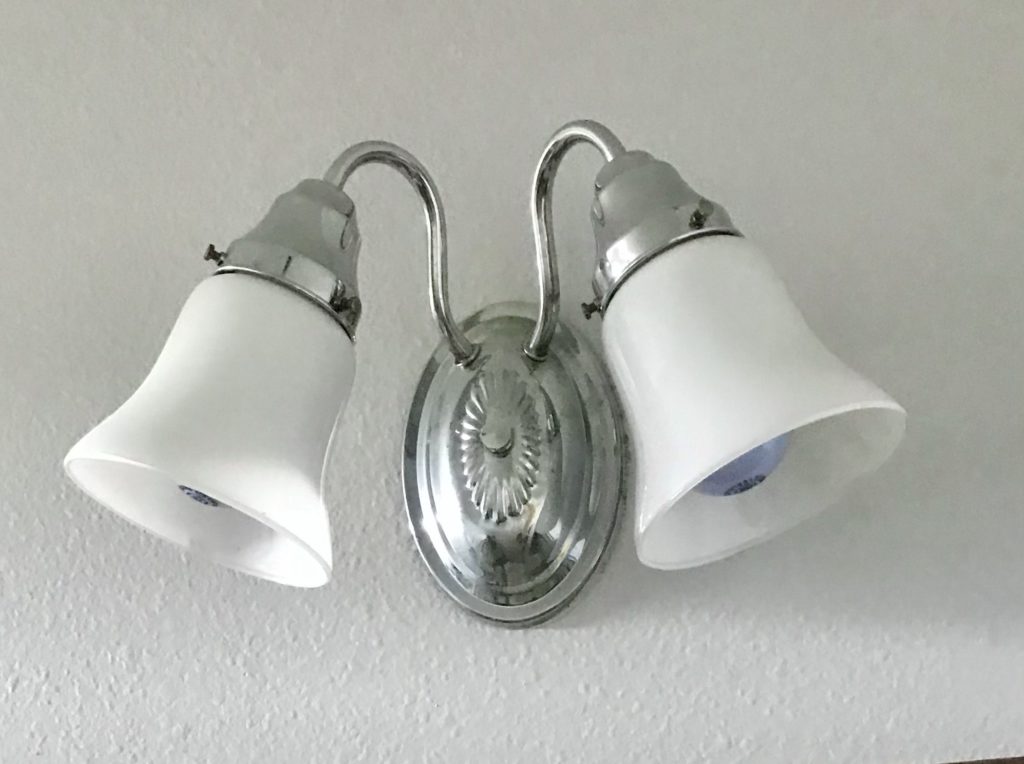
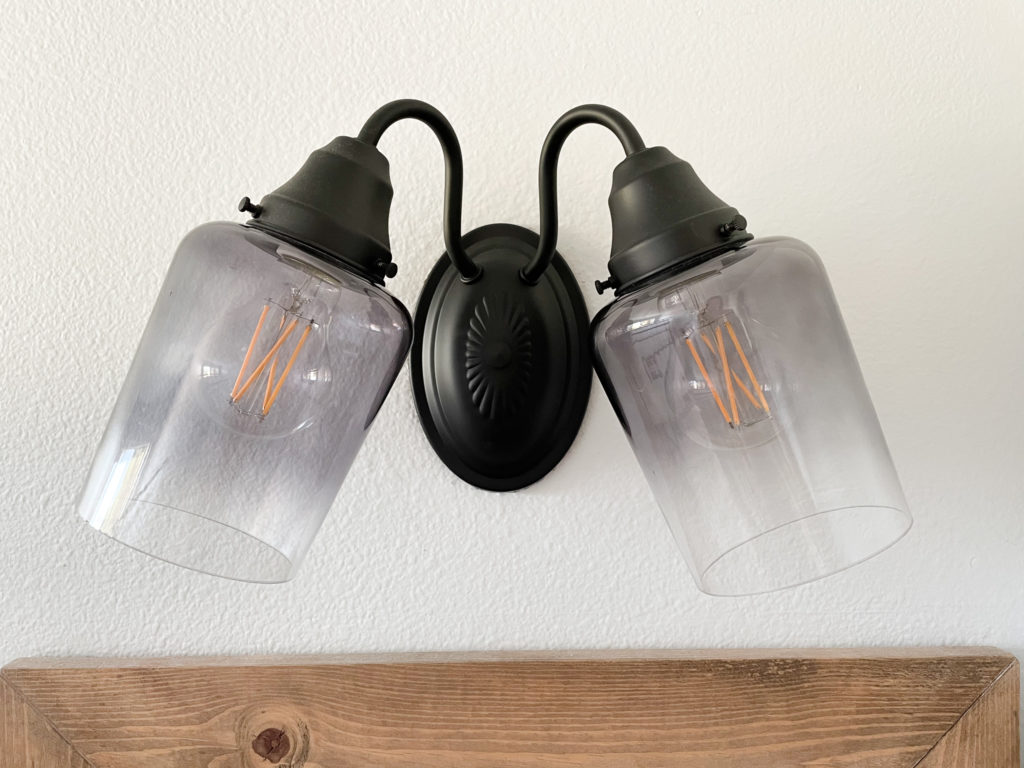
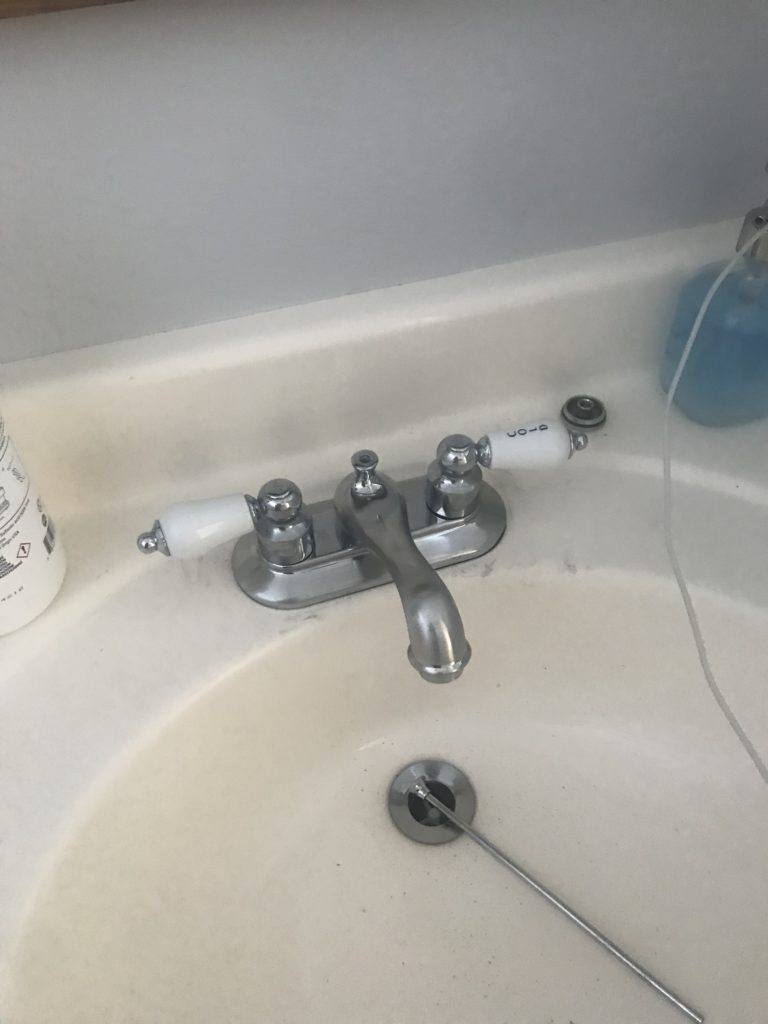
Updating the light fixture and faucet.
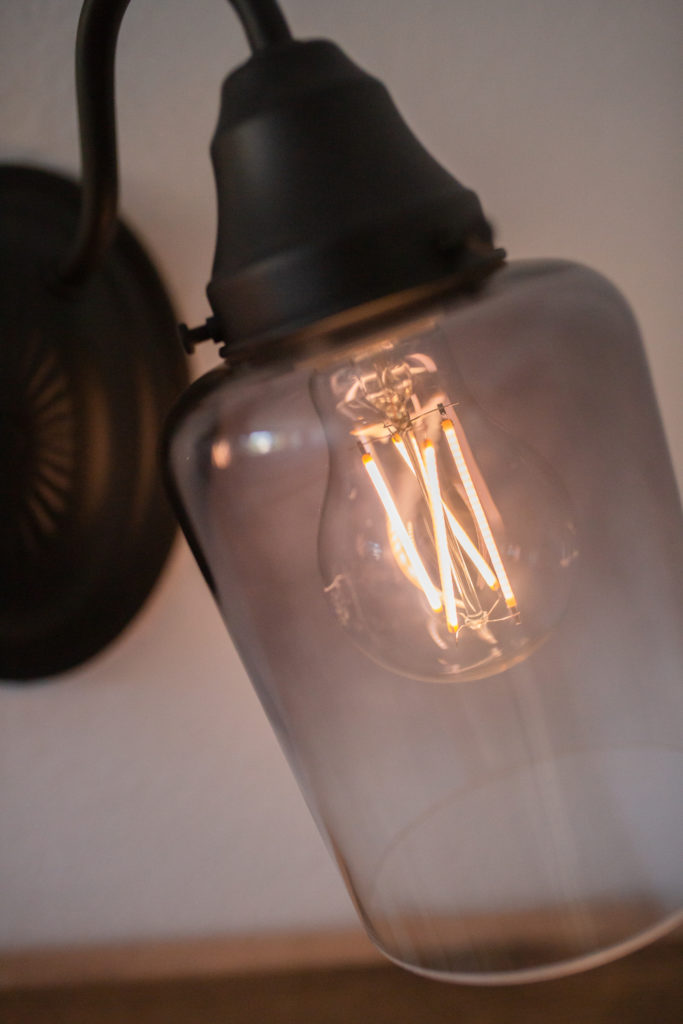
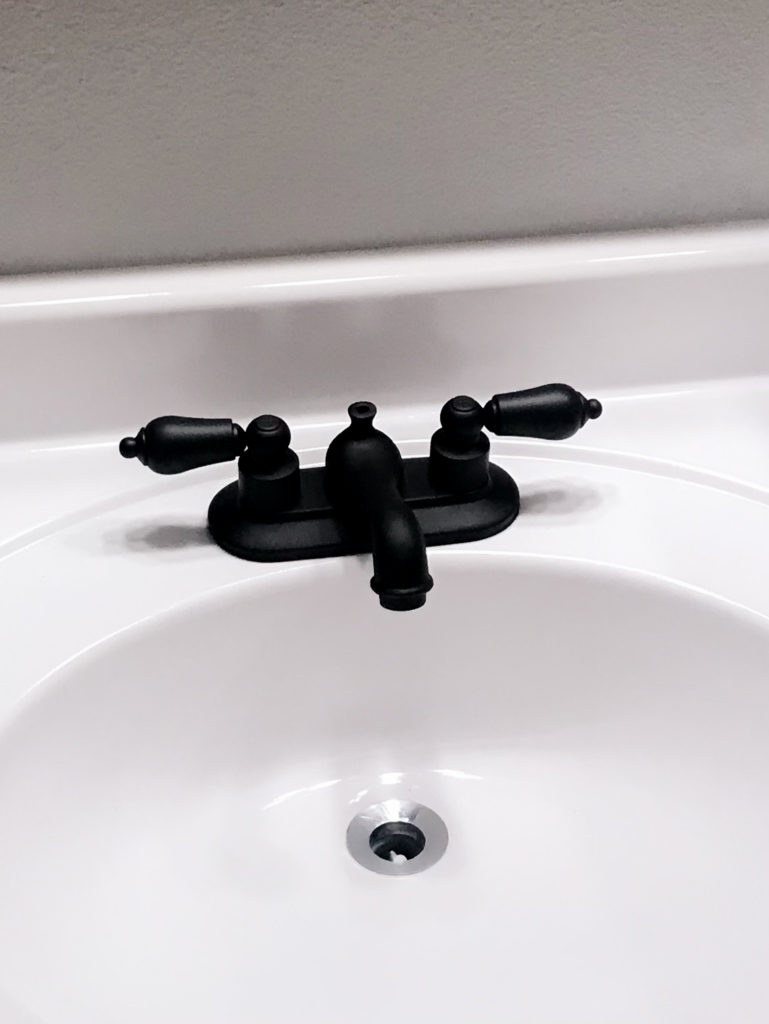
One of my favorite things to use is Rusto-leum Painter’s Touch 2X Flat Black General Purpose Spray Paint to update things. It has the most amazing matte texture and deep black color. Anything looks sleek coated in it. The light fixture was easy. Removed it from the wall, unscrewed the glass bowls, gave the surface a light sand to rough up the surface, and spray painted it. Took about 2-3 light coats and it looked like it was factory sprayed. I bought the new glass for the lights from Lowes, they have quite the selection. So making a choice was hard but I’m happy how these turned out. It’s a whole different light. It looked SO GOOD!
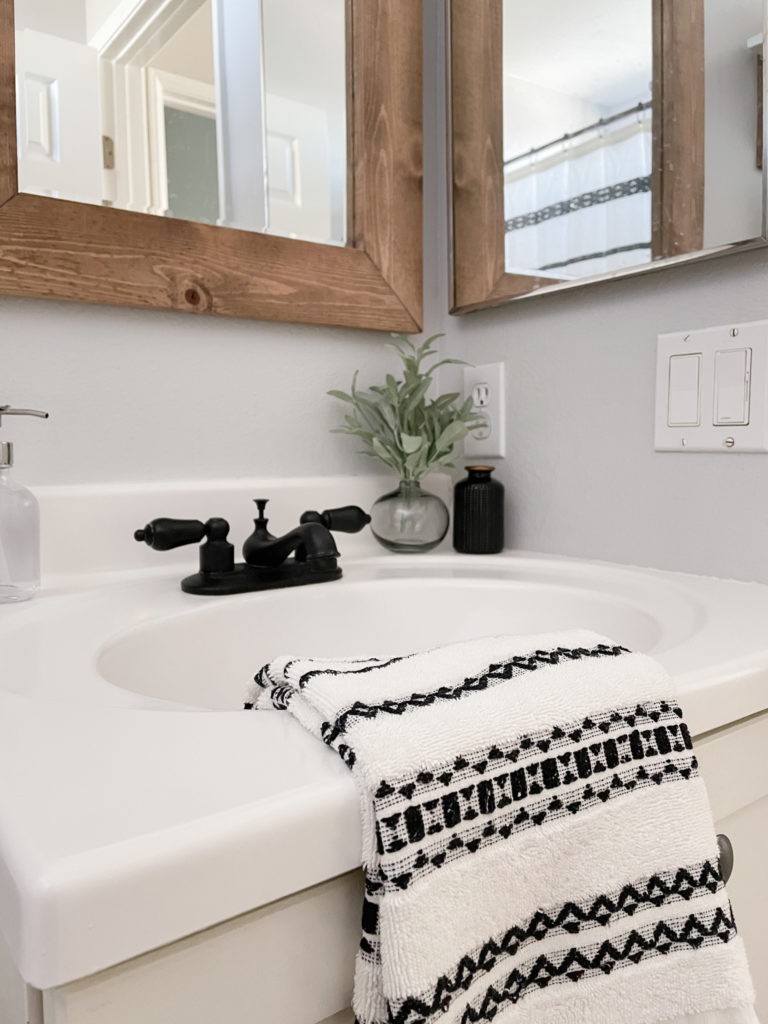
The faucet was a little more tricky. I didn’t want to remove the faucet from the vanity, so I had to tape and cover things around it to spray it in place. It was difficult to spray all angles of the faucet. I would probably remove it from the vanity next time. Luckily the paint still sprays out of the can if it’s upside down. I ended up spraying the toilet paper holder too. It was an easy removal and spray.
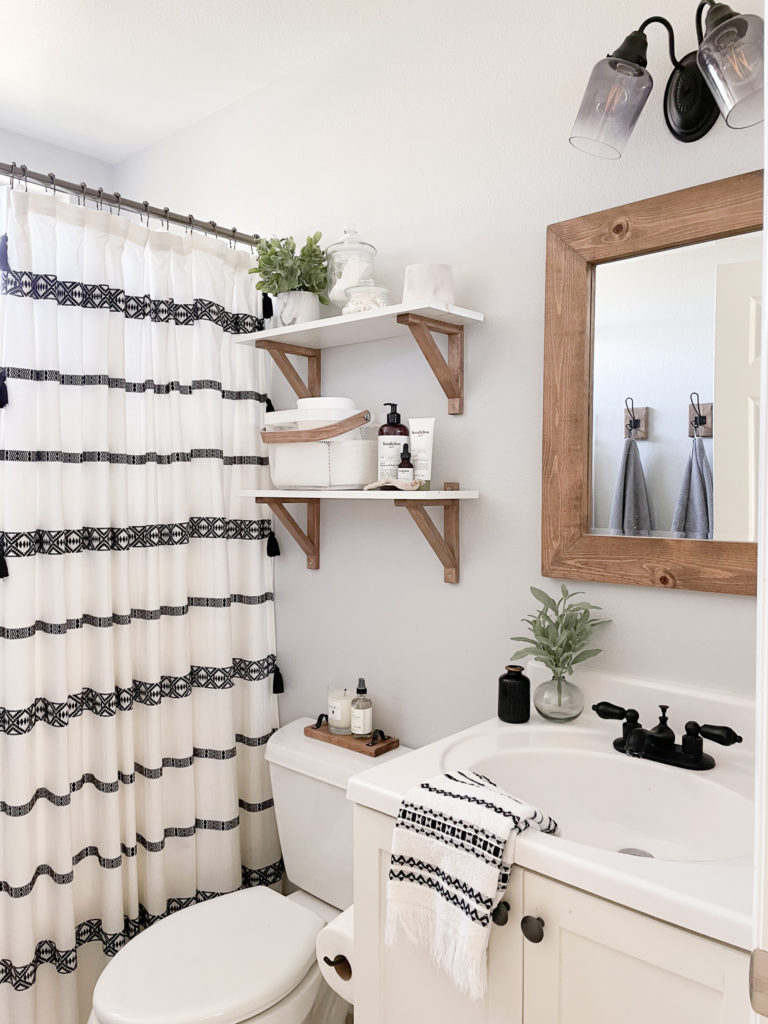
Updating the existing vanity mirror
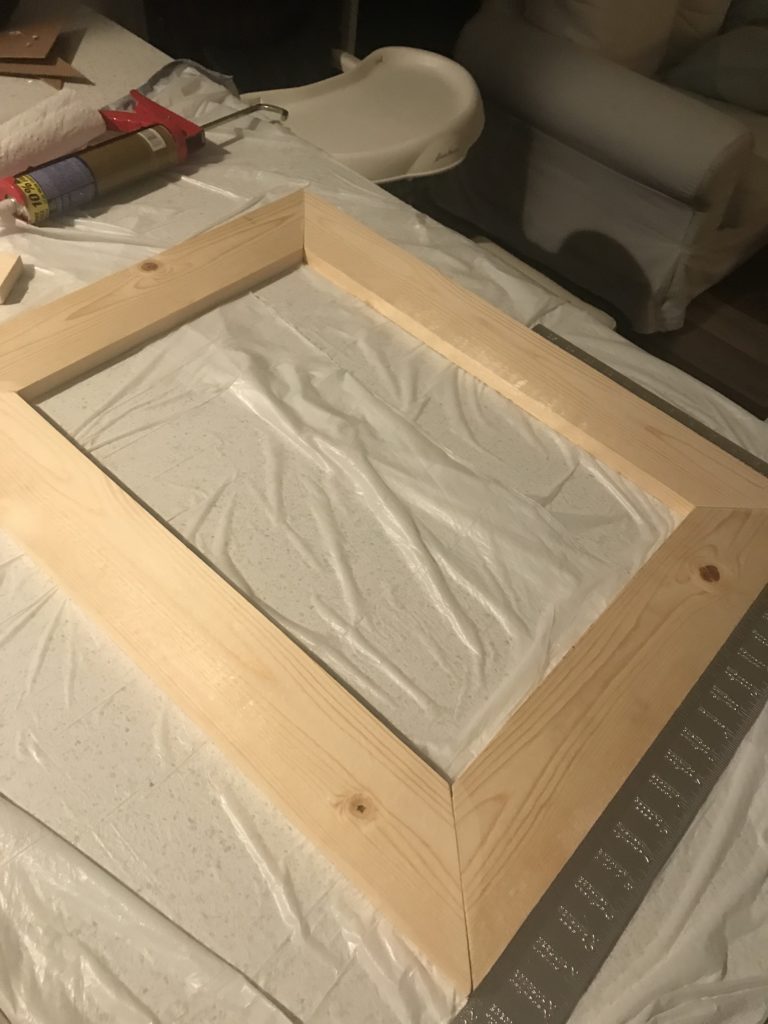
The existing mirror was a good size and shape. The quality was good too. A warped mirror is awful. I planned for a wood element in the bathroom decor. I thought framing the mirror with a rustic wood frame would be a perfect touch. So I hoped on over to Home Depot and got a few feet of 1×4 inch common board. Measured the size I needed to cut for each of the sides and mitered the corners.
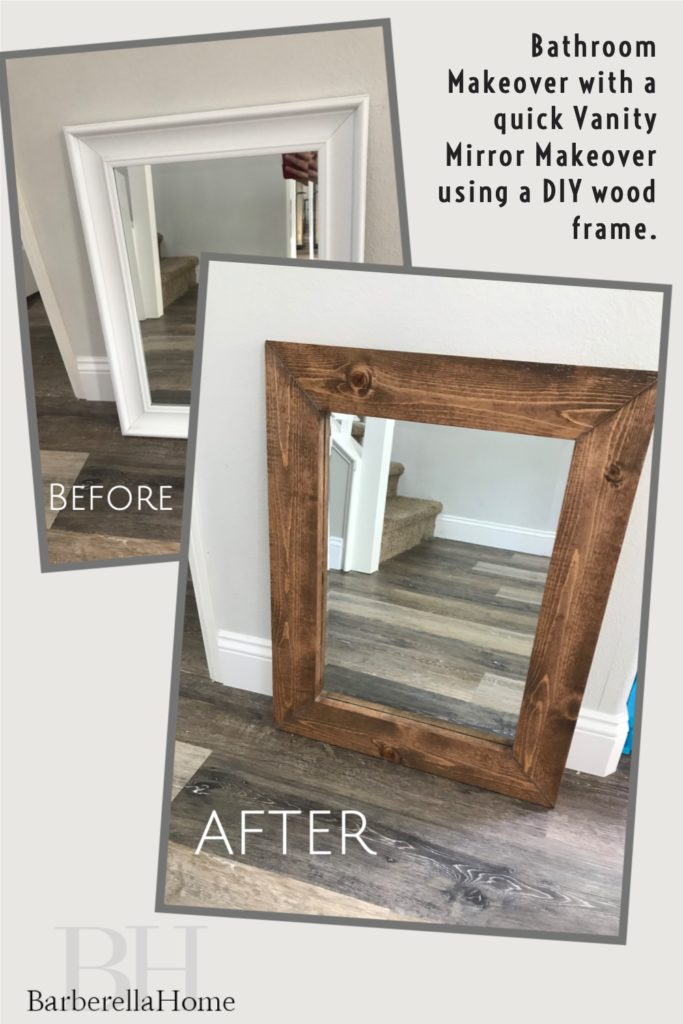
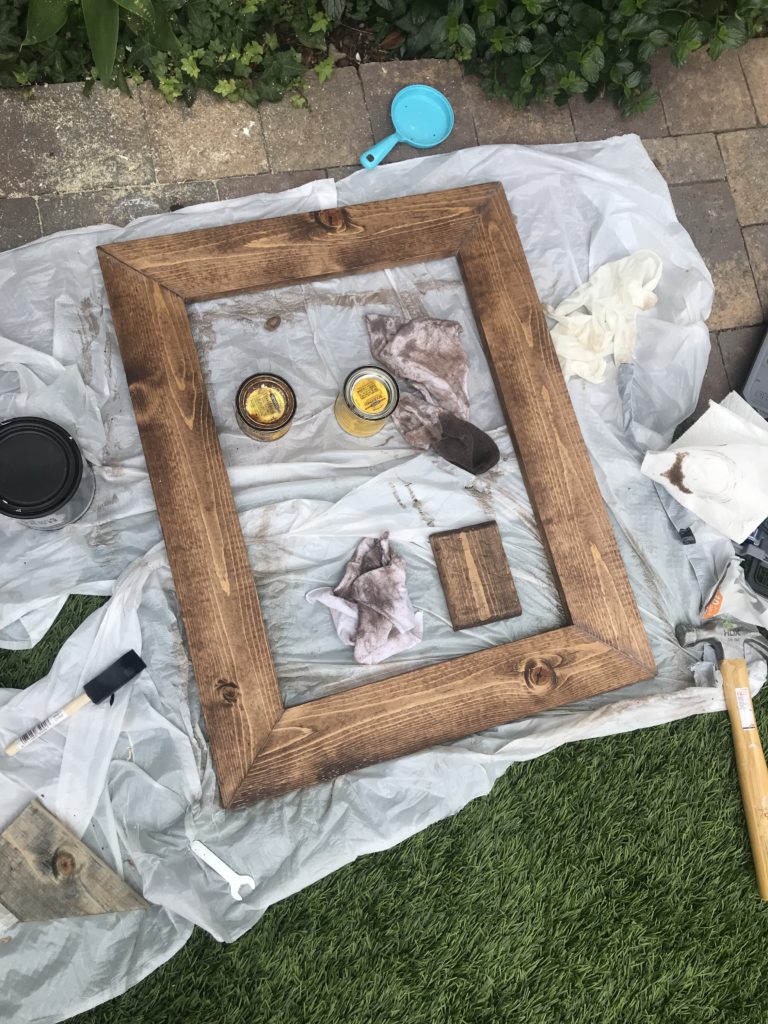
Then I used metal mending plates and wood glue to secure the corners. I used mirror glue and a longer metal mending plate to secure the mirror to the back of the wood frame. Even tho it may look like a Frankenstein job from the back, it did the job perfectly. It was strong and sturdy. Who cared what the back looked like, right? I sanded the frame down first with #120-150 grit and worked my way to a #220 grit paper before staining it. I stained it with Minwax Special Walnut.
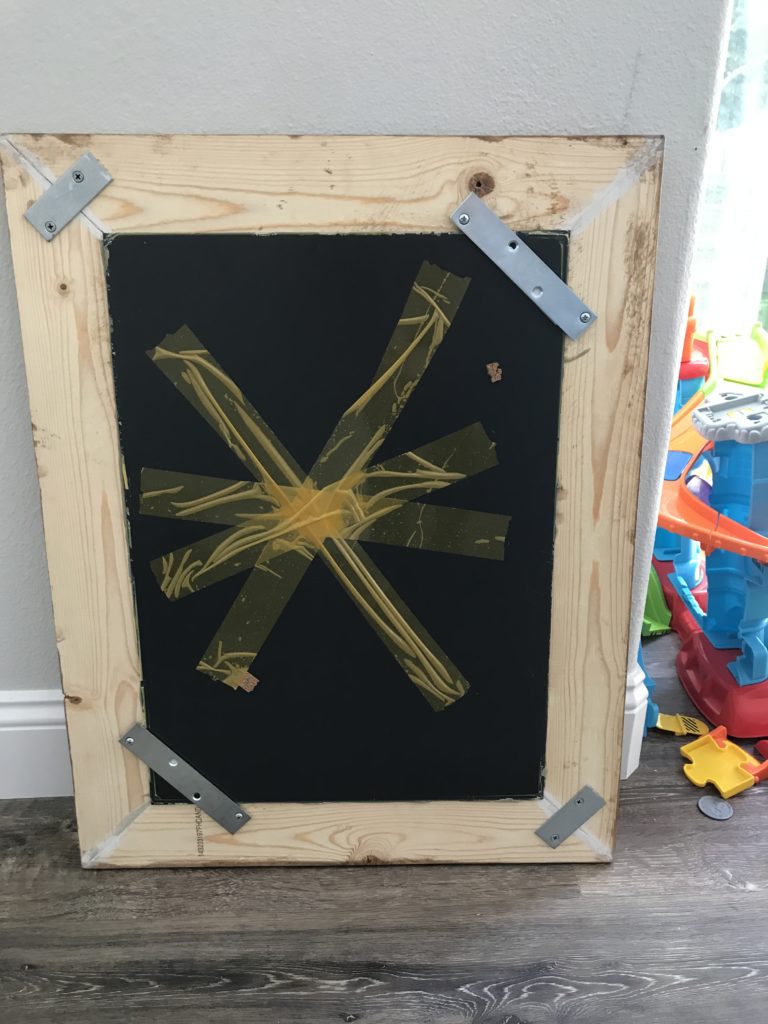
UPDATE: I’d make the frame a little differently these days with the additional tools we’ve acquired. But if you don’t have the tools, this was a super easy and cheap way of updating an existing bathroom mirror.
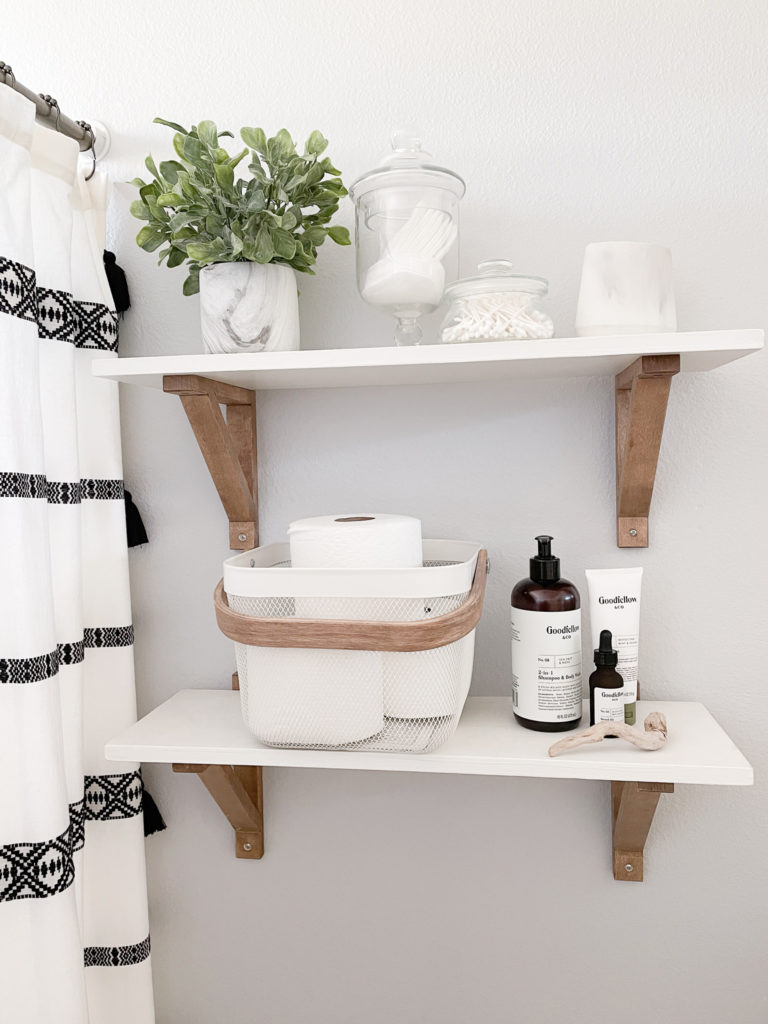
Installed Shelves above toilet.
Hanging Shelves is a super-easy way of bringing some character into a space. They’re functional too by increasing storage space. Ikea used to have these brackets which I loved and used many times; in my pantry; my son’s light fixture I made in his room; mudroom; and in my husband’s home office. One of the reasons why I love these brackets so much is that you can stain them because they were raw pine. Unfortunately, they no longer sell the raw pine ones. They do however sell this similar one made out of solid aspen, but it’s coated in Clear acrylic lacquer. After staining the ones I had, the brackets tied into the wood element and matched the mirror quite seemlessly. For the shelf itself, I bought common board from home depot to the width I wanted. I primed and painted them white to match the Vanity cabinet – Which was Chantilly Lace by BM. And hung them centered above the toilet.
Towel Hooks
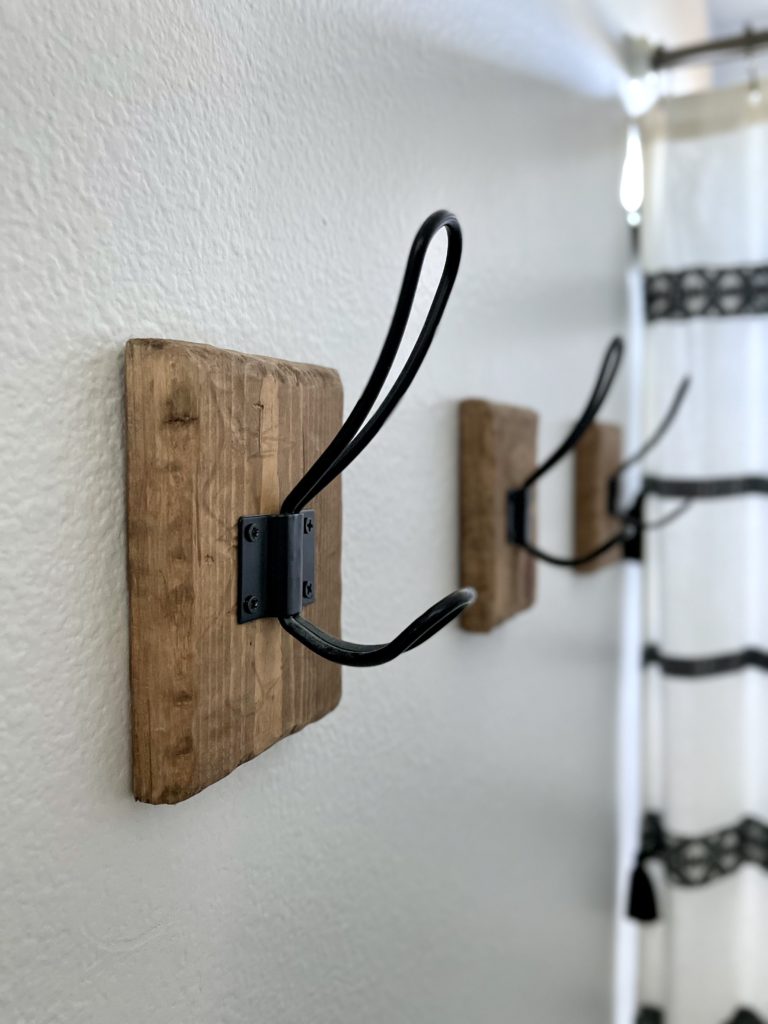
This was a fun little project. I got the idea from Allie again over at Proverbs Thirty One Girl. She made these hooks for her 5th wheel she was renovating so I decided to give it a try. I also ended up making a little tray from scrap wood and leather I had lying around. It looks good as a tray and it gives a flat surface to place candles or room spray on. I’ll be giving an easy quick tutorial on this soon, so stay tuned.
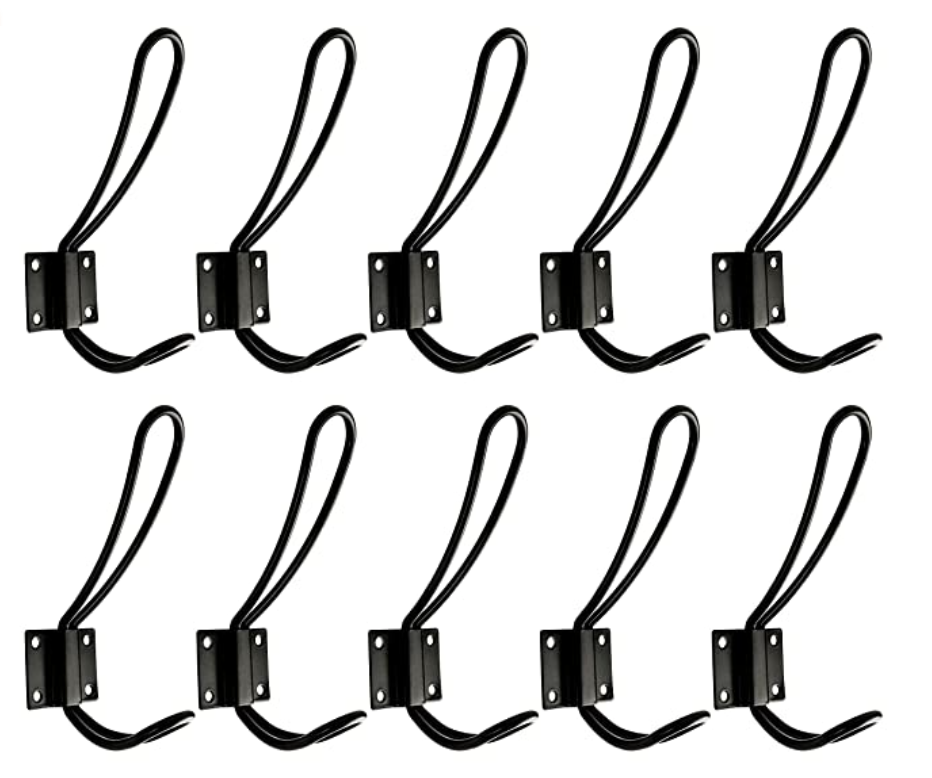
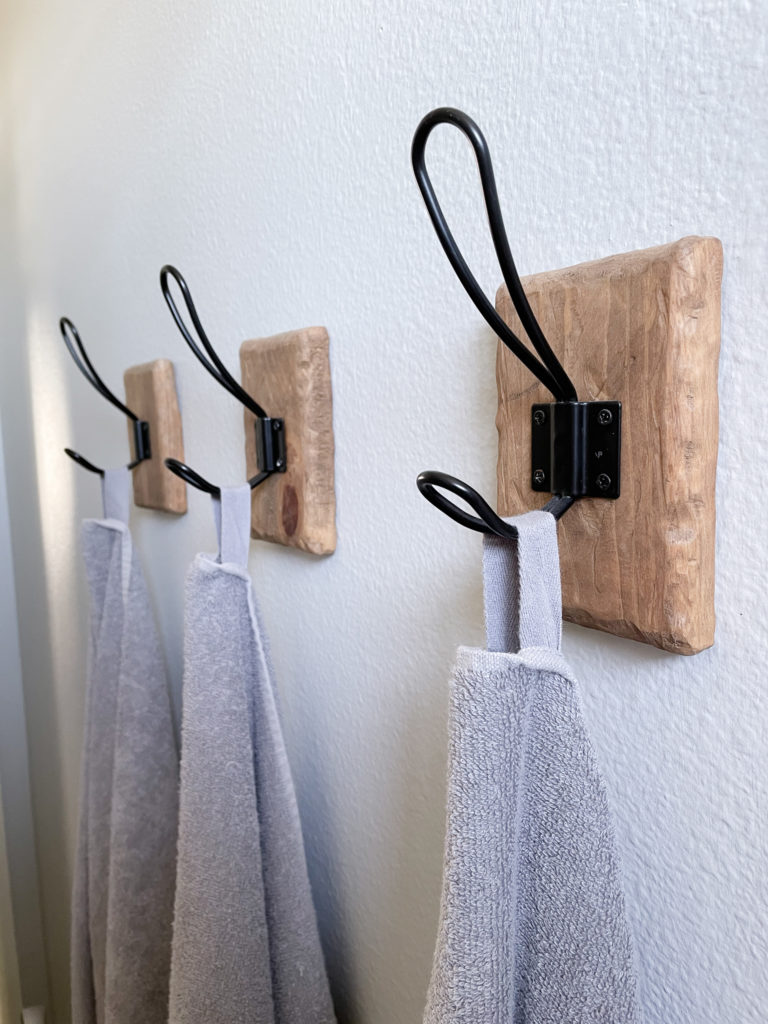
I purchased these rustic hooks from amazon. It was an amazing deal for $12 for a pack of 10. I used scrap pieces of wood that I had leftover from the mirror frame, banged them up to make them look rustic and old, stained them, and attached the hook to it. I loved how they turned out, don’t you?
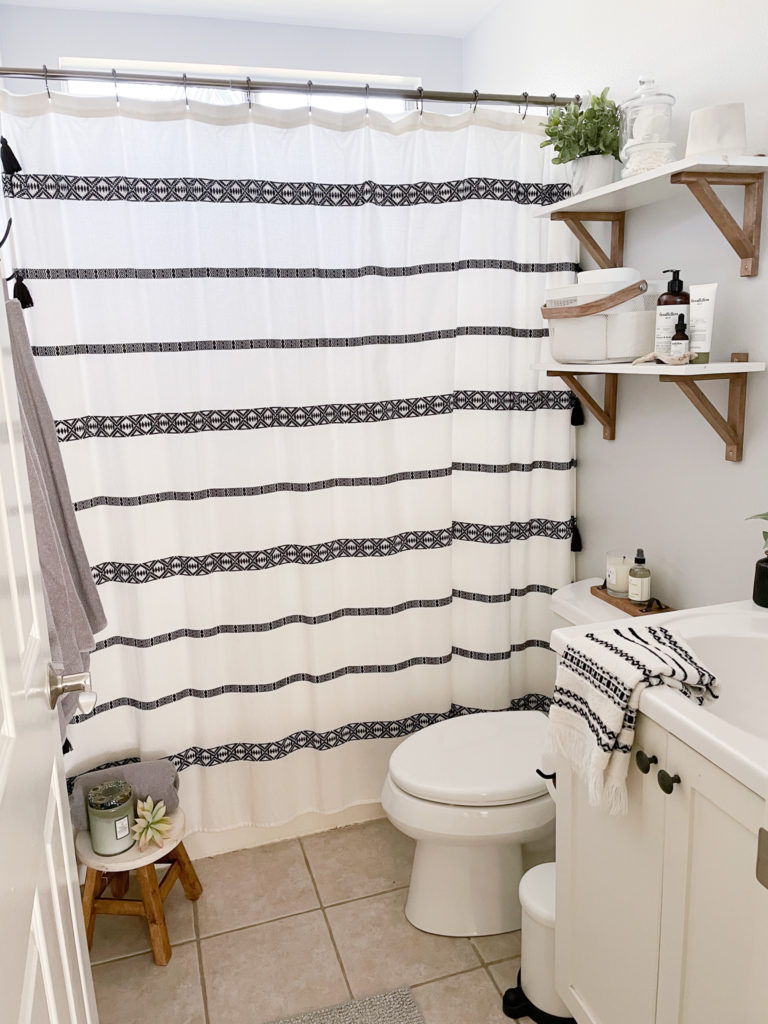
Now for the fun part… Styling
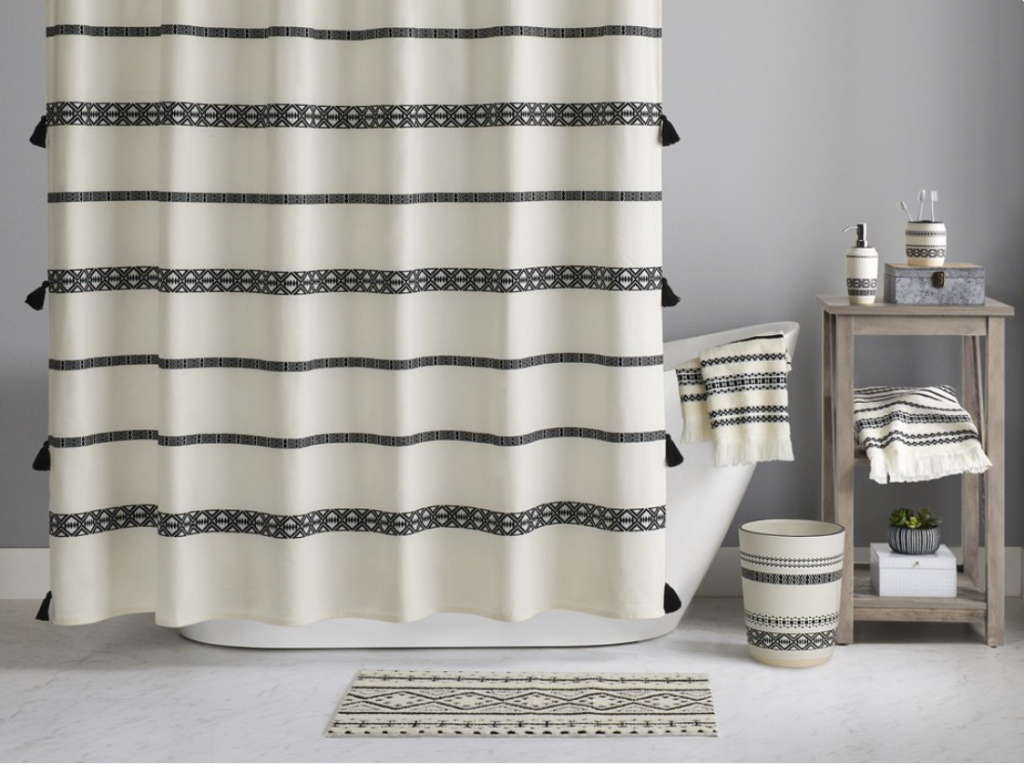
Firstly we needed a new shower curtain and I thought this one from Walmart was a modern & fun pattern. The black pattern also tied in with the black faucet and light fixture. Don’t you love the tassels? To continue the black and white pattern, I decided to go with this towel.
I found these grey towels from Ikea. They were a few shades darker than the wall and tied in nicely. They have a handy loop to hang them up and dry super fast too.


Items used in the makeover:
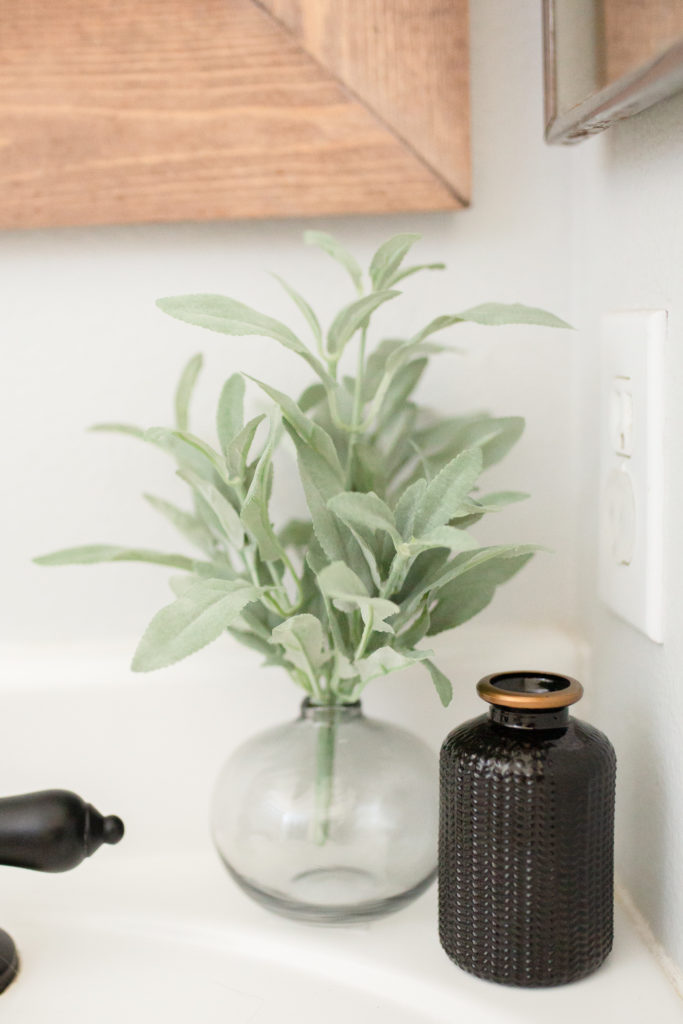
- Marble Pot plant from TJ Maxx
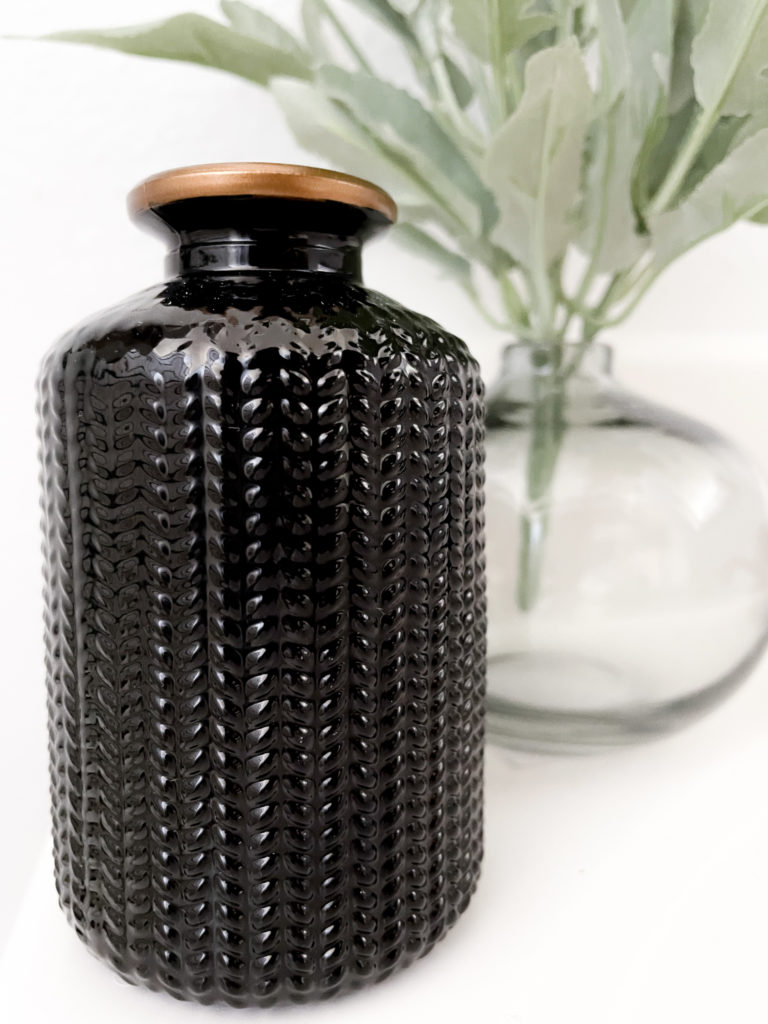
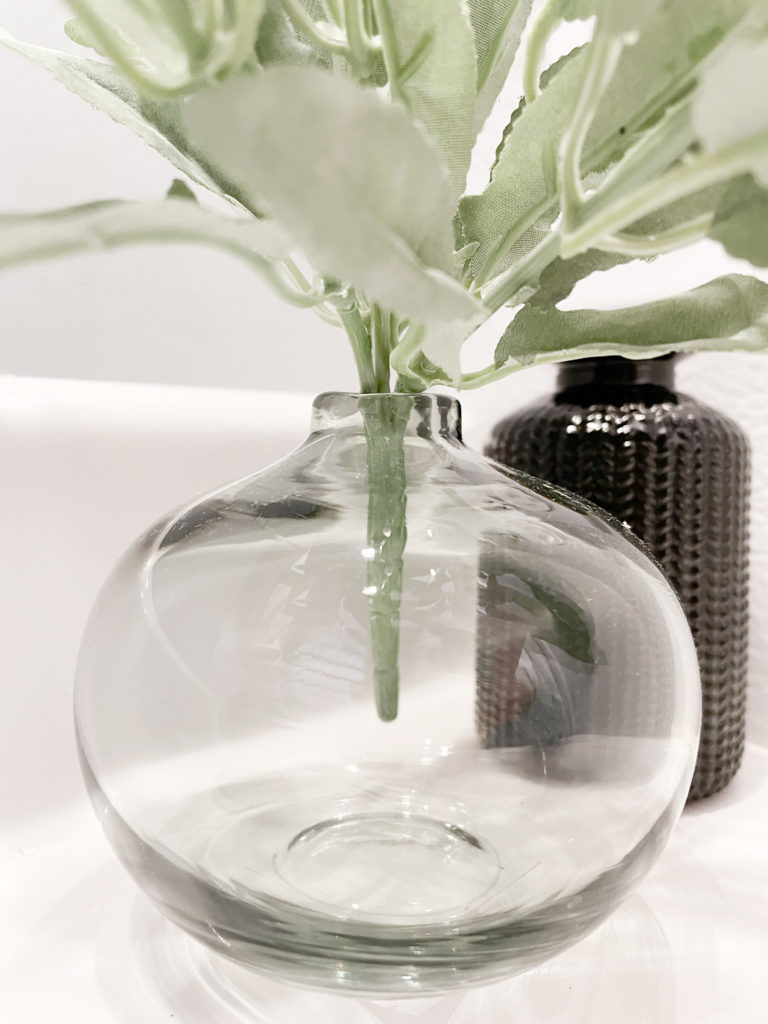
- Grey and Black Glassware & Apothecary jars from hobby lobby. But you can get similar ones from Home Goods too
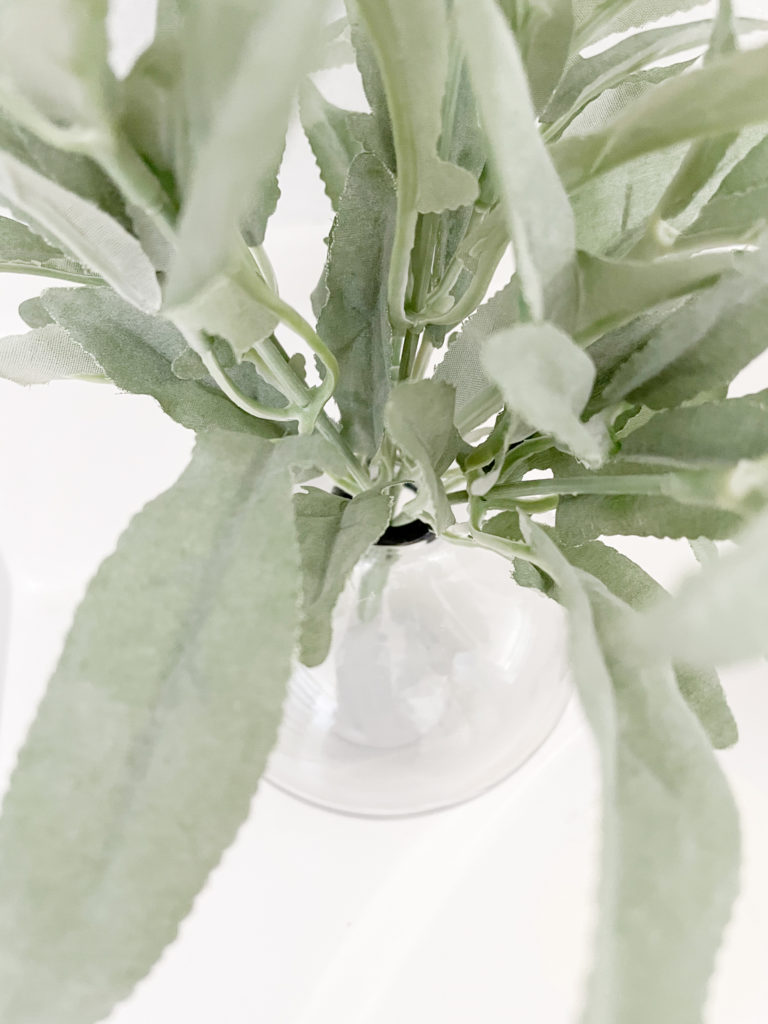
- Faux stems Hobby Lobby – They have so many to choose from.
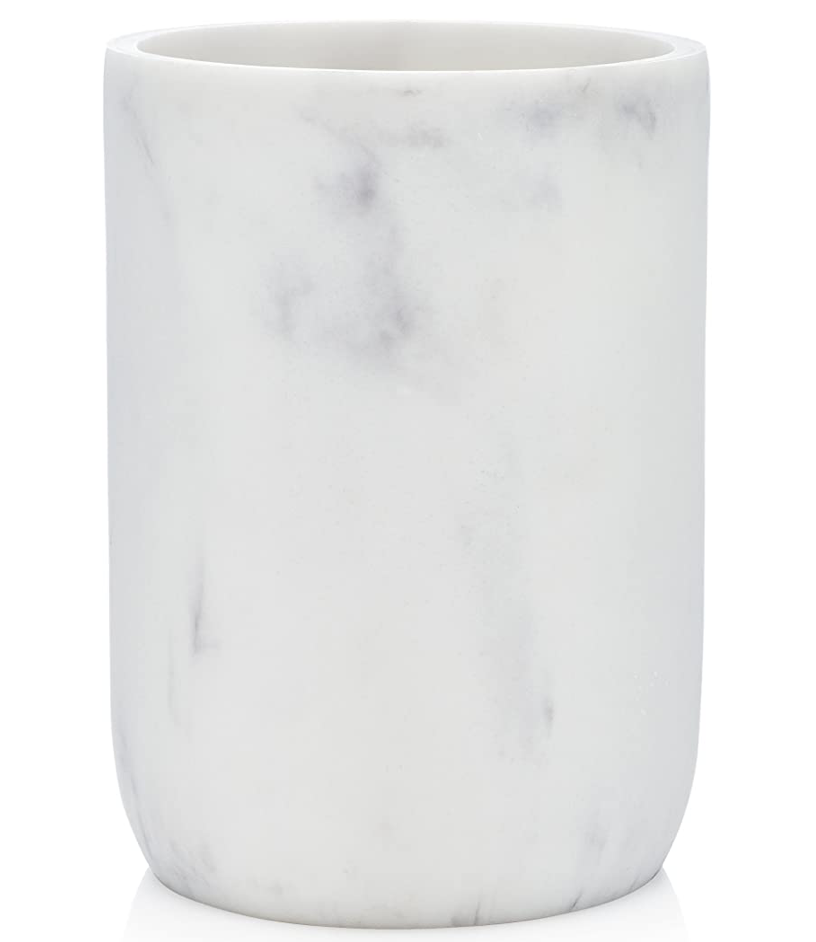
- Marble toothbrush holder from home goods. But I found a similar one from Amazon here.
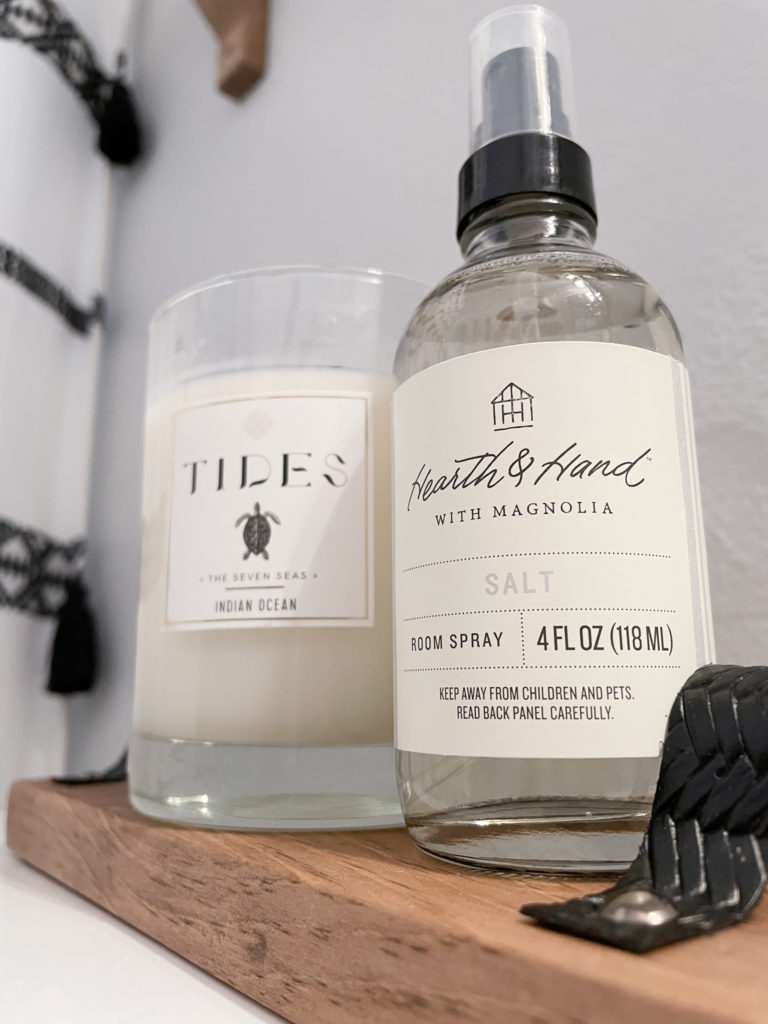
- TIDES Indian Ocean candle – this candle makes its way around my house. It’s my absolute all-time favorite. The fragrance is amazing. It’s a holiday in a candle.
- Hearth & Hand with Magnolia room spray in SALT scent.
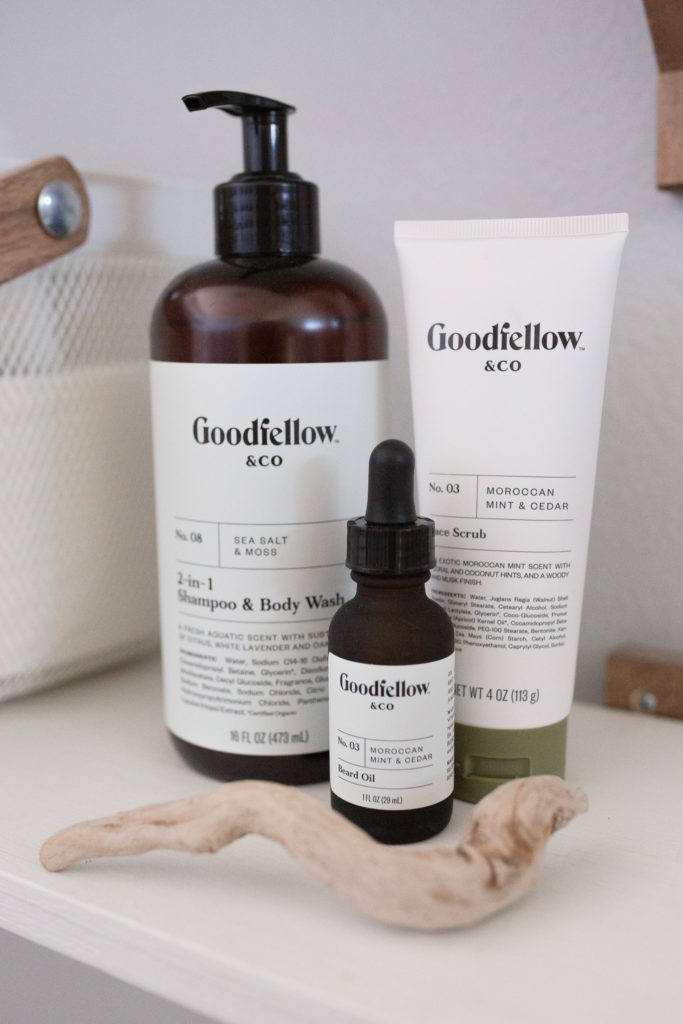
- Goodfellow facial products; Shampoo & Body wash, Facial scrub, Beard oil – My husband’s favorite. They smell so good and the packaging is pretty!!
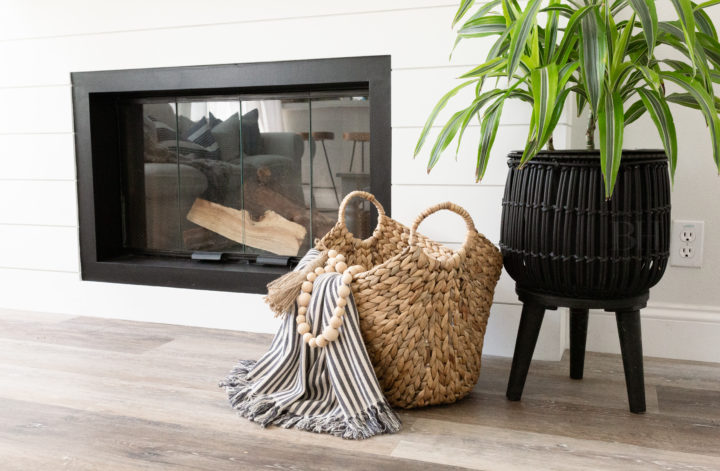
- Basket from Ikea – which I love because you can stain the handle.
- Little stool from Hobby lobby
- Shower curtain and Hand towel from Walmart
- Grey bath towel from Ikea
- Hooks from amazon
- Appliance Epoxy Spray
- Rusto-leum Painter’s Touch 2X Flat Black General Purpose Spray Paint
- New glass for the light fixture – here
- Brackets from Ikea
- Big metal plates from home depot
- Small metal plates from home depot
- Grey Paint – Grey Owl Benjamin Moore
- White Paint – Chantilly Lace Benjamin Moore
We did it! The guest bathroom makeover was a success just in time for our guests’ arrival. We love how it turned out, don’t you?
2 Comments
How did the fauct hold up after time?
Hi Sera, the faucet has held up better than I thought it would. It’s been 3 years since I sprayed it, and it’s only chipped a little in the past 6 months or so. If I had to do it again, I would have used a primer first and then sprayed it black. This bathroom refresh was something I did before family flew in to visit, and I hoped to renovate the entire bathroom at some point – truthfully I thought I’d get to it sooner than 3 years later :P. It’s definitely a temporary fix to hold you over to something more permanent.