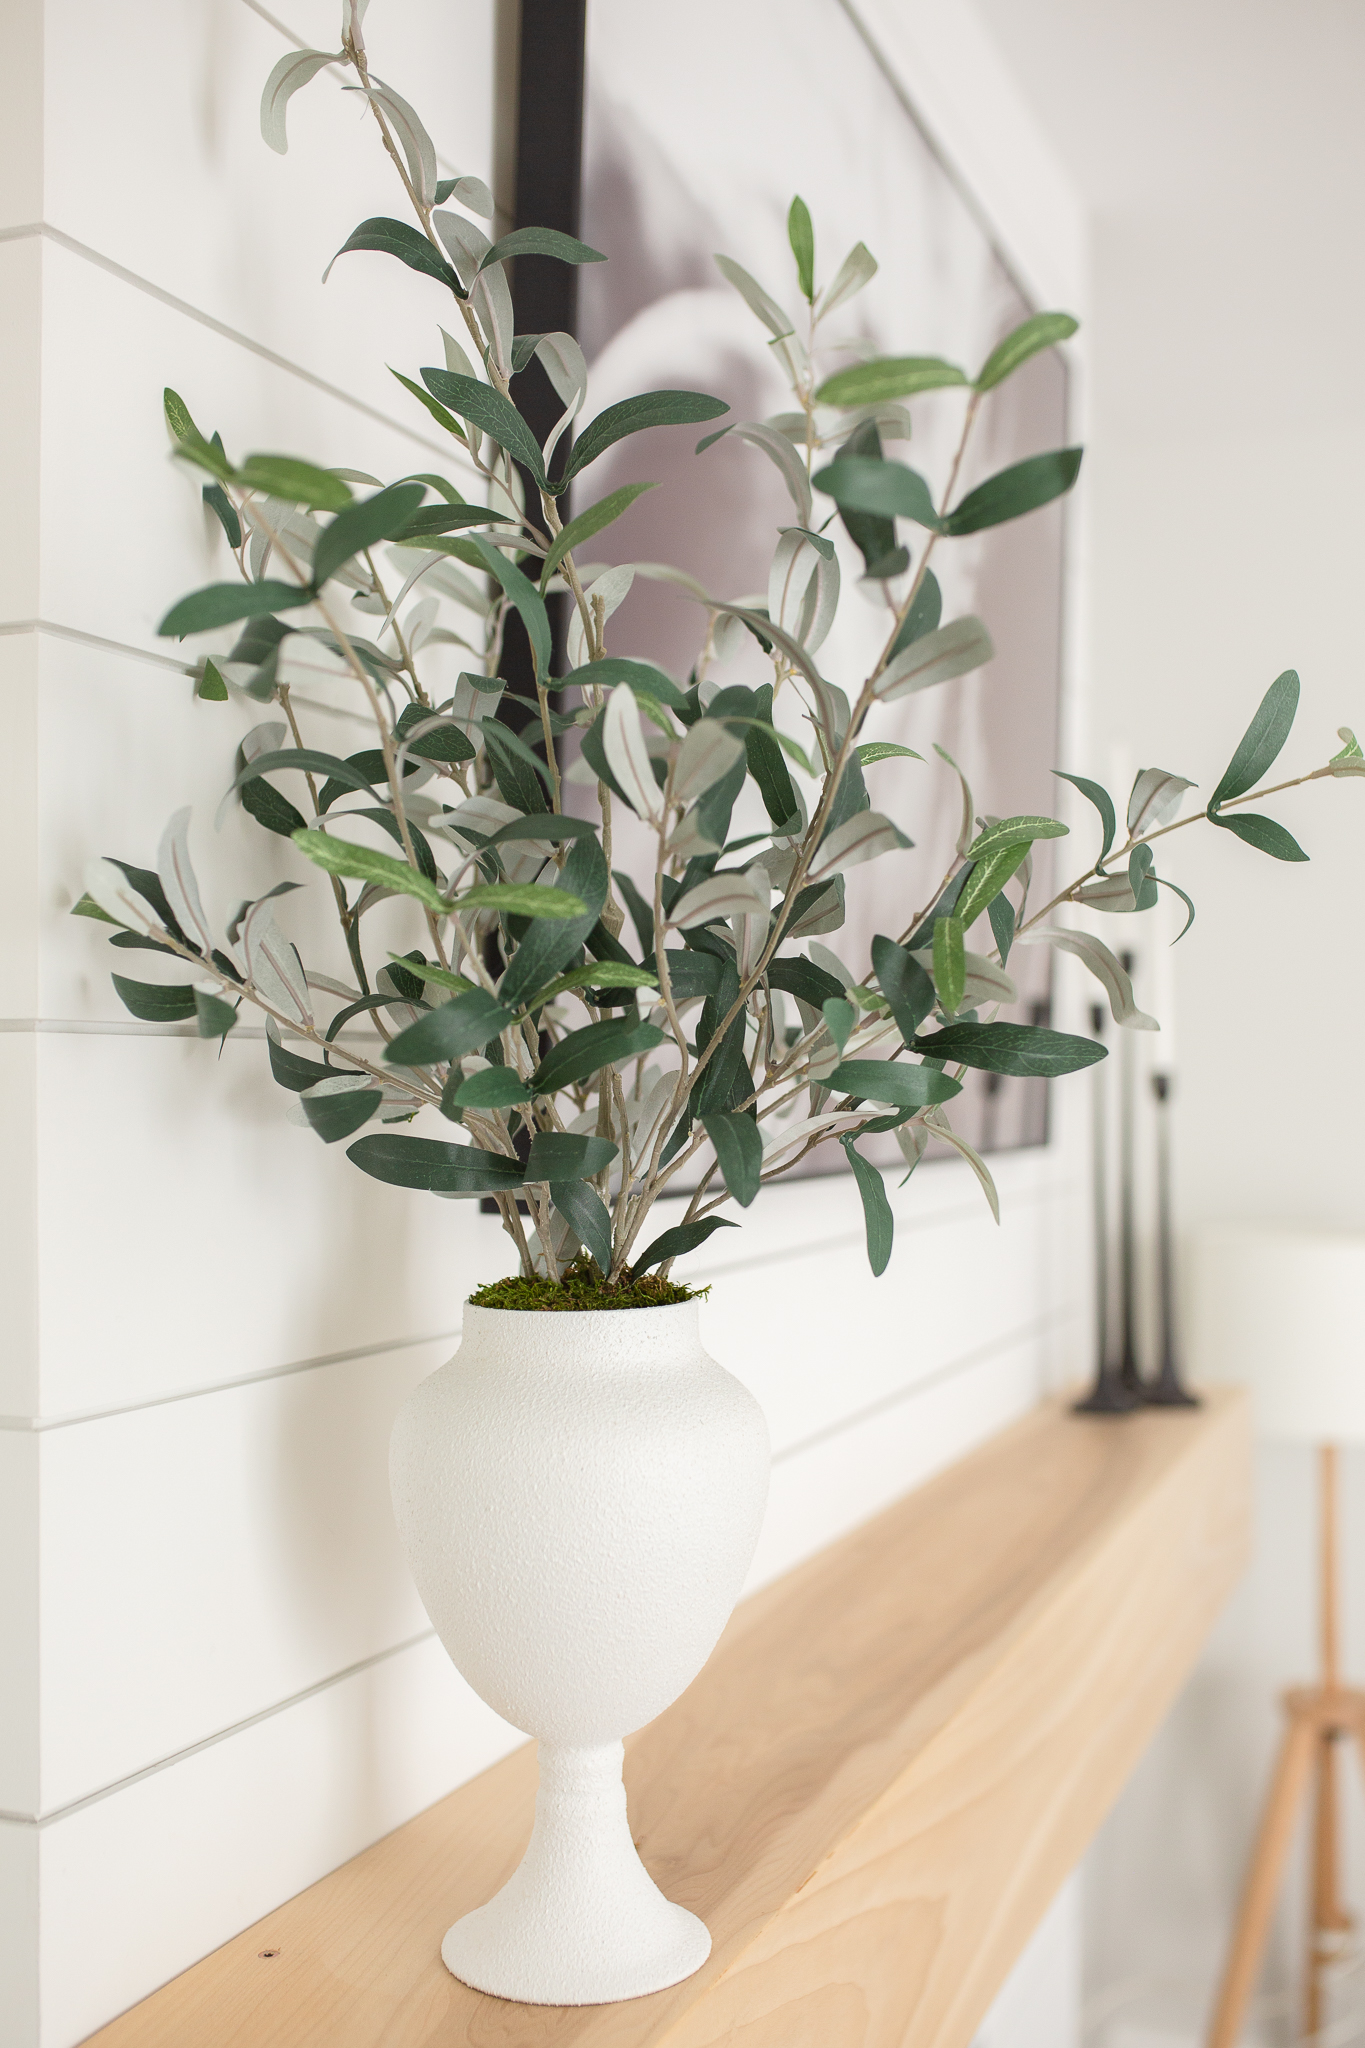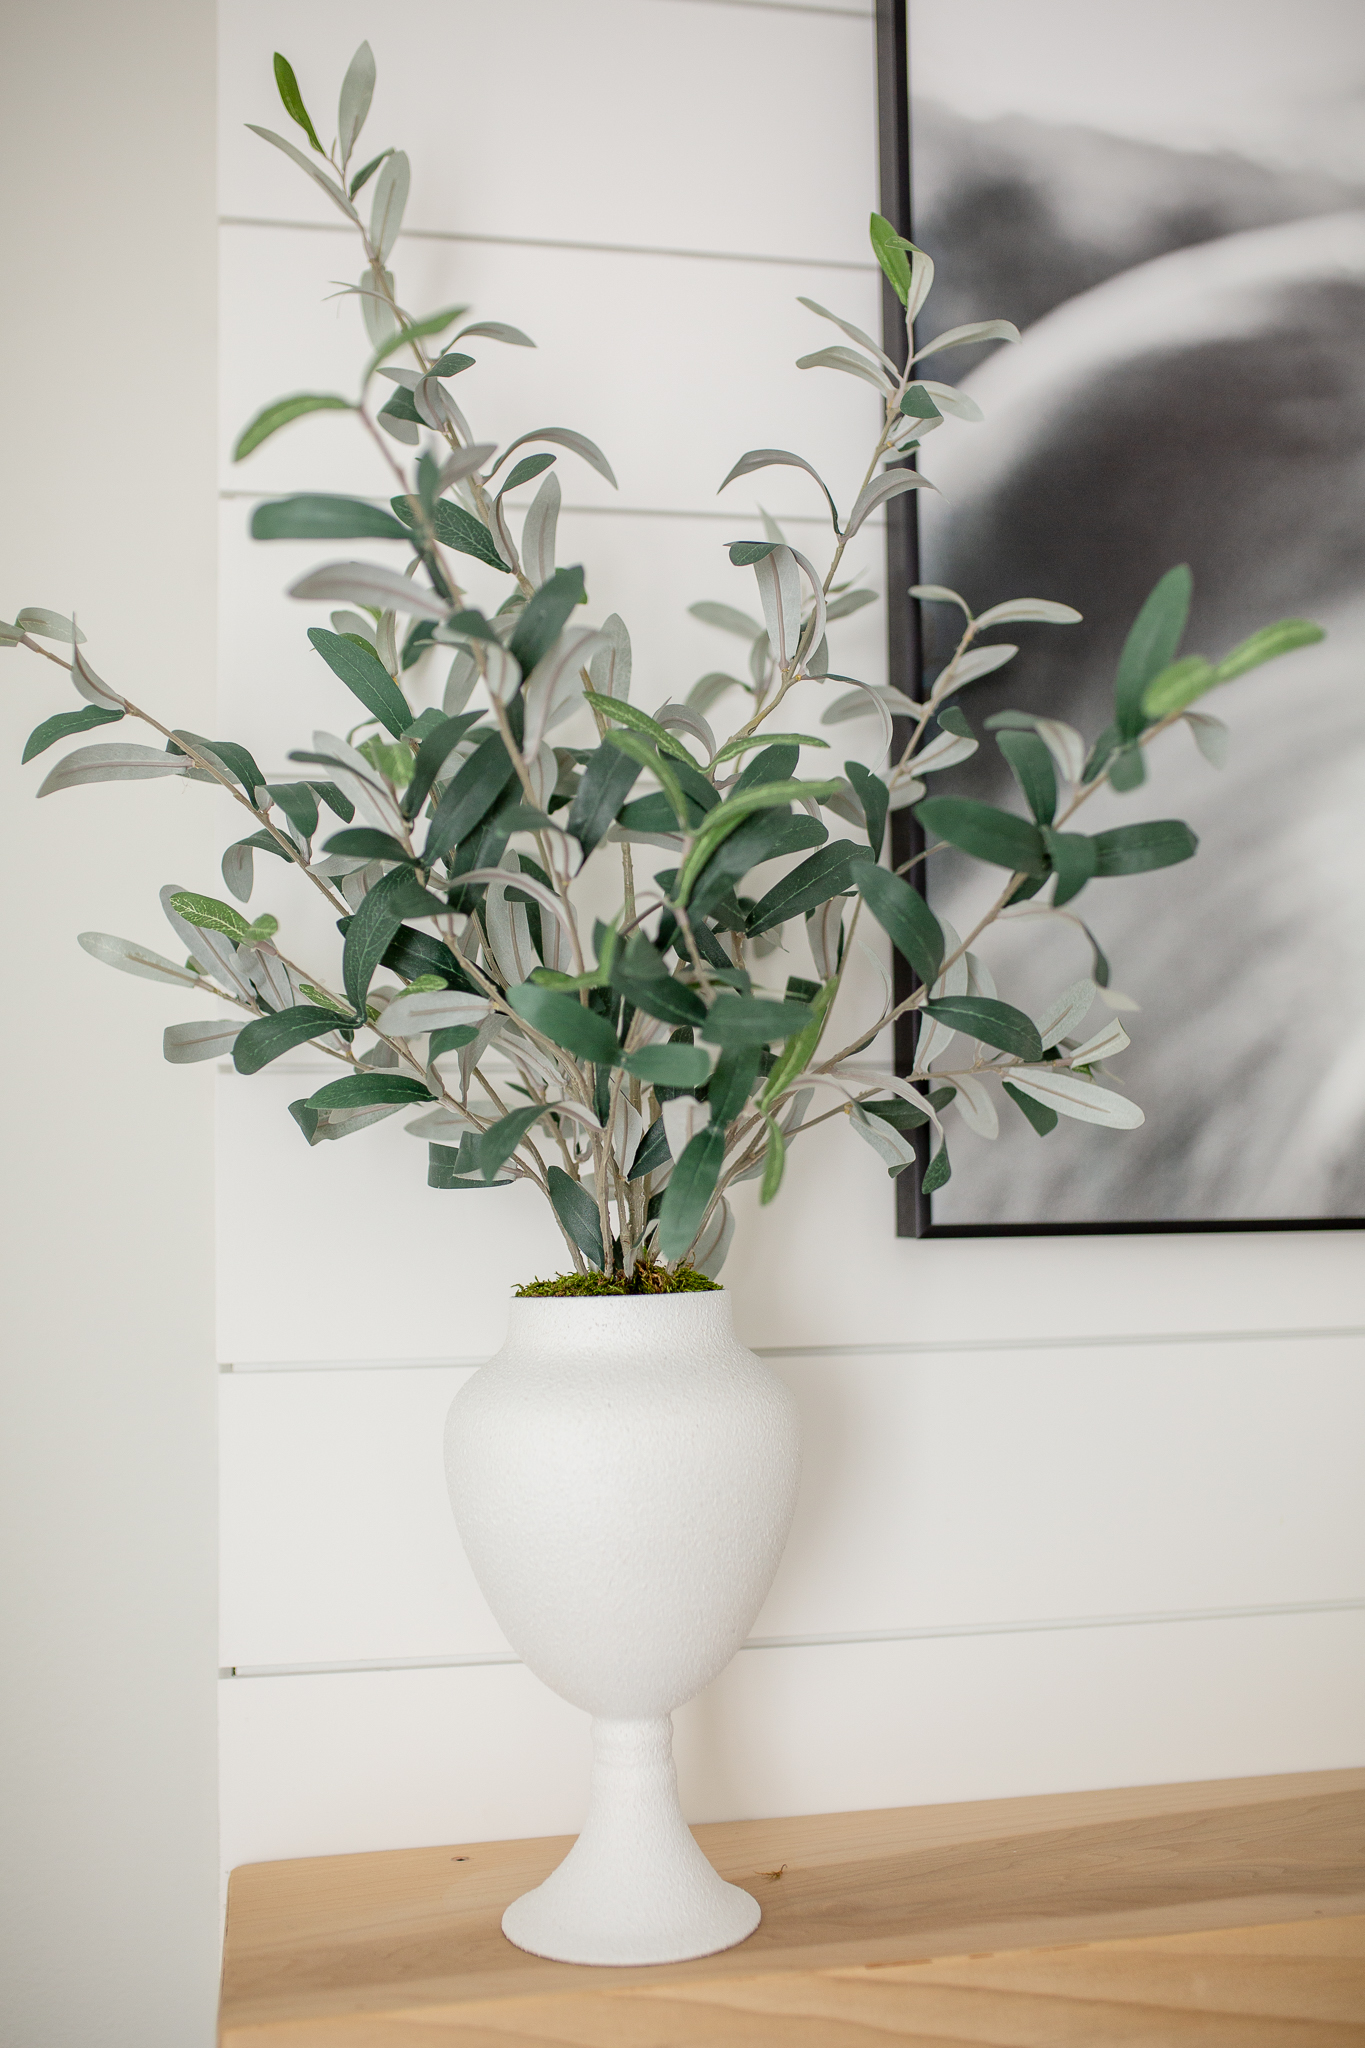
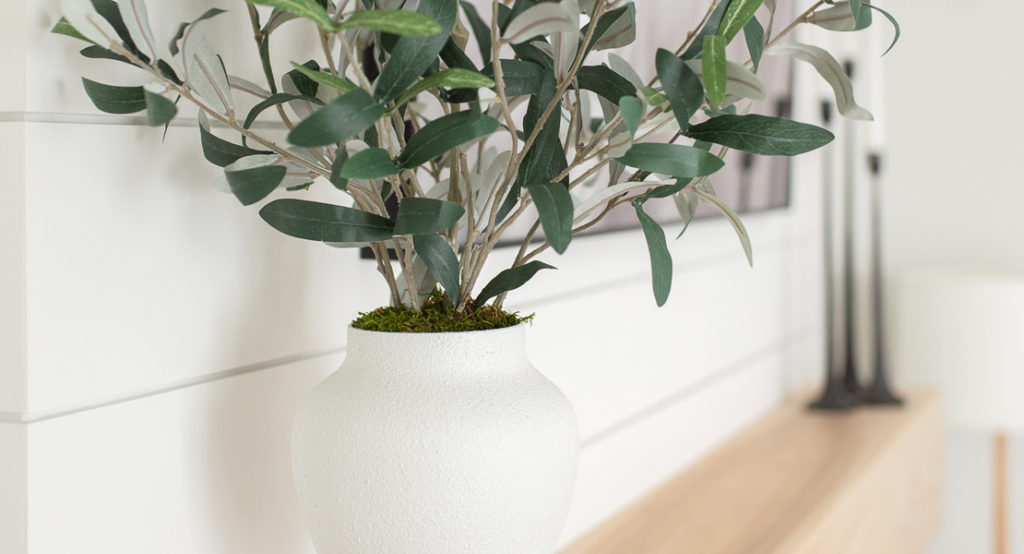
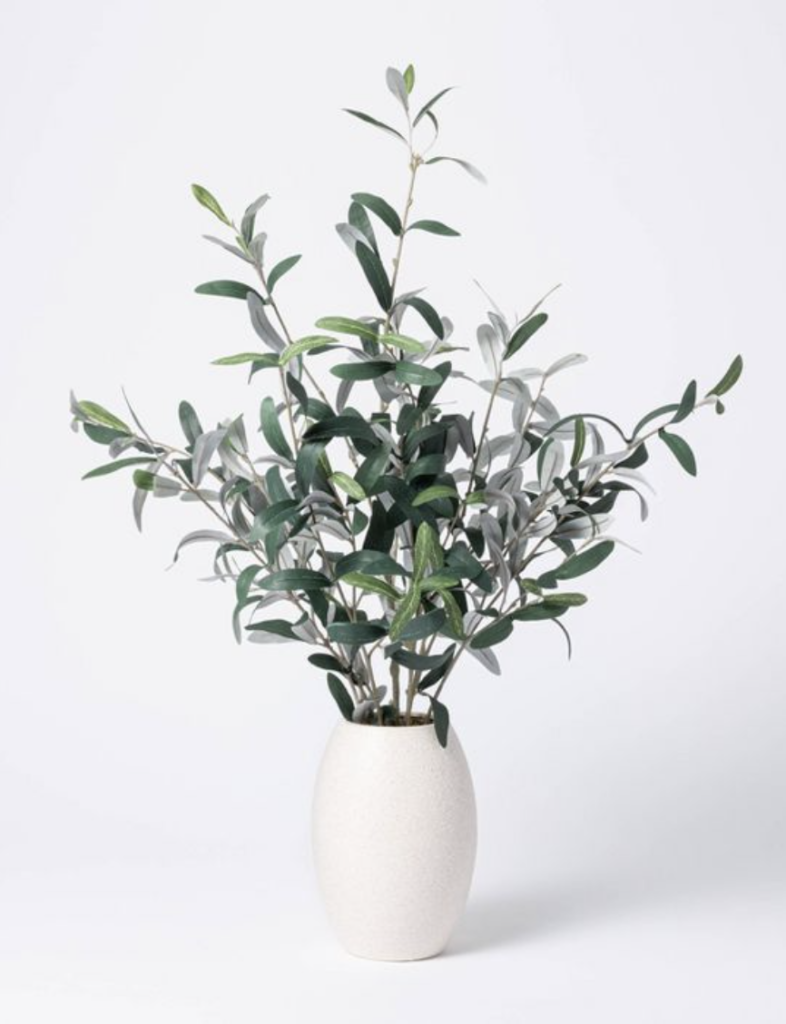
A few months back I ordered a Studio McGee Olive pot from Target, you can find it here. Unfortunately, they packaged it so badly when they shipped it, that it broke. I started the return process online with a few photos. Target refunded the purchase but requested I dispose of the product instead of bringing it back to the store. I couldn’t bring myself to throw away such pretty stems. I ended up keeping them and hoped I would find some use for them.
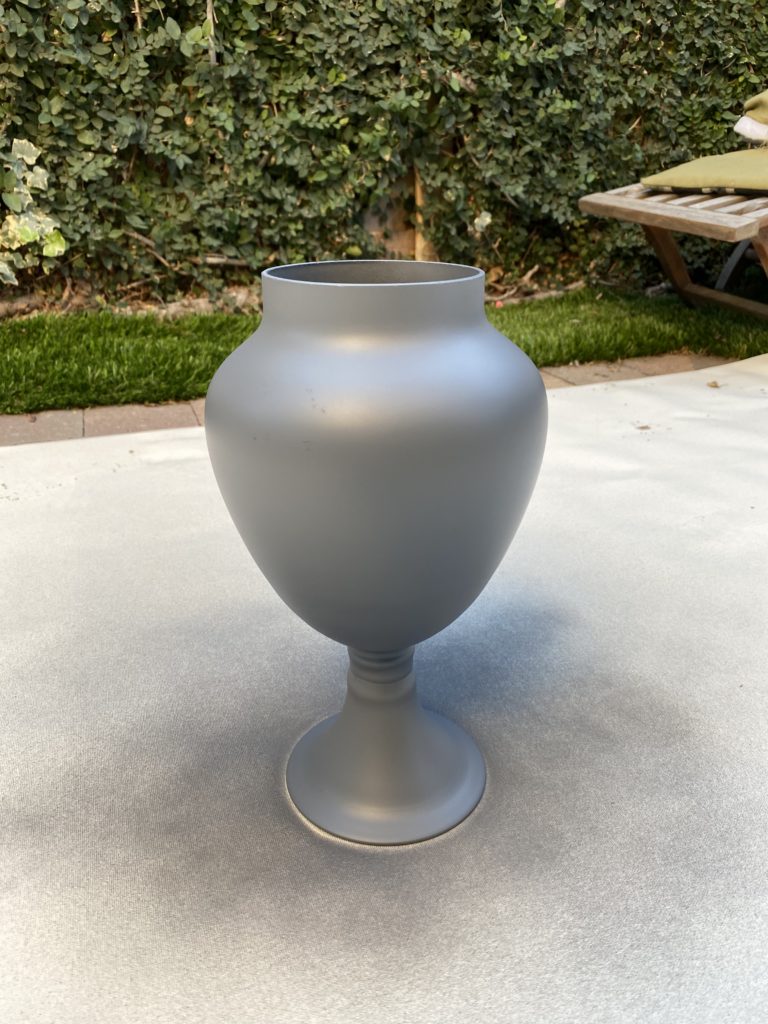
I had a glass apothecary jar I used for my daughter’s first birthday party. I should have thrown it away a long time ago because I broke the lid. It’s been lying in the cupboard since. Yes, I’m very sentimental and find it hard getting rid of things, especially when they hold memories. I’m Marie Kondo’s worst nightmare. Hopefully, there was a way for me to repurpose it and use it in the house.
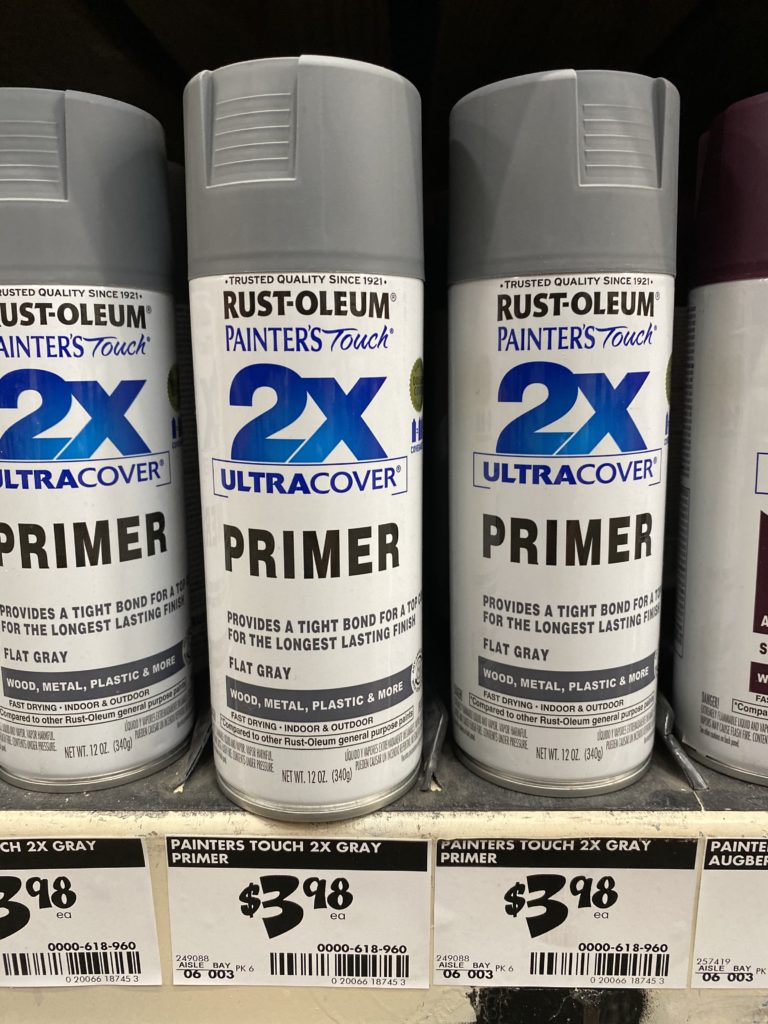
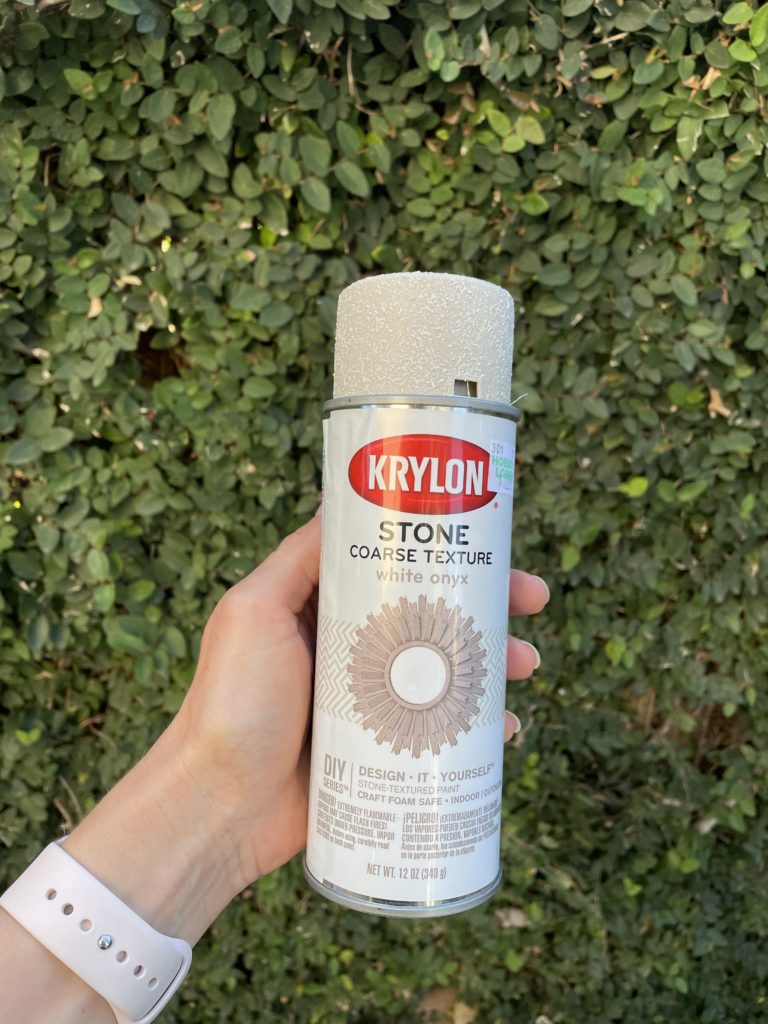
The apothecary jar had a similar shape to the ‘Studio McGee Olive pot, so you can see where this is going. The original pot had a very nice texture and I wanted to recreate it. So I did some digging around for some info about textured spray and found this one from Hobby Lobby. I figured glass would need a primer so I headed to home depot. To my disappointment, I only found a grey primer. Instead of being patient and waiting for the white primer to come in, I decided to give the grey one a try.

.
Phase 1
I came home that day and sprayed the glass jar with grey primer. Then, once that had dried I started to coat the glass jar with the textured spray. It was going great until 30 minutes later, it still hadn’t dried to the touch. The directions on the can said, “re-coat in 15 minutes.” Further research into my mishap, I realized that the air temp outside wasn’t helping the equation. I had to abort, bring the jar inside, hope it would dry overnight, and try again on a warmer day.
Phase 2
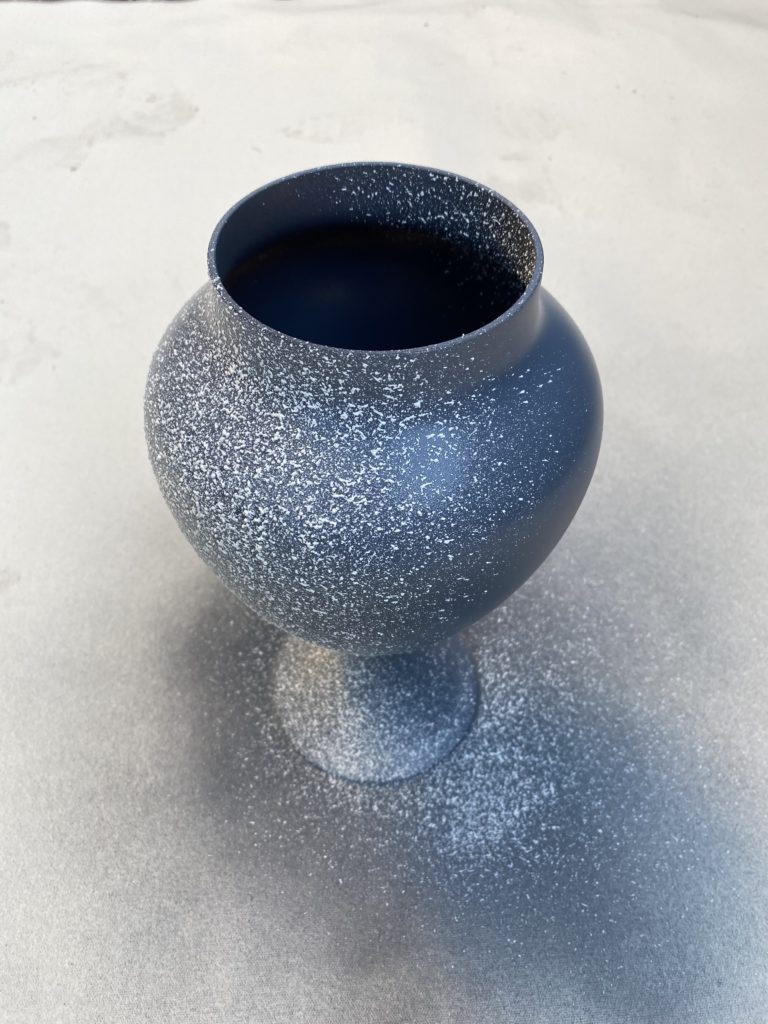
A warmer day arrived, so I thought it would be perfect to complete this project. I set it up and got to work. Only to find out no matter how much texture I sprayed onto the jar, I could still see the grey undercoat coming through. I SHOULD HAVE WAITED FOR THE WHITE PRIMER.
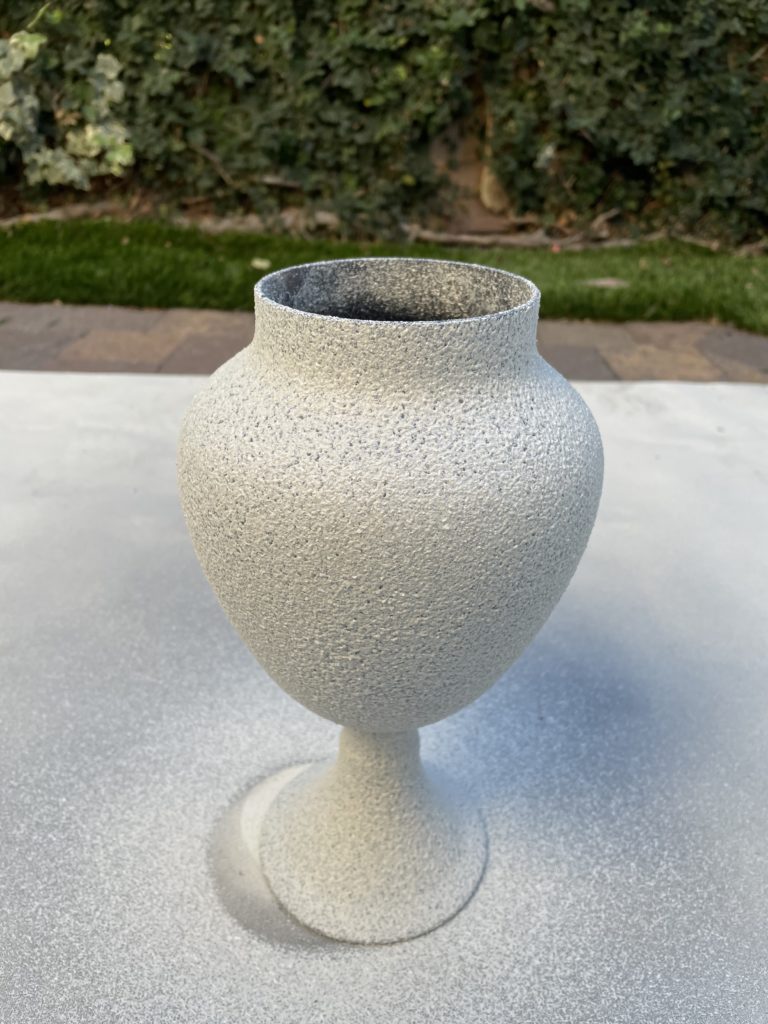
Turns out that textured spray does just that, gives your project some texture. It does not fully coat the piece so you don’t see what’s underneath it. So let me make the mistake for you. Learn from me. And use a primer close to the color you want it to be when you’re finished.
Phase 3
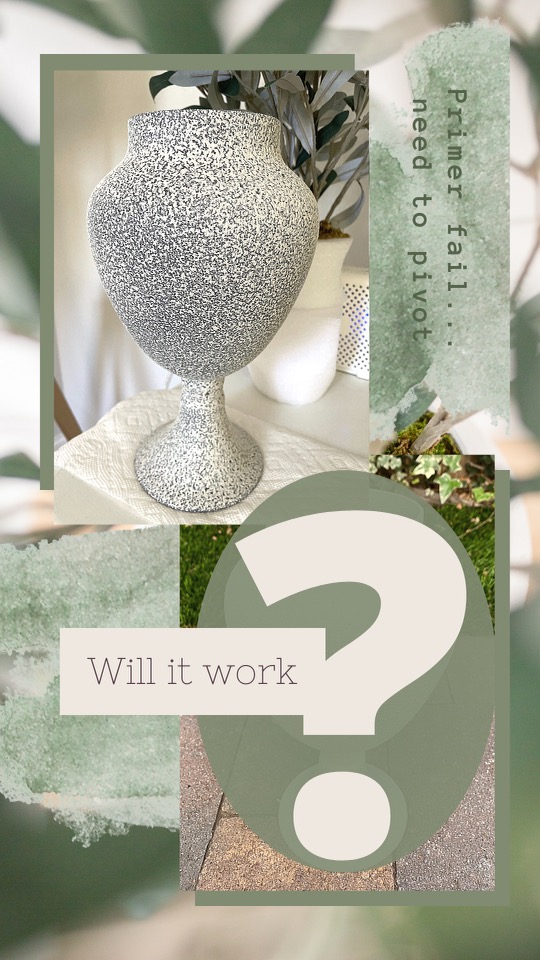
Feeling defeated, I had to pivot and make a plan to save the jar. I went on a hunt for the white primer to spray my now textured glass apothecary jar. And hopefully, top it off with the leftover texture I had left. Will it work??
Phase 4
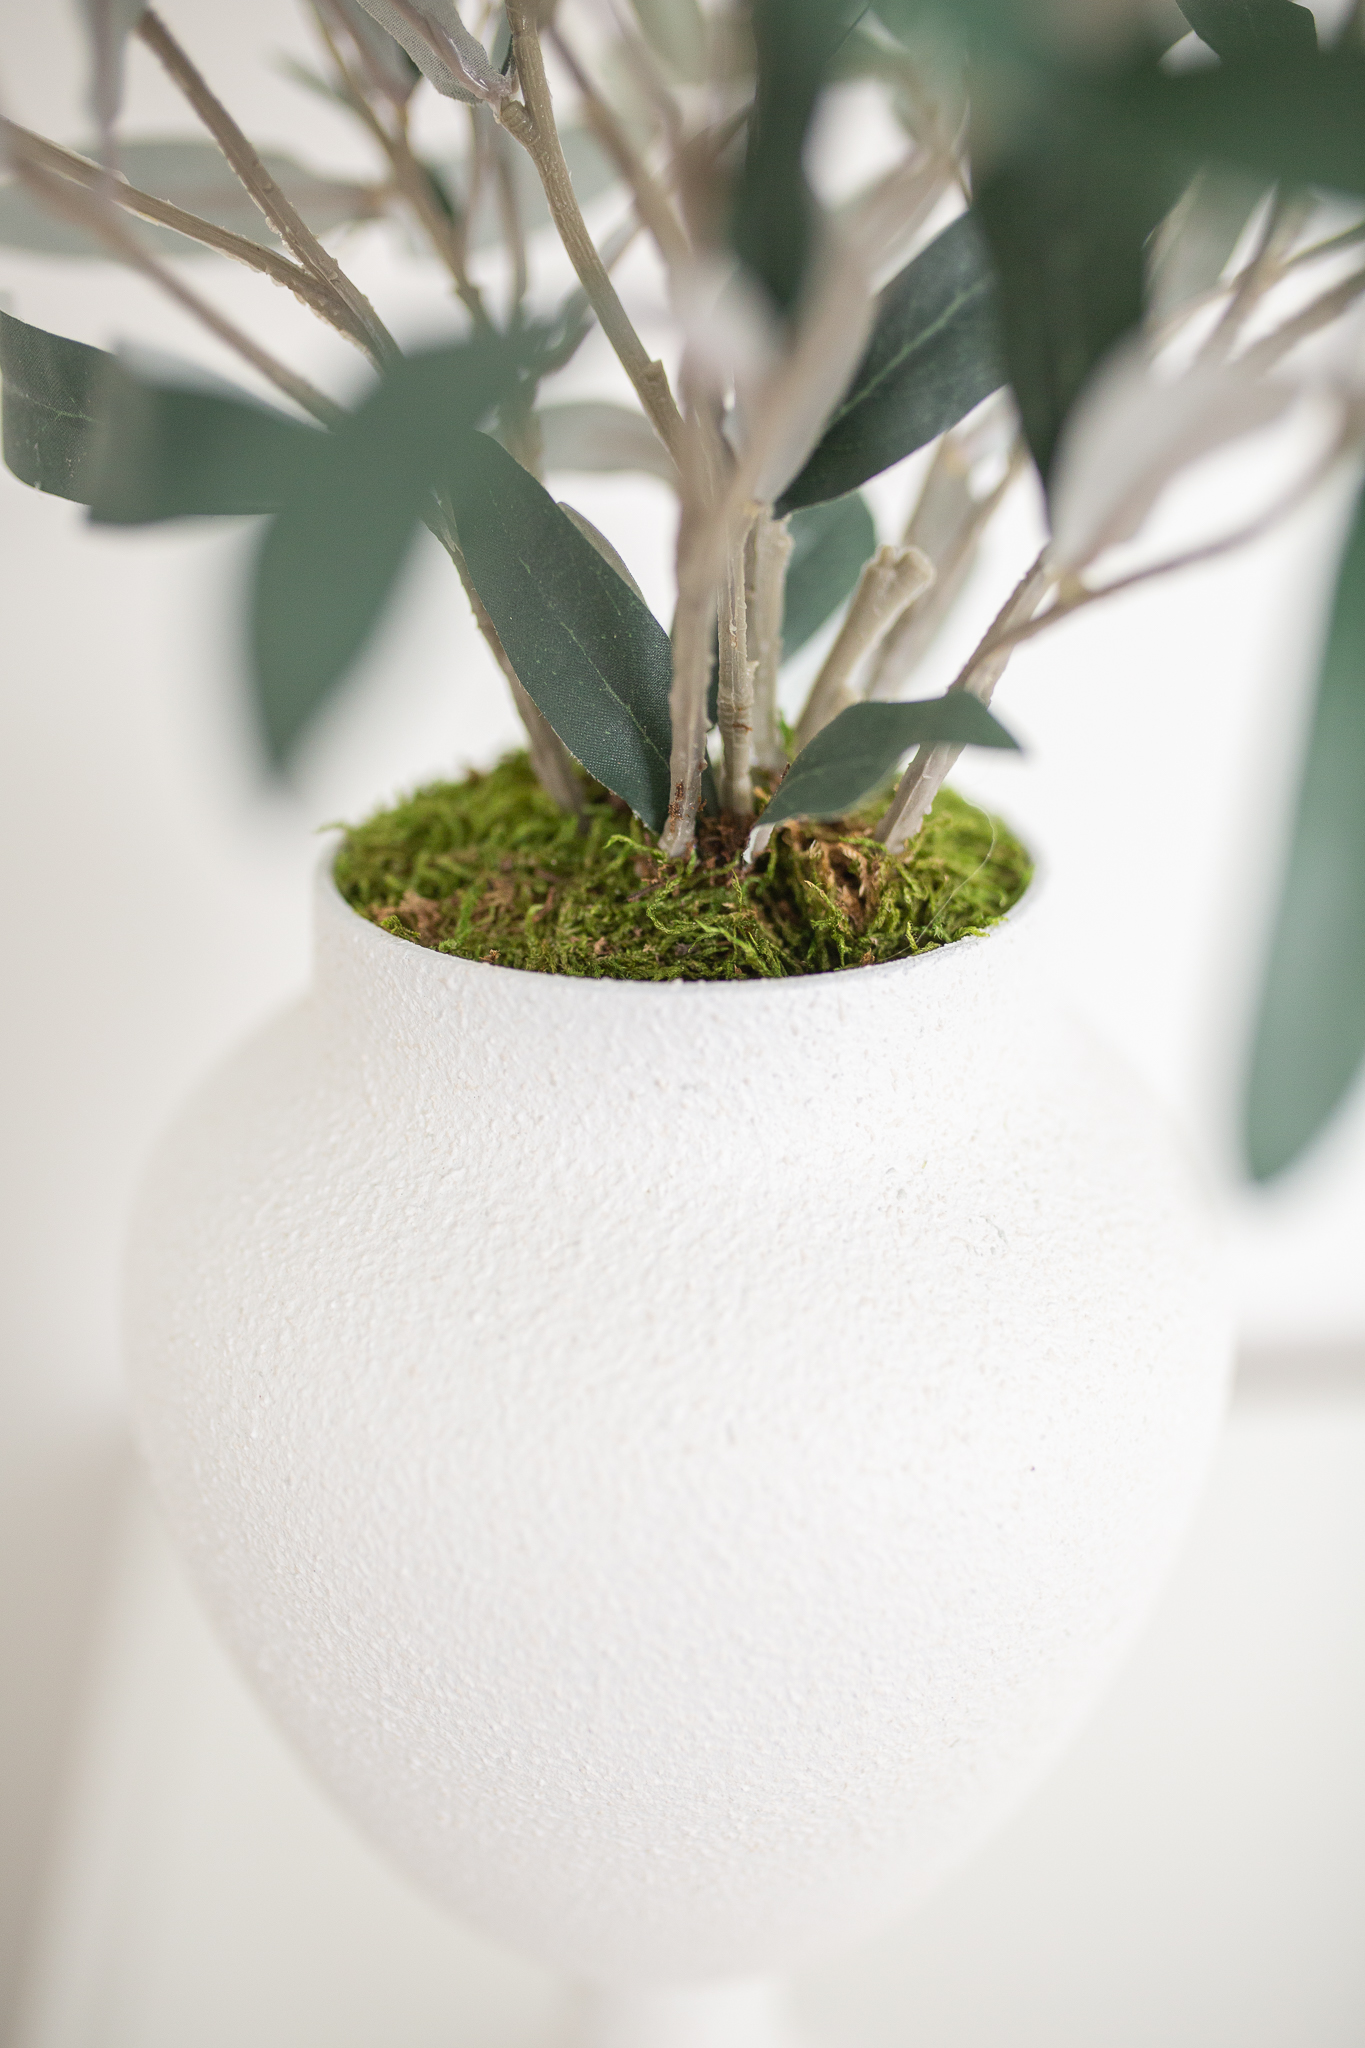
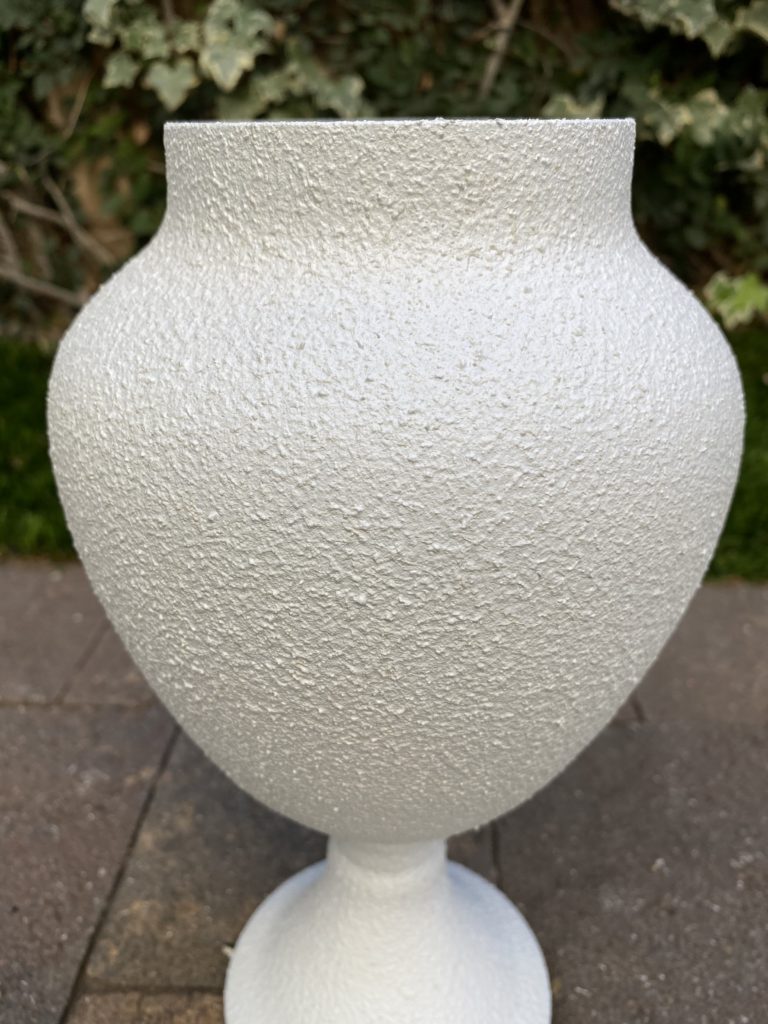
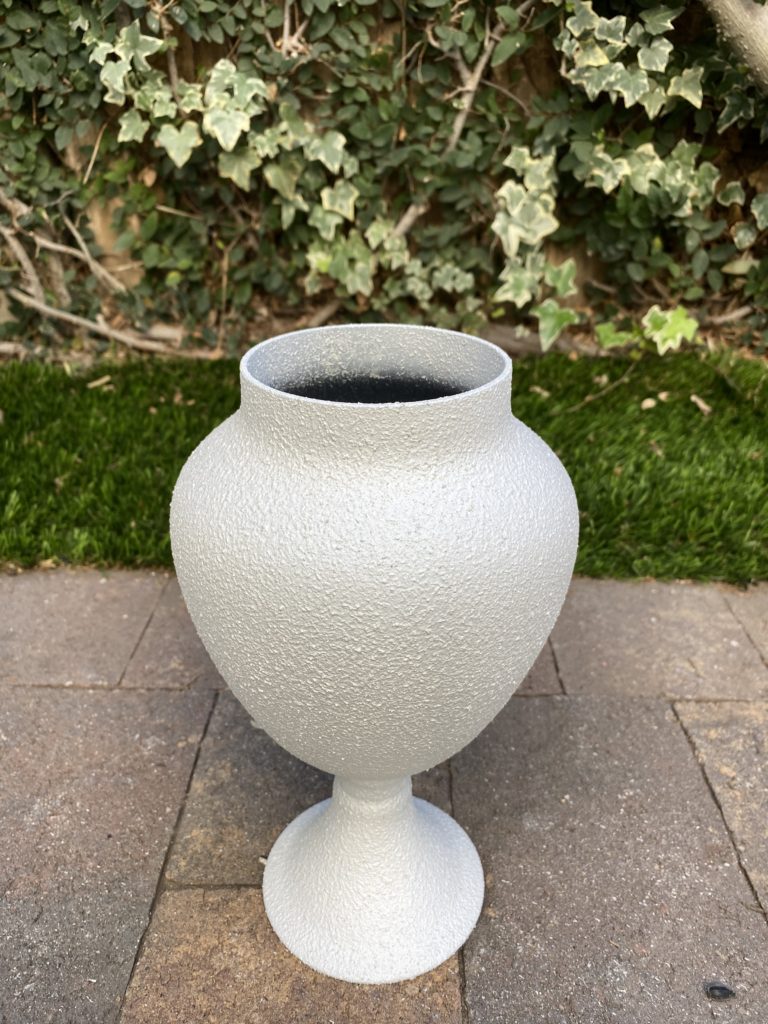
I’m happy to report that it worked! I recoated the entire jar with the white primer. The primer itself didn’t look bad at all and I could have left it matte white. But it was too white. I wanted the creamy white color that the Textured spray was. Once the primer was dry, I finished what was left in the textured spray can. It turned out great. The color was perfect. I’m so happy I managed to save it.
Phase 5
Now because I was trying to save my Studio Mcgee Olive arrangement, the olive branches were already stuck into styrofoam. If you were making this from scratch I would get a bunch or two of the Olive branches from Hobby Lobby. I would also get a couple of blocks of styrofoam or the green flower foam – I found this on amazon that would work great. I would cut three round layers to stick the stems into. Then I’d shape it with a serrated knife to fit the jar. Just like I did with the styrofoam.
Last and final phase, I promise.
My steams came with a little moss on the styrofoam. But I needed a little more. So I ordered this moss from Walmart. To my surprise, it was actually real preserved moss. Amazing quality for the price. Then I used E-6000 glue to add more moss onto the styrofoam to cover the top so it looked more realistic. Now shape the leaves to how you want the plant to look, and you’re done.
PRODUCTS USED IN THIS POST:
- 30″ x 24″ Artificial Olive Plant Arrangement in Pot
- or these Olive stems from Hobby Lobby – which are on sale now for $6.99 for a good-sized bunch
- Apothecary Jar – you can find ones similar at Home Goods. Or you could use any old pot or jar that you have in your home or thriftstore.
- Primer – Rust-Oleum Painter’s Touch 2X – flat white
- Textured Spray – White Onyx Krylon Stone-Textured Spray Paint
- Drop cloth
- Moss
- Green flower foam
- E-6000