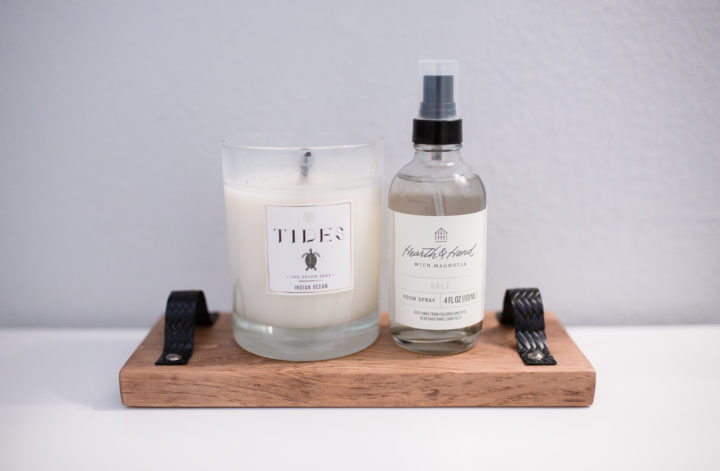
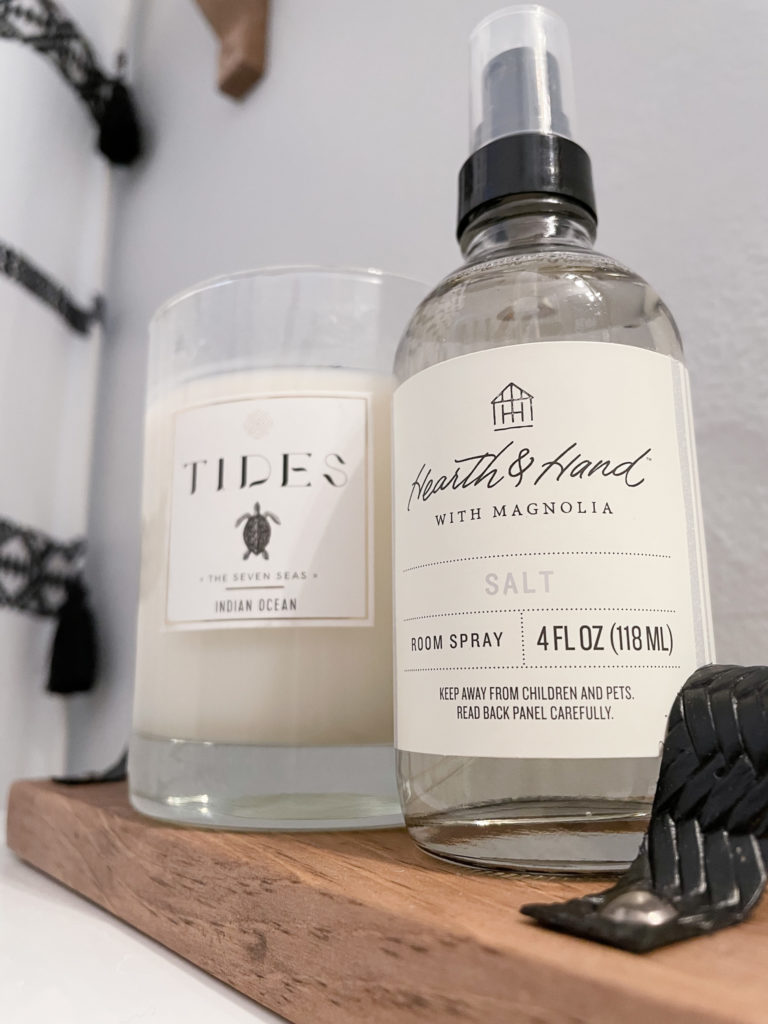
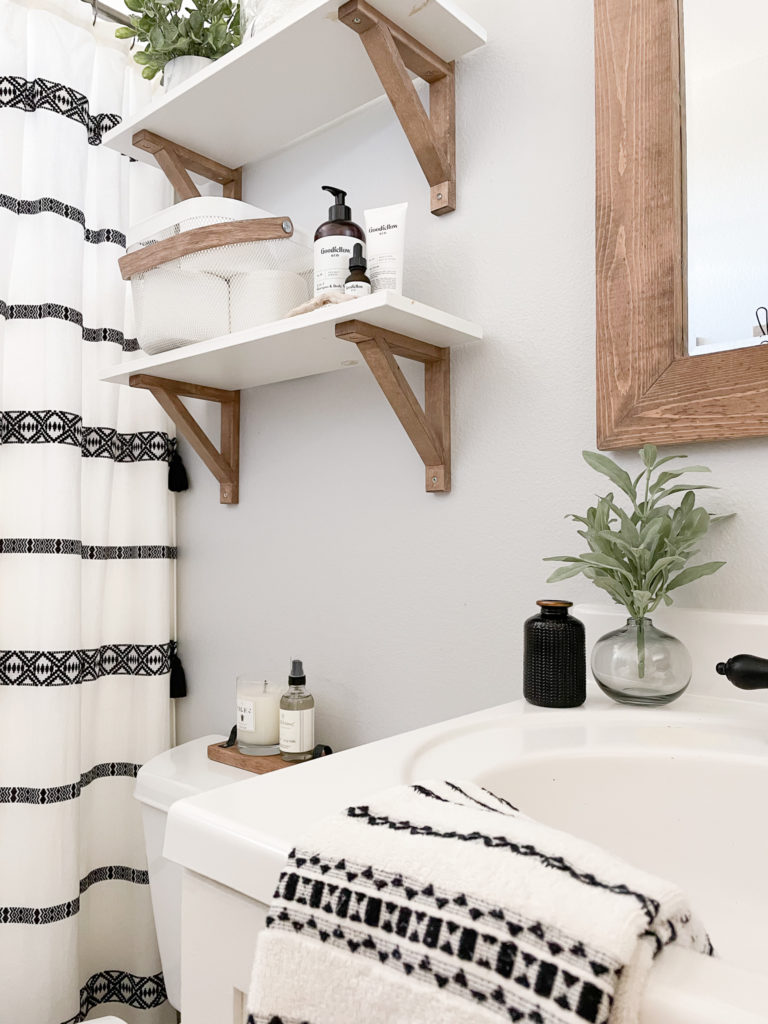
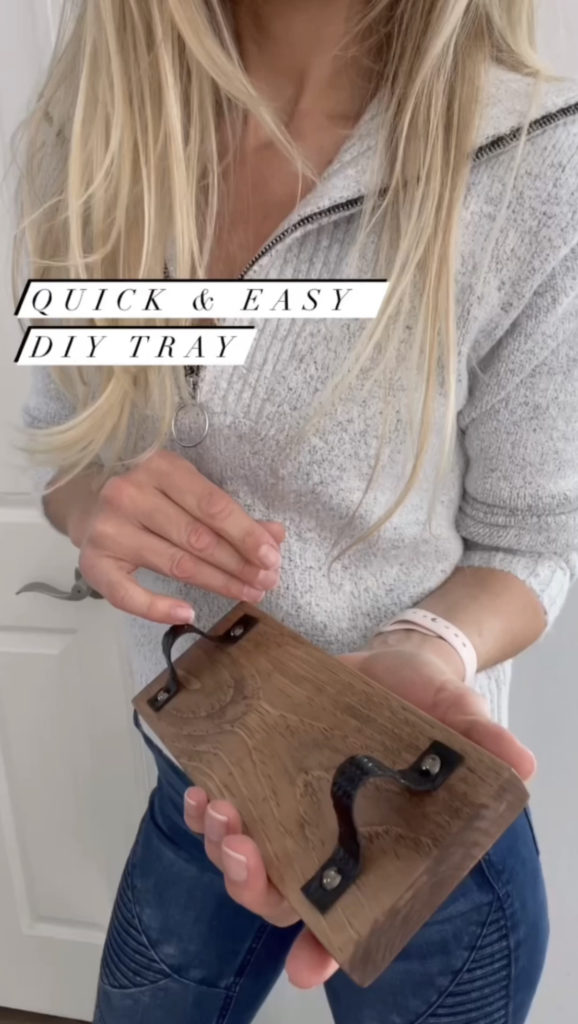
I love a quick and easy DIY scrap wood project. Do you have scrap wood? I do, a mountain of it. It came in handy when I needed a tray for the decor in my Bathroom makeover – go check out that project here. I made a quick and easy DIY scrap wood tray with Minwax stain so I could display my favorite candle and room spray. The best part is that I didn’t spend a cent, I made it within a few hours, and I love how functional and pretty it looks.
List of what you’ll need:
- Scrap wood – I used 1×4 common board
- Saw (you can use a hand saw if you don’t have a saw tool)
- Sandpaper grit #120 #180 #230
- Tack cloth
- Stain of choice – I used Minwax “special walnut”
- Foam paintbrush
- Rags – I used bounty towels
- Leather or whatever you would like to use as handles – I used this Faux leather ribbon from Hobby Lobby
- Brass tacks
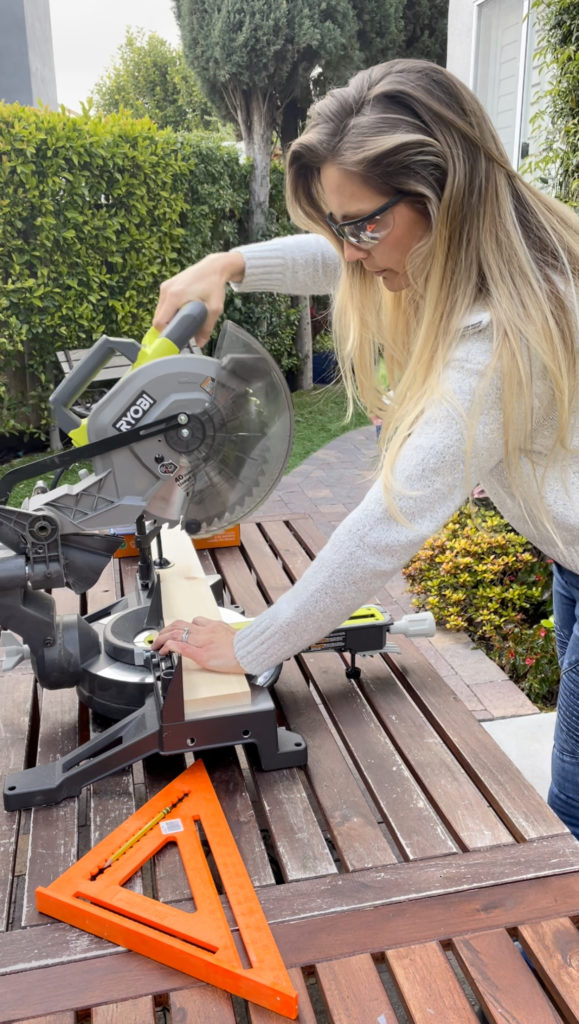
Sizing things up
I wanted a little tray on the back of the toilet to display my favorite candle and room spray. I decided to go with 9inches of length. The wood was the perfect width I needed for the display. You could make it wider by buying a wider plank or you could put 2-3 planks together using a kreg jig.
Sanding
Sanding is an important part of a DIY scrap wood project that involves stain. Always sand in the direction of the grain. This 3-step process works great for me. Start off with a rough grit like a #120 to sand the surface free of dents and imperfections. Then switch to a #180 grit to sand the scratches out that the #120 grit left. Then finally sand it with a #230 grit to smooth out the piece entirely. After these 3 steps, the wood should feel buttery soft with no raised grain. I used a tack cloth to wipe it clean. This tack cloth is like a magnet for dust. It’s great! Make sure there’s no dust on the piece before staining.
.
Stain
Sometimes a wood conditioner is best to use on certain woods before staining. For this project, I chose not to use one. I used a foam paintbrush to paint the stain on and quickly wiped the excess off with a rag to obtain a light color. If you would like a deeper color, allow the stain to soak in longer. Don’t let the stain get dry and tacky tho. You can also give the piece a second coat to deepen the color after it dries. Once all the excess stain was wiped off I left it to dry for 1-2 hours.
Finishing it off with handles
You could use a thick rope or an old belt for the handles. Having supplies from past projects, I had a spool of textured leather. I loved the texture but the leather was gold. I always tend to have black spraypaint lying around so I decided to spray the leather black. It actually worked! So far no hassles. The brass tacks I repurposed – they had fallen off a trunk I had in my bedroom as decor. But I’ve seen similar tacks at Hobby Lobby and Joann fabric. To attach the handles, I positioned the leather on either side of the wood and hammered the tacks in.
How cute did it turn out? It gives the perfect wood element that ties in with the rest of the bathroom decor. It’s functional too! It flattens out the slightly rounded surface on top of the toilet so you can place a candle and room spray on confidently knowing they won’t fall off.
Let me know if you make one of these, I would love to see pictures. Tag @barberellahome on Instagram if you do.
Items used in this post
- Scrap wood – I used 1×4 common board
- Saw (you can use a hand saw if you don’t have a saw tool)
- Sandpaper grit #120 #180 #230
- Tack cloth
- Stain of choice – I used Minwax “special walnut“
- Foam paintbrush
- Rags – I used bounty towels
- Leather or whatever you would like to use as handles – I used this Faux leather ribbon from Hobby Lobby
- Brass tacks

