
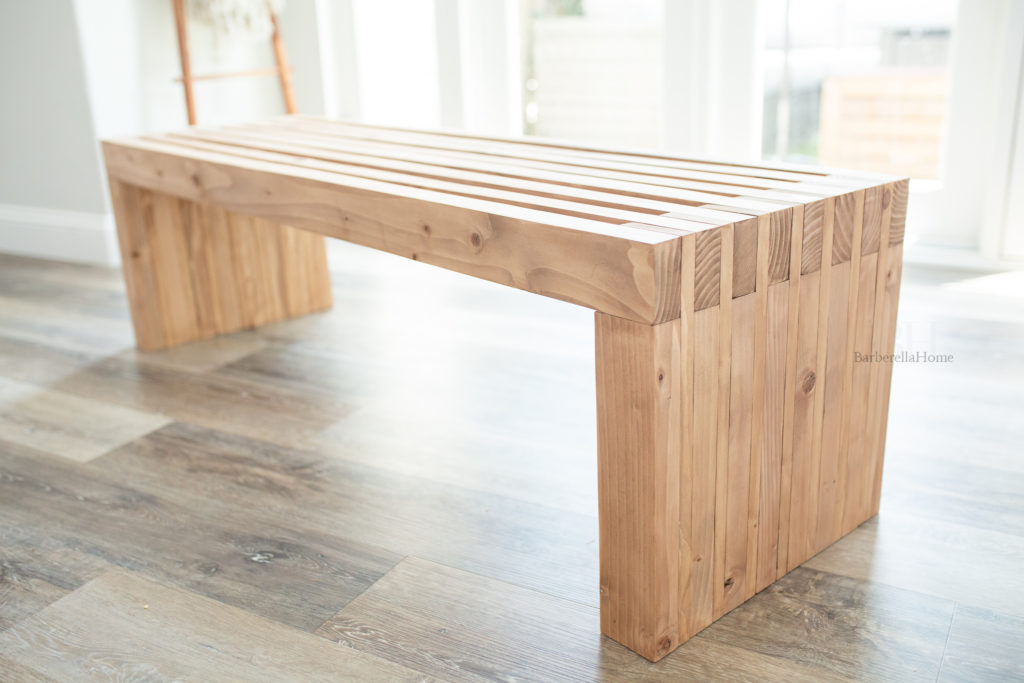
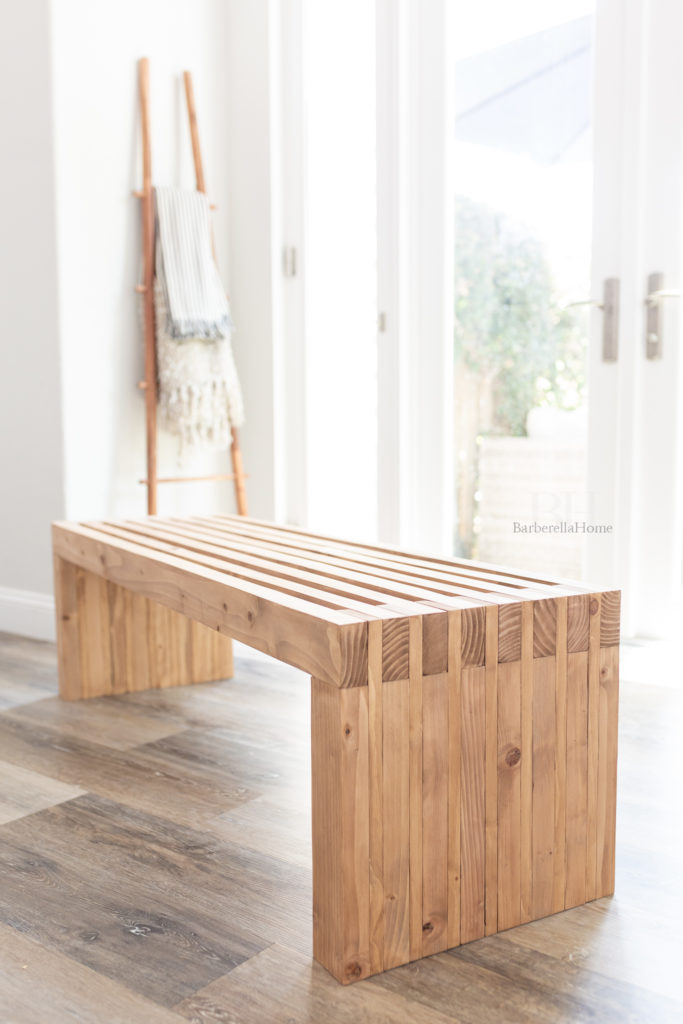
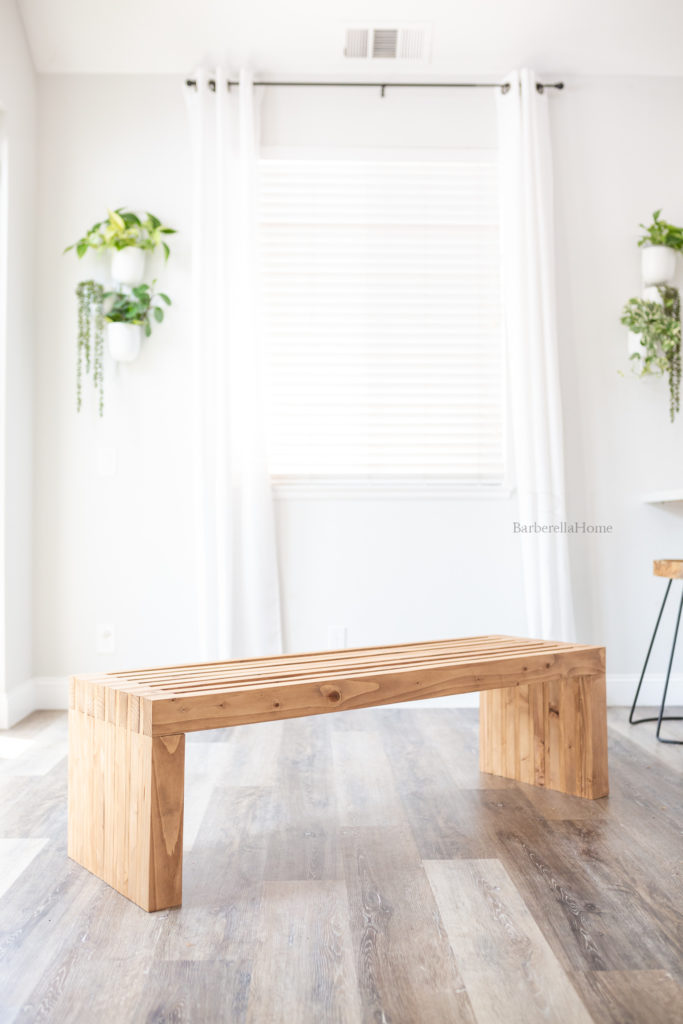
Have you ever built a piece of furniture? If you’re considering it, this DIY bench is a quick and easy build. It uses 2×4 pine studs and 1×4 common pine boards.
Tools you’ll need for the DIY bench build:
- Table saw (only if you want sharp edges or need to rip wider boards down)
- Miter saw (more precise if you use a power tool but could use a hand saw)
- Nail gun (but you could just use a hammer)
- Clamps
- Orbital Sander

Planning
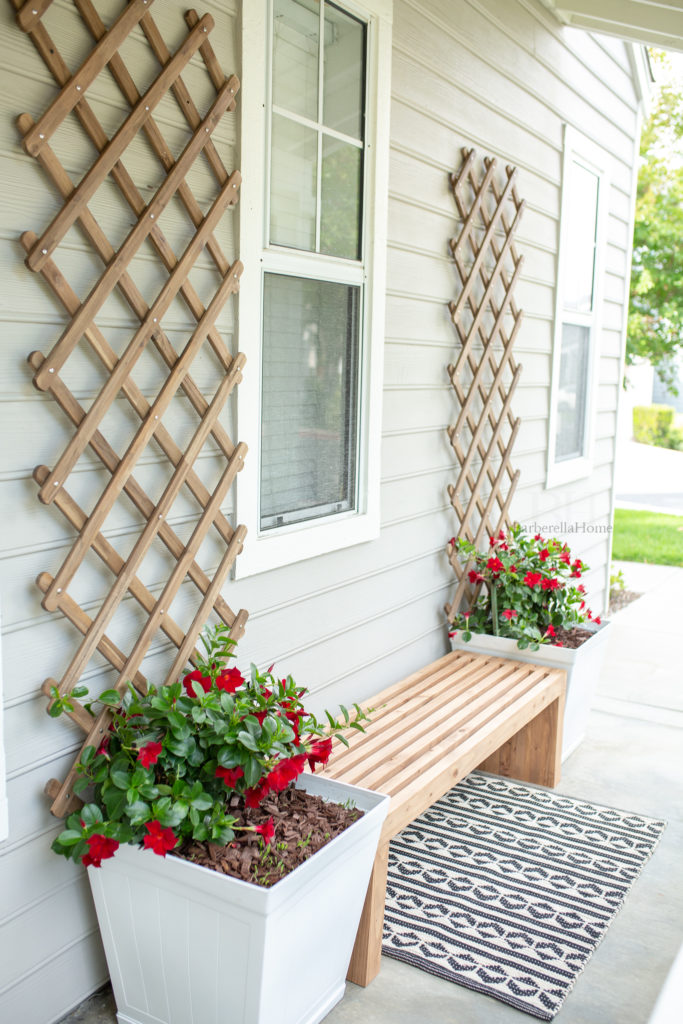
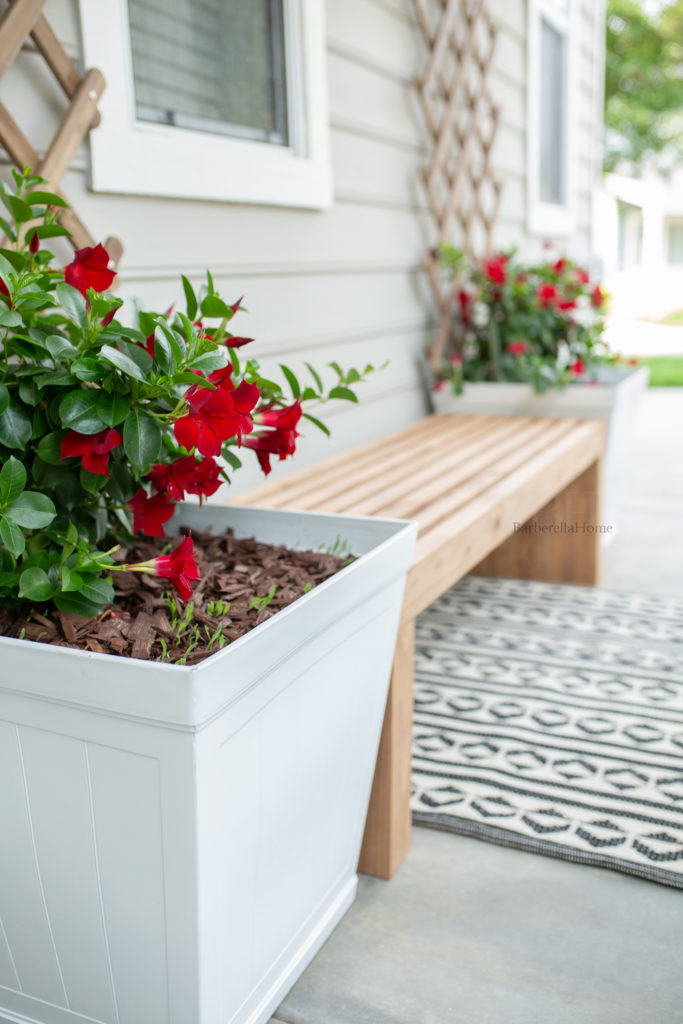
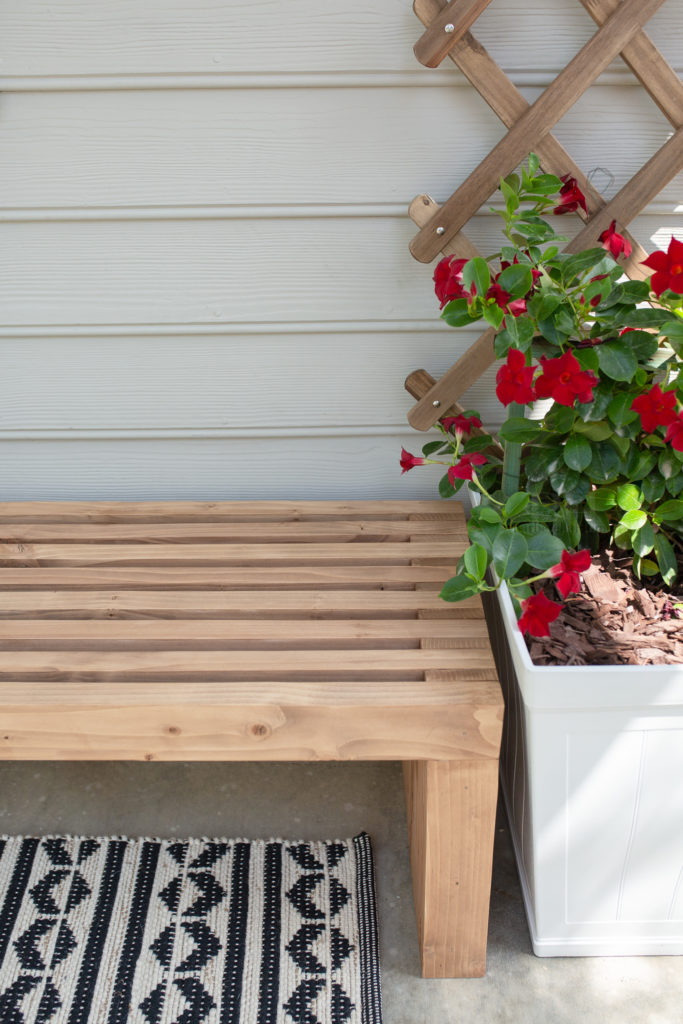
First of all you will need to plan for the length of the bench. I planned for the bench to fit between 2 pots. The height of it can be your preference but I suggest it being a general height so when seated your knees are at a 90 degree bend. It’ll be more comfortable that way.
Buying the wood
I got all my wood for the DIY bench build from Home Depot. The width of boards are never the width they say they are. Say for instance a 2×4 is never a 2×4. It’s actually a 1.5×3.5. So make sure you factor that into your build.
For the sake of explaining the build, I’ll still refer to the sizes as 2×4’s, even though their exact measurements are different. Just to keep it simple and for you to know which planks I’m referring to.
Tip: make sure your boards are straight on all faces. A trick of mine, other than eyeballing them down the long side, is to lay them on the floor, on each side, to see if they lay flat. If they wobble they’re skew.
Tip: A trick of mine, other than eyeballing them down the long side, is to lay them on the floor, on each side, to see if they lay flat. If they wobble they’re skew.
Selecting species of wood
You could use different species of wood. Each species has its price point. Make sure all planks are the same species of wood though if you are staining them. Stain reacts differently on different species of wood
Cutting the wood.
For cut list and build diagram check out the instructional PDF
I made a fence stop for my miter saw so I didn’t have to measure each piece of wood before cutting. This way it was quicker and more accurate. I wanted sets of cuts to be the same length exactly.
Before building the bench
Once all the pieces were cut I sanded each piece with an 80 grit sandpaper with my orbital sander to smooth all edges before building it. The studs are pretty rough.
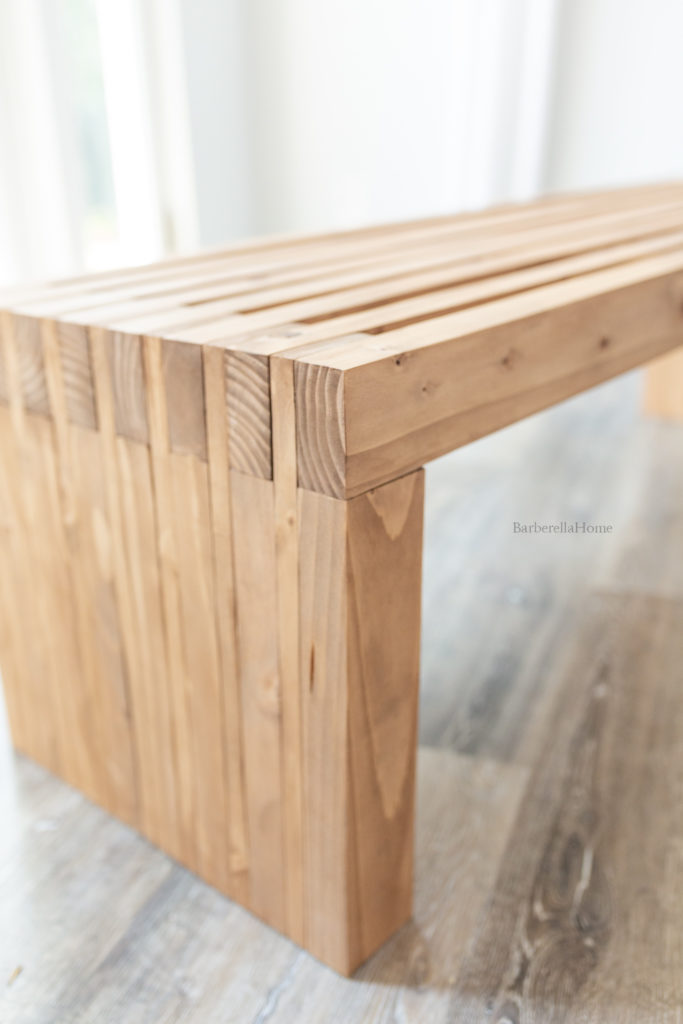
I knew it would be tricky to stain in between the slated portion of the top of the bench after it was built. So I prepped and stained the sides of those pieces before putting the bench together.
Prep for stain
After the bench is built I prepped the bench for stain. The planks had already been sanded with an 80 grit. I had to now sand it entirely with a 150 grit and then a 220 grit. It is totally worth working your way thru the grits, don’t skip a step. The wood ends up well prepped for stain this way. You’ll be surprised how beautiful and buttery smooth the wood ends up.
If you plan to paint the bench then a detailed sand as such wouldn’t be necessary.
Staining
Indoor vs Outdoor Stain
This DIY bench build was going outside on my porch. All my favorite stain colors are indoor stains. A part of me just wanted to use them. But apparently, indoor stain changes color outdoors. It doesn’t react well to UV rays even if you use a top coat. So it was highly suggested I use an outdoor stain. After all this work, if I used indoor stain, I would have had to re-sand and re-stain it a few months later. So I dived into finding a perfect outdoor stain color.
What outdoor stain did I choose?
I decided to go with Sherwin Williams. They had one of the biggest range of colors and had a top coat build into the stain. Some Sherwin Williams stores even offer color matching – as long as what you bring in to match is the same species of wood that you are working with. As mentioned before stain colors differ on each species of wood. So they try get it as accurate as possible.
How did it work out?
Unfortunately, I didn’t have a good experience with this. I was quite disappointed in the color match. It was very grey. They had mixed a nice color but not the color I took in to match. It was pretty pricey too because I had to buy a gallon of stain. There were no smaller tins.
But hey, I had to try it.
What did I end up doing?
When it comes to stain I’m always experimenting. Go check out how my laundry room shelves turned out here, and all the wood accents in my guest bathroom here. I had left over IKEA stain from when I refinished my outdoor table. The IKEA stain was water based, it was also an outdoor stain, and it had a top coat built in as well. So I figured it was compatible. It was super pigmented though so I experimented with small amounts.
I made a small batch (about 10ml to start) so I could work out the color and the final ratio of each stain. Then once the perfect color was found, I made a large batch to stain the whole bench.
The problem I ran into
Definitely test out the larger batch first. My mistake was I assumed it would be the identical color to my smaller batch. WAS I WRONG! If you are out 1ml in the small batch, it’s amplified when you make a bigger batch. Because I increased the quantity by 20, if I was out by 1ml, it could end up being 20 ml out in the bigger batch. That makes a huge difference to the color. Especially if you’re working with something so pigmented as the IKEA stain. My stain ended up being a little too warm.
How I fixed it
Luckily I made that mistake on the inside of the slated portion of the bench so it won’t be noticeable. So I had to start all over again to find the perfect stain color, but this time I thought about this neat trick to help measure the stain accurately. I bought these massive plastic syringes that measured up to 300ml and they worked perfectly. It also didn’t make a mess like my other measuring method. And it was super easy to clean up. I just soaked the syringes in soapy warm water.
So don’t assume your bigger batch is the same. Always test it out first and tweak the mixture if necessary.
Tips for staining the bench.
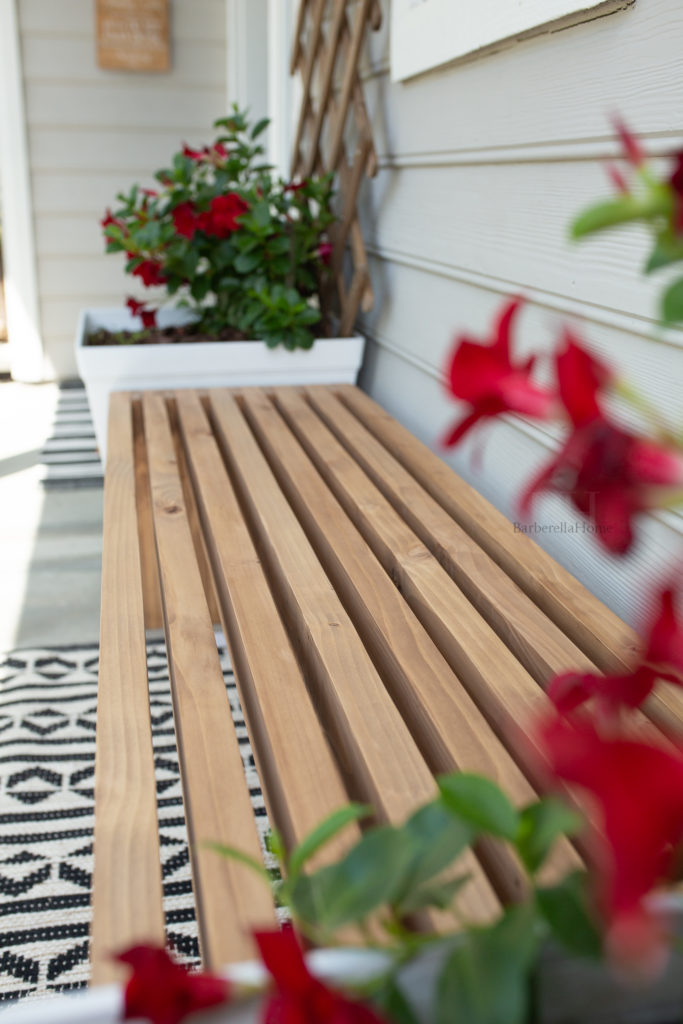
Finally, once I had my perfect stain color (for detailed build and stain instructions check out the instructional pdf) I stained the entire bench. Work in sections. For the top, I stained each slat separately for it to be uniform in color. If you are using this particular stain mix, I painted the stain on, rubbed it all ways into the grain, and then wiped it off shortly after. Stain can always be made darker, but never lighter. The longer you leave a large amount of stain on wood the deeper the color. The sooner you wipe the stain off the lighter the color. This particular stain required 5 hours dry time before recoating. If a darker color is needed, place a second coat of stain on and repeat the above steps.
In the end
I’m so happy how this DIY bench build turned out. What do you think? Would you give this DIY bench build a try? You can find everything you need to know to build the bench in the instructional PDF. From the cut-list, to build instructions with pictures, to the tool and items used for this build. Check out the guide here.
I hope this inspires you to build something of your own for your space. If you do, I’d love to see it. Share it with me on IG by tagging @barberellahome or email it to me at barberellahome@gmail.com.

1 Comment
Interested in the finished width ?